The restoration process
Everyone has their own process for restoring pinball machines. Some like to emphasise certain parts of the restoration that they are particularly good at. Others like to get it done as quickly as possible. Some go absolutely all-out and replace every part imaginable, while others make do with what they've already got.
Pinball machine restorations need to be tackled in a thorough, systematic manner. If you dive right in and fix just what you see, you will undoubtedly miss things that will become larger issues later. You need a plan of attack to ensure you cover everything to get the machine working properly. Below is the "plan" I rely on and adapt as necessary when I'm fixing up a machine. I find that it is a good balance between thoroughness and speed; most solid state pinball machines in average, semi-working condition can be brought back up to scratch in a couple of days of solid work if no serious issues present themselves. While this list is focused mostly on the restoration of dot matrix display (DMD) pinball machines, it is generally applicable to other machine types such as electromechanical (EM) and solid state (SS) games. In any case, it is definitely not gospel, so feel free to adapt it how you see fit for your next restoration. You can also use it as a general guide on what to look for when inspecting a machine to buy.
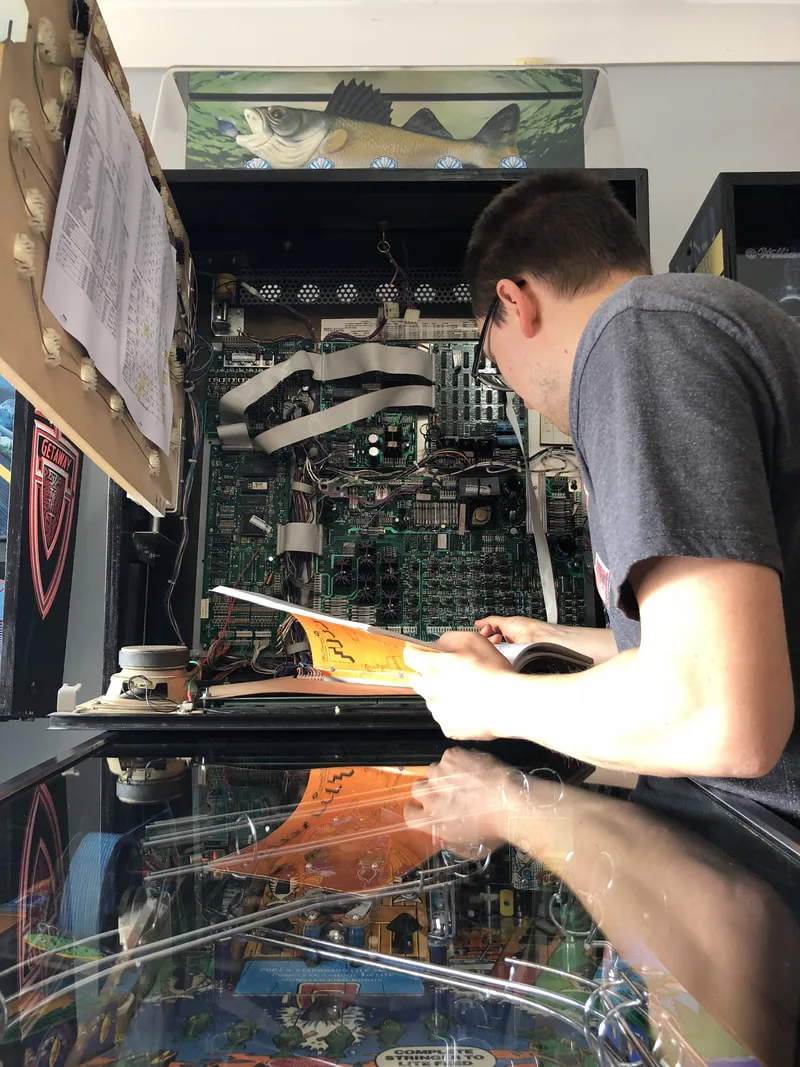
Visual inspection will reveal the most glaring issues, but electronic and gameplay issues may not be so easy to detect. To this end, use the game's diagnostic tests to assess the lamps, switches, and gameplay features. If it doesn't work in test mode, it won't work during the game! Note any issues down so you'll remember to tackle them later. If there is no test mode (i.e. an electromechanical machine), a test game is the best way to check game features. Manually activate switches with the ball in your hand and check that game game responds appropriately. This method is also best if you want to test all of the game's features, but you're such a bad shot that you can't hit the things you want to!
If you're after a checklist to bring with you to inspect a machine, Pinwiki has a very detailed guide which describes what to look for when inspecting a game (it's titled as a post-purchase checklist, but it's just as good as a pre-purchase checklist). If you're still unsure about inspecting a game yourself, we can offer this service.
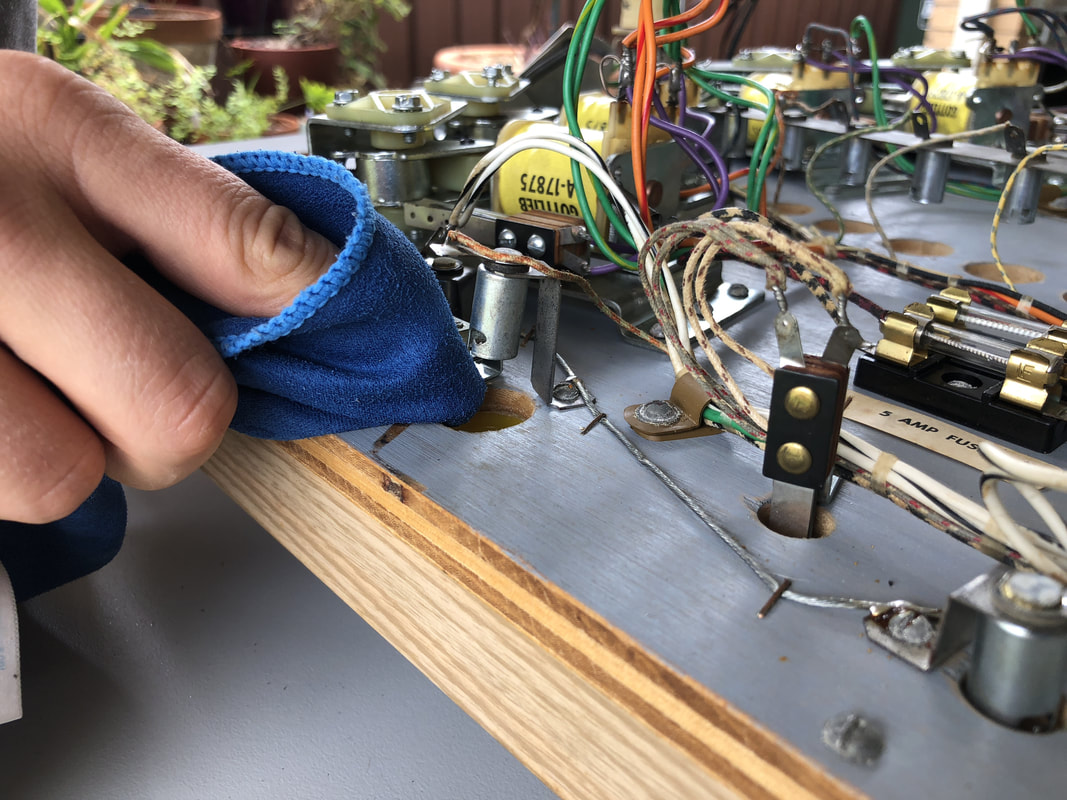
Inspecting the backbox circuit boards.

Inspecting the underside of the playfield.

The main issue with working on pinball machines is moving the damn things around. The absolute best kind of trolley to use for moving multiple machines is a purpose-built pinball trolley. They are stable and built to distribute the weight of the machine evenly across the trolley. Unfortunately, they are not easy to obtain and are a pain to transport. You can buy one locally (PSPA) or make one yourself; there are plenty of DIY guides online that explain how to make one. A lot of hobbyists, including myself, use scissor lift trolleys, which you can buy at machinery shops (Hare & Forbes sell the most common one). These trolleys are readily available and relatively compact. The only issue with these trolleys is the vertical handle design puts it in the way of the machine cabinet. There are various ways to modify the handle assembly to accommodate a pinball machine. This forum thread has a good discussion around it. You can use standard two-wheel hand trucks (like these) for pinball moving but make sure the wheels and axle are strong enough to support the weight of a pinball machine! I use one of the Hare & Forbes trolleys and it has served me well for years. When lifting the machine, make sure the trolley is placed under the heaviest part of the machine. This will be towards the back of the machine if the backbox is erect, and towards the front of the machine if the backbox is laying on top of the glass. Be careful with machines that have deteriorating cabinet wood - the bottom of the cabinet may collapse under the weight of the machine if not reinforced!
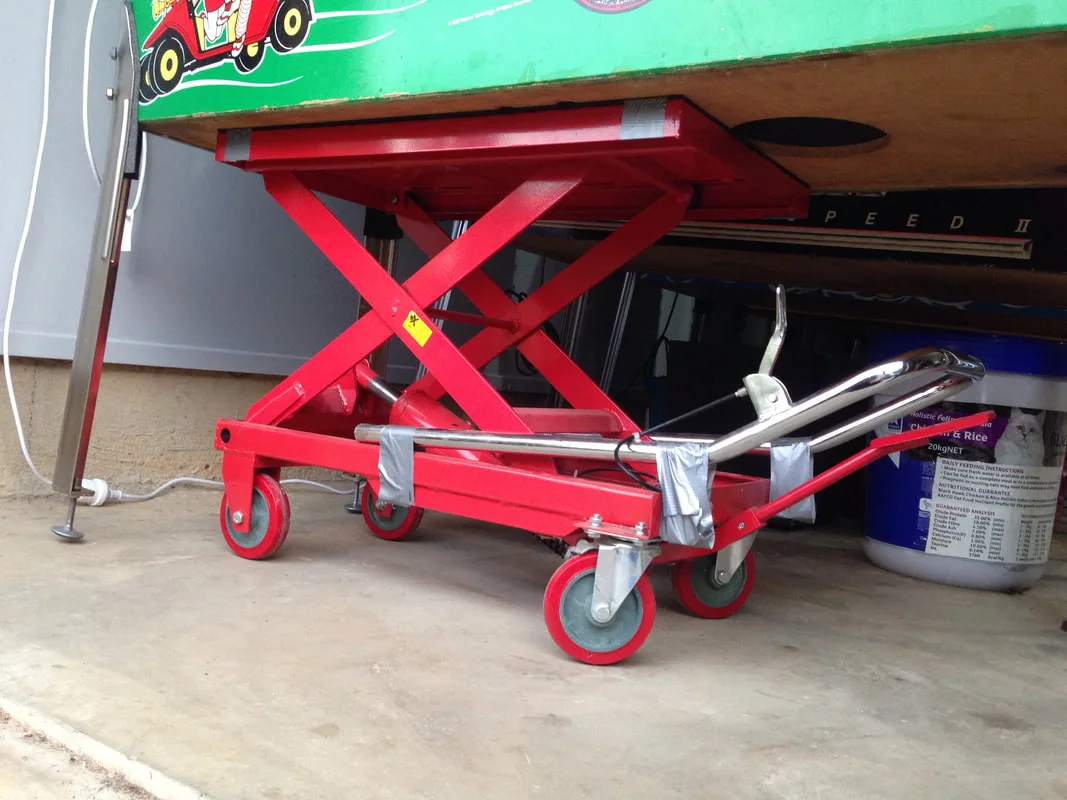
Using a scissor lift trolley to lift the machine.


Moving the pinball machine on a trolley.
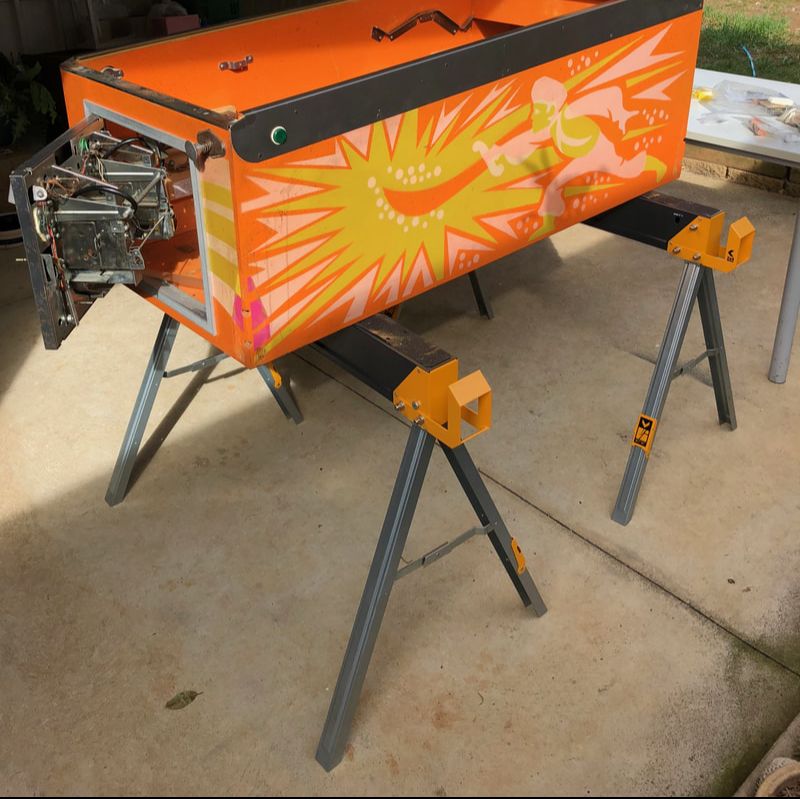
When working on the machine's legs, you'll need a way to store the machine so you can still work on it while its legs are off. I like to load the machine onto a set of workhorses as these are a similar height to the legs and are nice and stable, allowing you to hammer and shove things around in the cabinet if needed. I bought a couple of Toughbuilt C500 sawhorses from Bunnings when they were on special, and they have been perfect. Double check the load ratings on any sawhorse you buy to make sure it can support the weight of a pinball cabinet; Williams widebody cabinets weigh up to 150 kg! The other advantage of using sawhorses is that you can lay a piece of wood on top of them and use them as a table for playfield work.

Using sawhorses for machine support.
Even more useful is a playfield rotisserie. This allows you to install the playfield onto a rotating pivot, so you can spin it around and work on whichever component you need on the top or the bottom of the playfield. They're expensive, but worth the cost if you do a lot of playfield work. Like pinball trolleys, rotisseries can be purchased locally (PSPA), or follow a DIY guide to make your own. Vid has a guide on making a rotisserie cheaply, but it focuses on parts available in the US. This forum thread contains a lot of Aussie DIY designs as well as links to suppliers for the parts. Well worth a read if you are thinking of making your own.
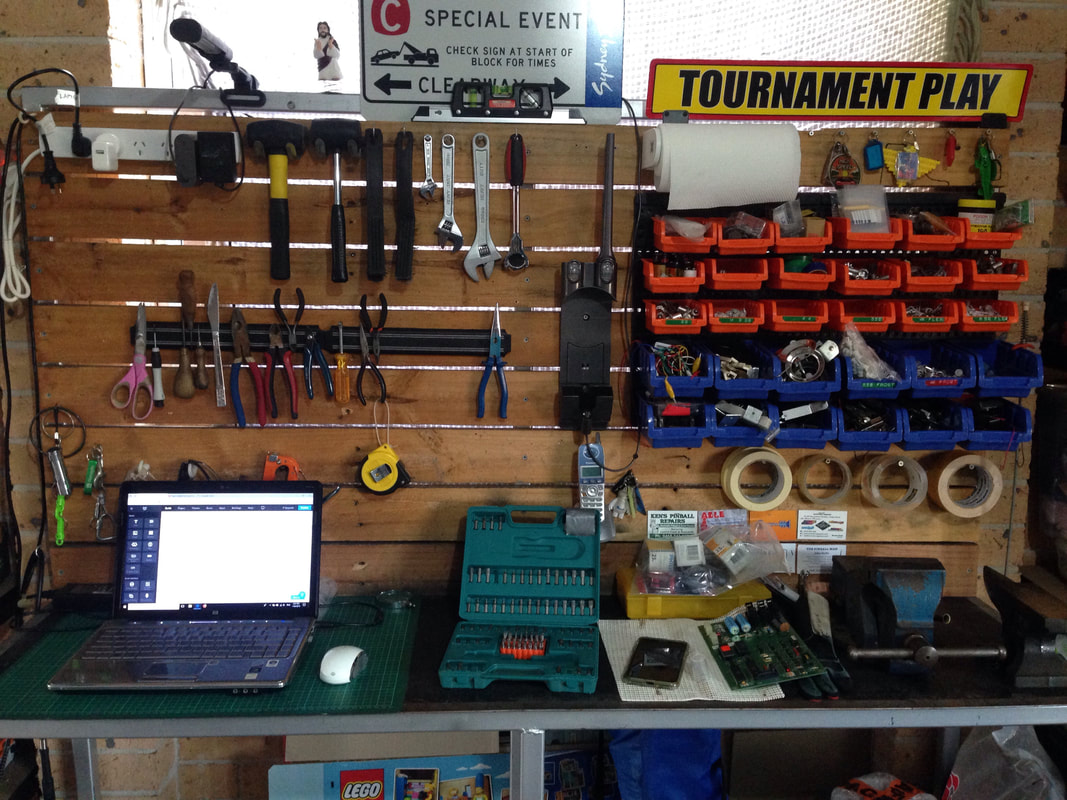
Finally, you need space to work. I generally need a space about triple the size of a single playfield to comfortably store all of the parts I remove from a single one. This is where having multiple machines comes in handy; you can store all of your parts on your other machines (and knock them out of action for the duration of the restoration as well). Otherwise, a nice big table will do the trick. I use a long workbench to do most of my playfield work on the one surface, and use extra tables to store and overflow parts as needed. Make sure you've also got a good, sturdy workbench to do fiddly work such as taking playfield assemblies apart and soldering. Of course, you'll need good lighting and access to socket outlets.

My main workbench.
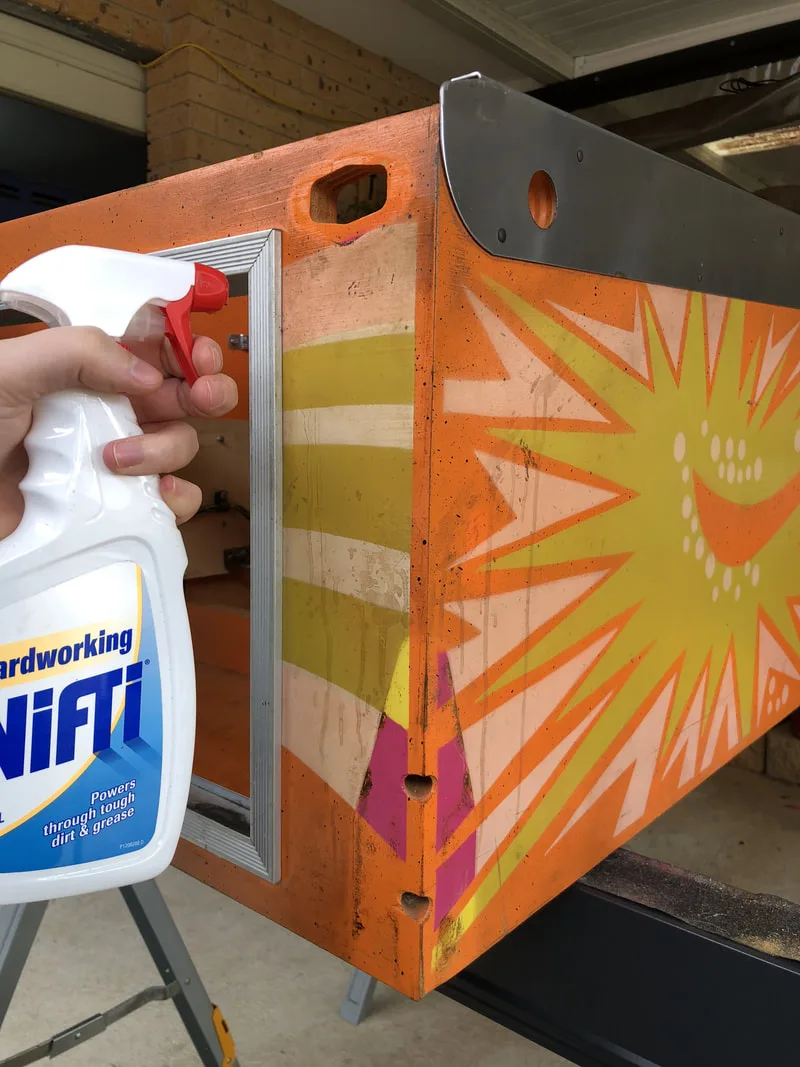
Give the cabinet a full wipe down with water and detergent or your preferred multipurpose cleaner. A lot of hobbyists in the US recommend Simple Green, while Nifti gets good reviews here. Ultimately, they all do the same thing. Be careful with painted cabinets as older paint layers may be susceptible to damage.
Cabinet exterior before cleaning.
Cabinet exterior during cleaning (front of cabinet cleaned).

Playfield glass before cleaning.


Playfield glass after cleaning.
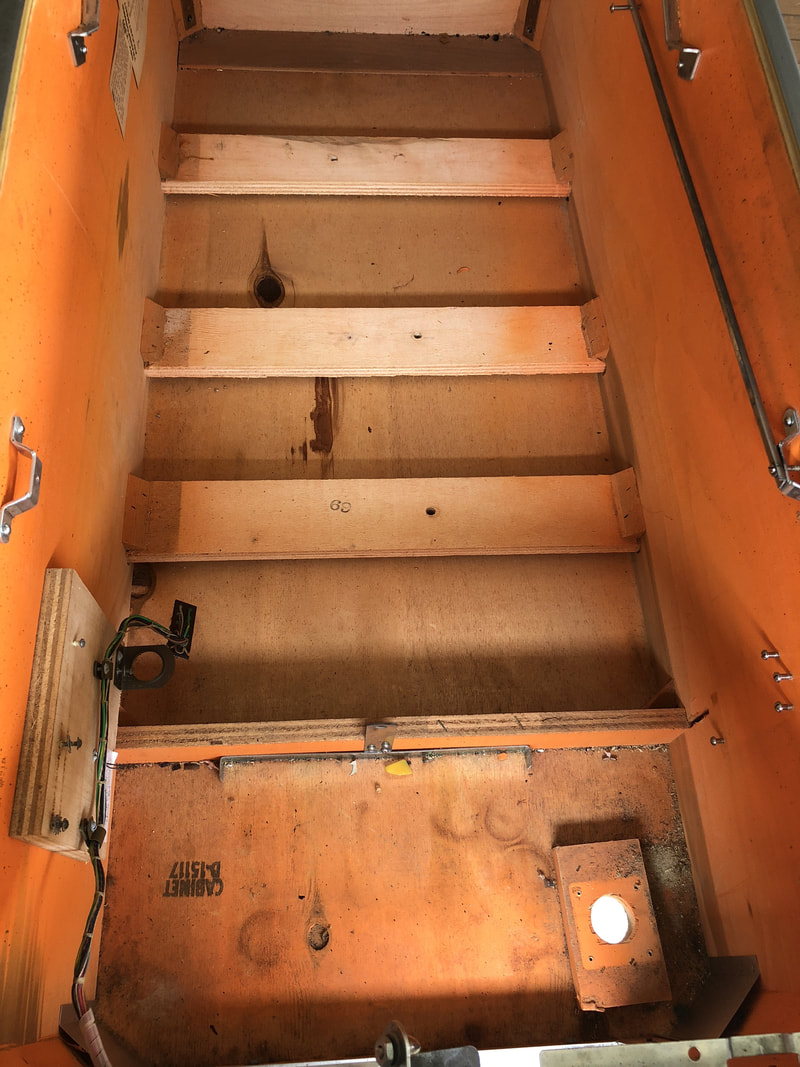
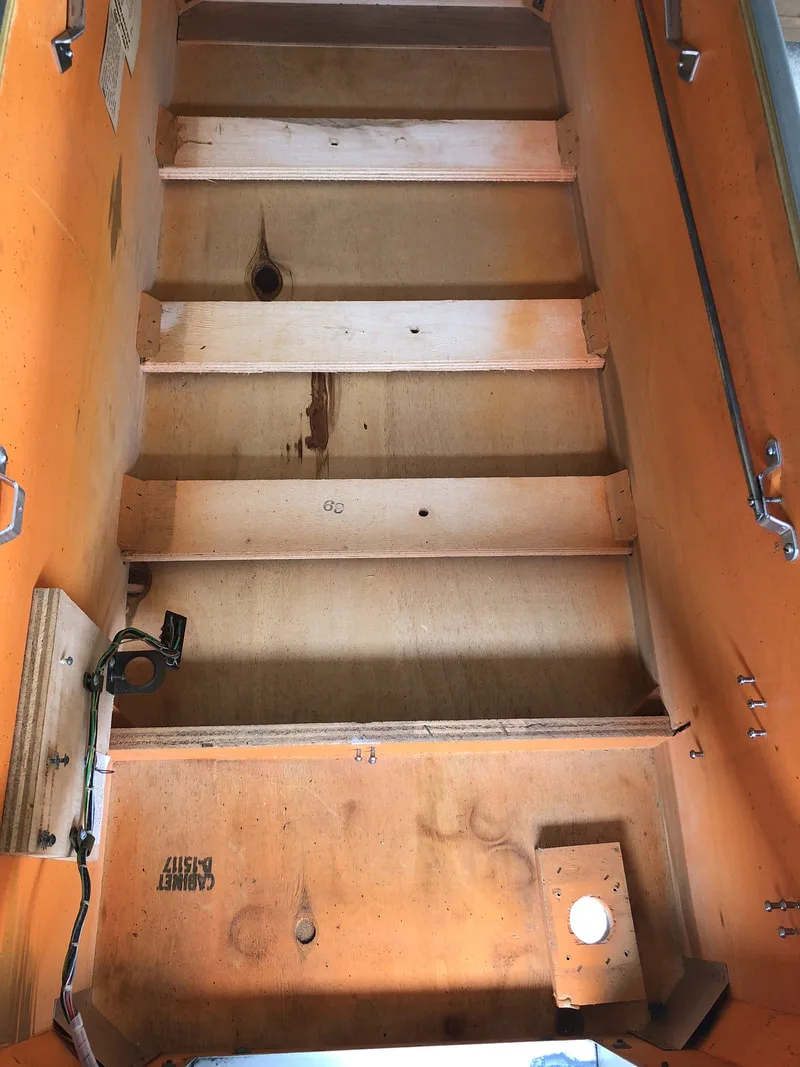
The bottom of pinball cabinets are usually filthy. They're filled with dirt and grime, as well as broken parts and general rubbish left by operators and repair technicians who were too lazy to clean up after themselves. Starting with a vacuum of the cabinet will loosen most of the dirt, and a damp cloth will remove the rest. Use Nifti or similar mild detergent if there are any stubborn stains. A telescopic magnet comes in very handy when cleaning the inside of the cabinet as you'll want to probe around in the nooks and crannies to look for loose parts.
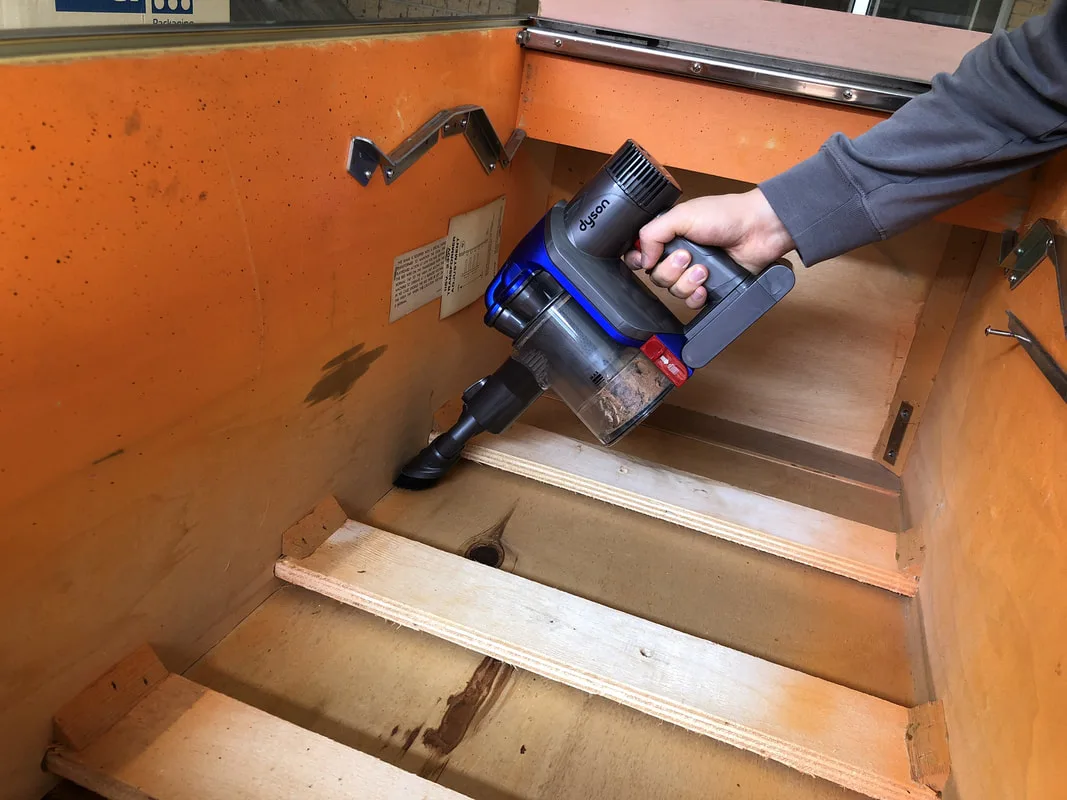
Vacuuming the cabinet interior.


Cabinet interior before cleaning.
Cabinet interior after cleaning.

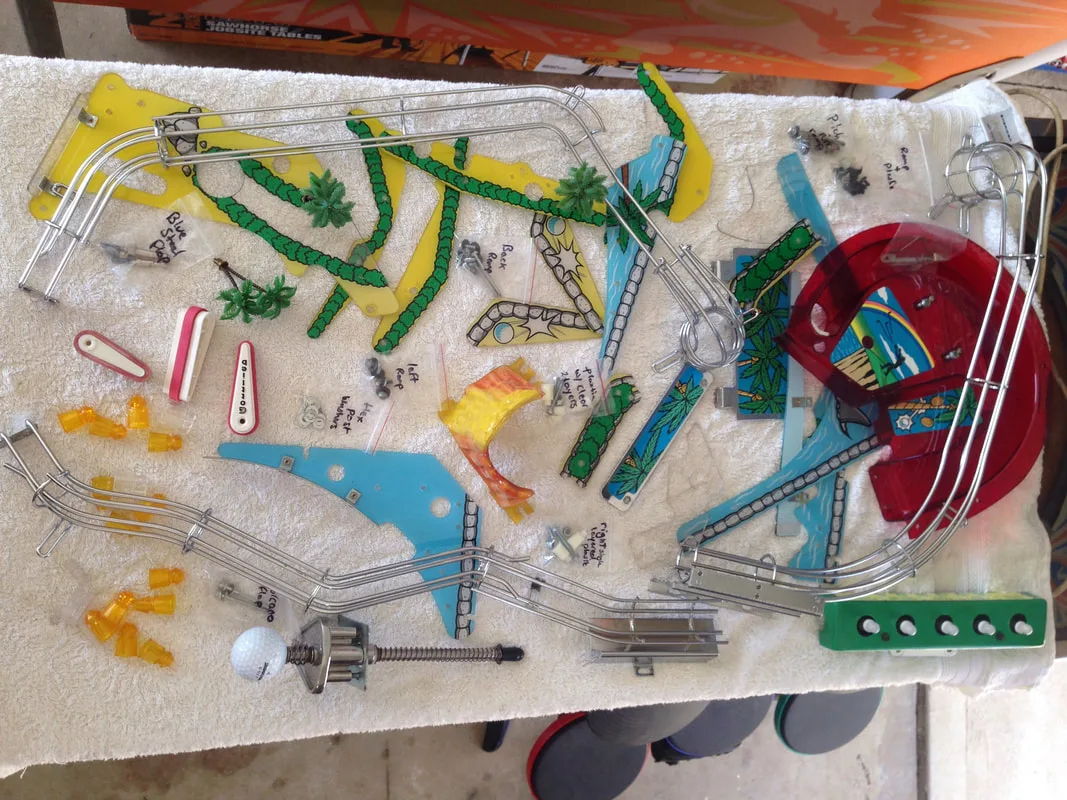
Parts organisation after removal from the machine.

Cleaning technique comes down to experience, the type of playfield you are trying to clean, and the amount of dirt you are trying to remove. In this section, I will list the products I use to clean playfields with the proviso that what works for me may not be best for you. I encourage you to do some research before using a new cleaning product, and thoroughly understand the pros and cons of each cleaning agent. To understand the effects different cleaners have on pinball playfields, it helps to know a little history about how playfields were manufactured. This helps account for some of the different experiences people have with cleaning similar playfields. The best approach is to approach the task carefully, clean in inconspicuous areas first with your choice of cleaner, and then follow through with cleaning the rest of the playfield if spot cleaning is successful. That's the methodology that has served me well for several years. Pinwiki has a very useful list of recommended (and not recommended) cleaning supplies. Terry B's guide also lists a range of suggested products. Some of these are not readily available in Australia, so I typically use the following products:
- Nifti (Coles, Woolworths, PSPA) or Novus 3 (PSPA, RTBB, Mr Pinball) for cleaning extremely dirty playfields with built-up grime and dirt everywhere.
- Isopropanol or Shellite (naphtha) for residues or stains that general cleaners cannot remove.
- Novus 2 (PSPA, RTBB, Mr Pinball) for polishing and shining up playfields that have been cleaned already with Nifti, or playfields that are not significantly dirty but need a bit of polishing action.
- Novus 1 (PSPA, RTBB, Mr Pinball) for a final wipe down of the playfield to remove any Novus 2 residues, lint, and dust.
- Magic Eraser (Coles, Woolwroths, Bunnings), or equivalent melamine foam pad, for ball swirl marks or other ingrained dirt that is difficult to mobilise (but not on pre-clearcoat games such as EMs with lacquered playfields).
For the underside of the playfield, you'll be looking to clean the playfield timber, wiring, and playfield components mounted to the underside of the playfield. All of these can generally be cleaned with mild soapy water, or Nifti if stubborn dirt is present. If you're feeling adventurous, you can even wash everything in the dishwasher!
Cleaning lamp inserts with a damp rag.
And that's basically all there is to it. There are a few guides online that explain the cleaning process in more detail such as Vid's Guide to Cleaning and Waxing and Terry B's Cleaning Guide. So, read them all and find what product works best for you and your machines.

Wiping off loosened rust after soaking a part in vinegar.
I previously used a long, flat plastic tub (Bunnings) to soak the rust-affected parts in. This worked well for legs and oddly-shaped wireforms. If you're just trying to de-rust legs and other long, straight parts, then you can build an upright soaking tube, which saves a lot of space. I put one together using a length of hollow PVC pipe (Bunnings) with caps on either end (also Bunnings). Then, you can simply fill it with your preferred rust removal solution, cap the end, and leave it to work. You may need to seal the end cap with cement or another sealant, but I found this wasn't necessary.
If you prefer not to bother with rust removal from legs, you can just buy brand new ones (PSPA, Mr Pinball). If you do that, send me your rusty ones!

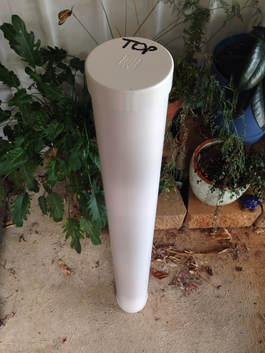
Vertical rust removal bath made from PVC pipe.
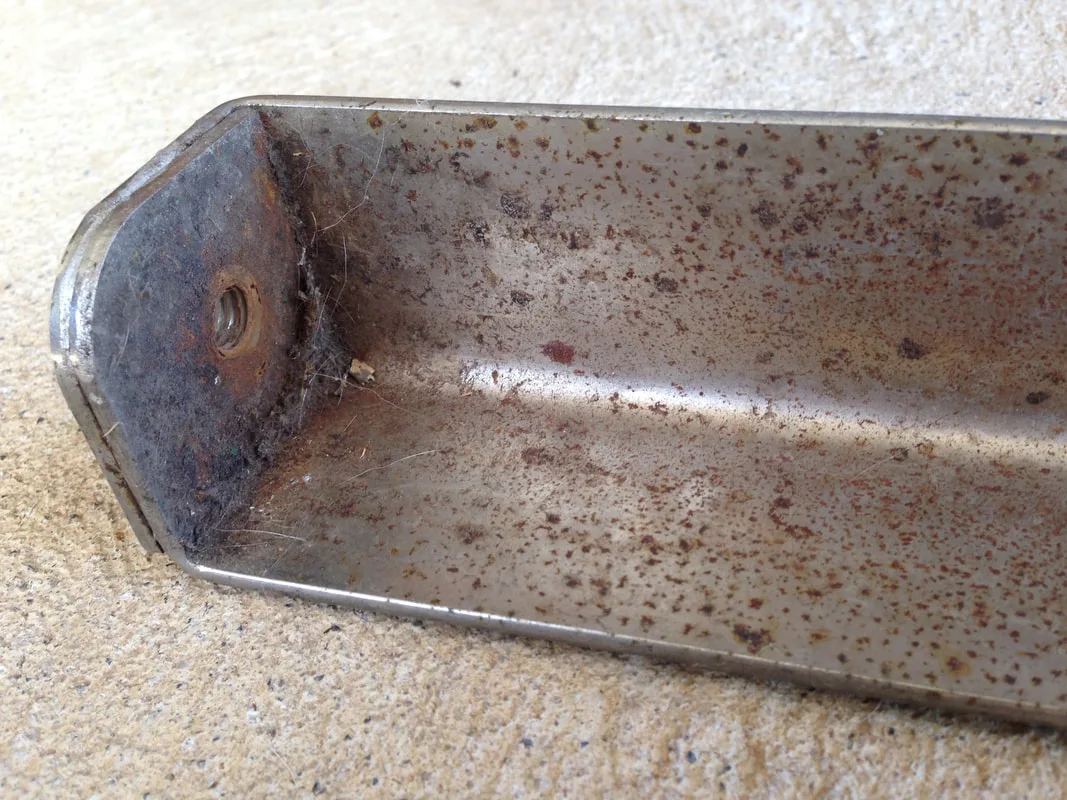
Before rust removal.
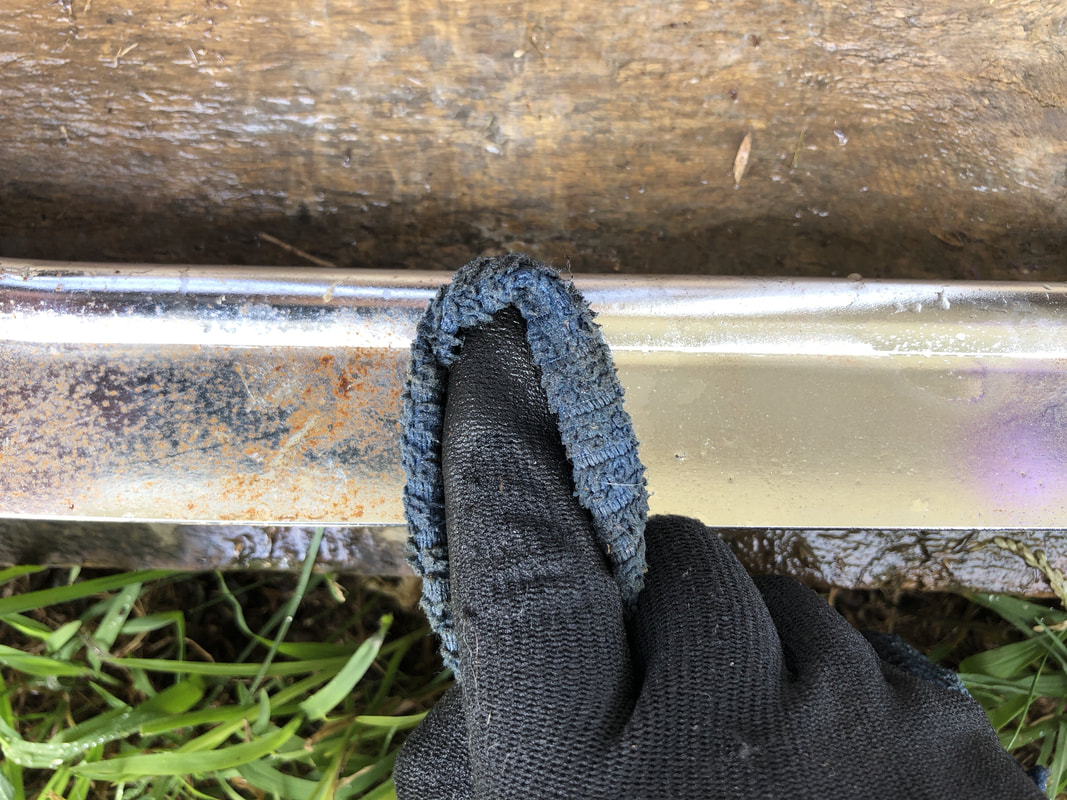
After rust removal with vinegar and steel wool.
Legs that have lost their finish or are otherwise discoloured after rust removal can simply be repainted, or replated. Don't forget to give them a few layers of protective topcoat, as the legs always get a bashing. I also like to install felt cabinet protectors to prevent damage to the cabinet when the legs are reinstalled. Alternatively, you can install sturdier, metal cabinet protectors (John's Arcade, PSPA). Note that the felt protectors allow you to move and nudge the machine a little more easily than plastic or metal protectors do.

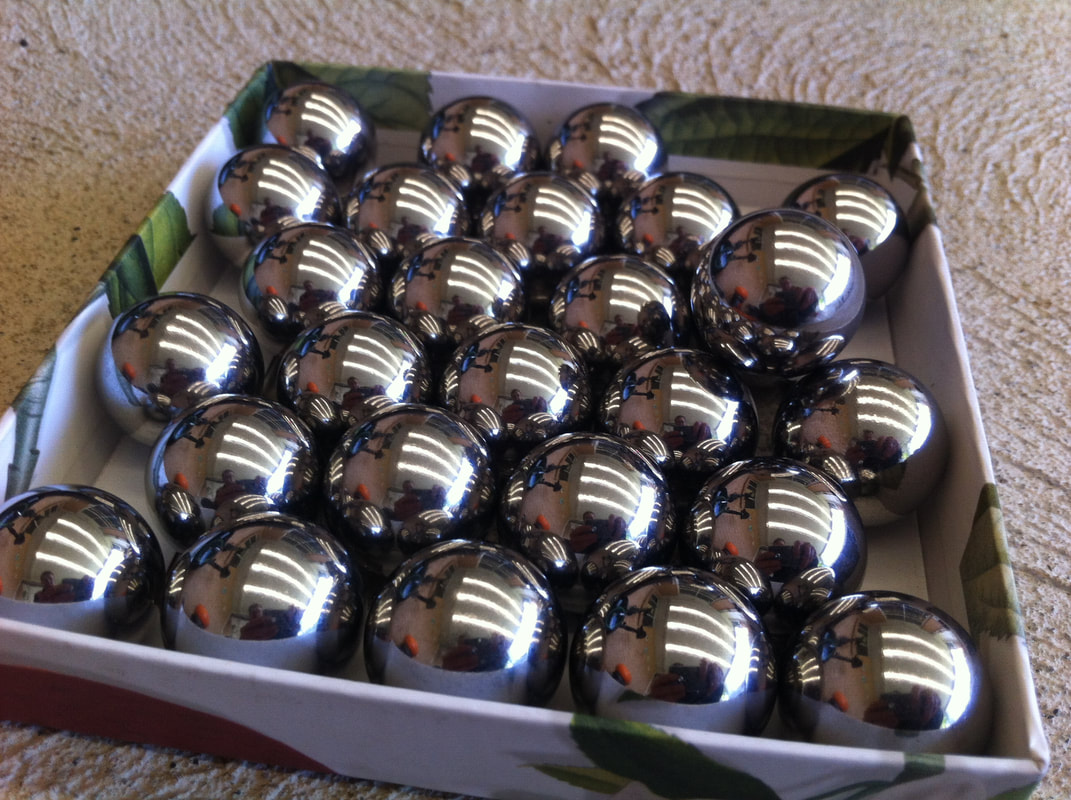
Old balls with rust and scratches everywhere.
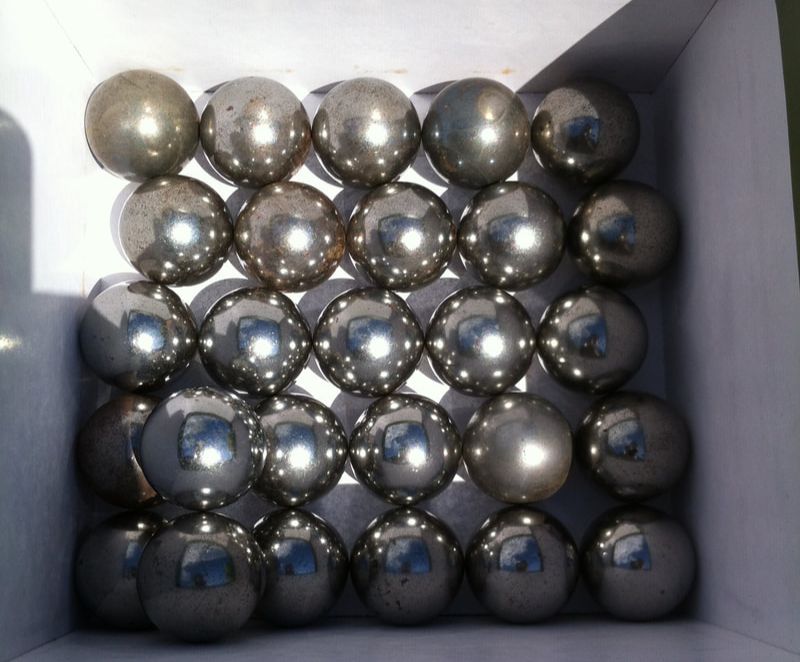
Freshly tumbled and polished. Shiny!
You can grab tumblers at places such as gun shops that sell reloading supplies. I grabbed a Lyman Pro 1200 locally from Abela's Gun Shop and it has served me well for a few years now. There are several tumblers on the market that will do just as good a job; the important thing is that the tumbling bowl is large enough to fit the parts you'd like to clean. I typically tumble parts for at least 24 hours, then check their progress. I leave them in the tumbler until they're as shiny as I want them to be. Some parts take longer than others. Leg bolts, for example, take a lot longer to polish up than wire ball guides. Replace the media once it gets dark or visibly dirty, and add a bit of Novus 3 or similar abrasive polishing media for good measure. I prefer walnut media (Pet Shop Direct) as it creates less dust, but it does seem to take a little longer to work compared to corn cob media. There are lot of threads on Pinside discussing various aspects of tumbling if you're keen to learn more, as well as some tips on Pinwiki.
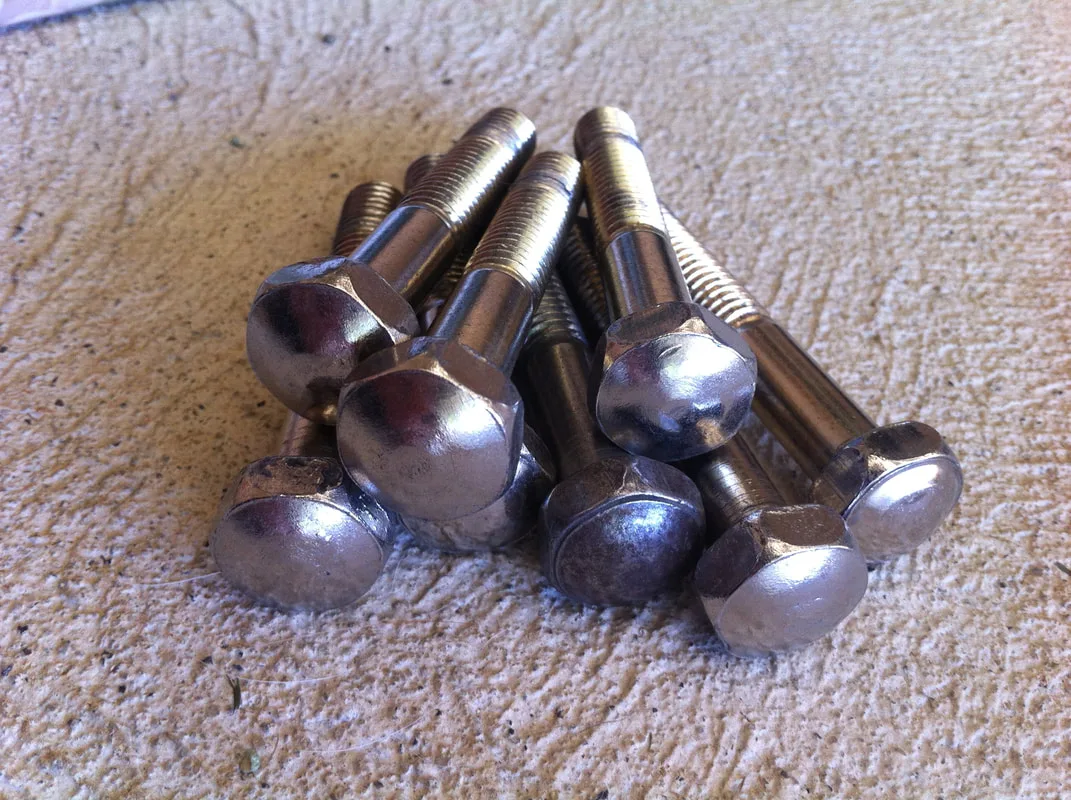
Leg bolts after tumbling.


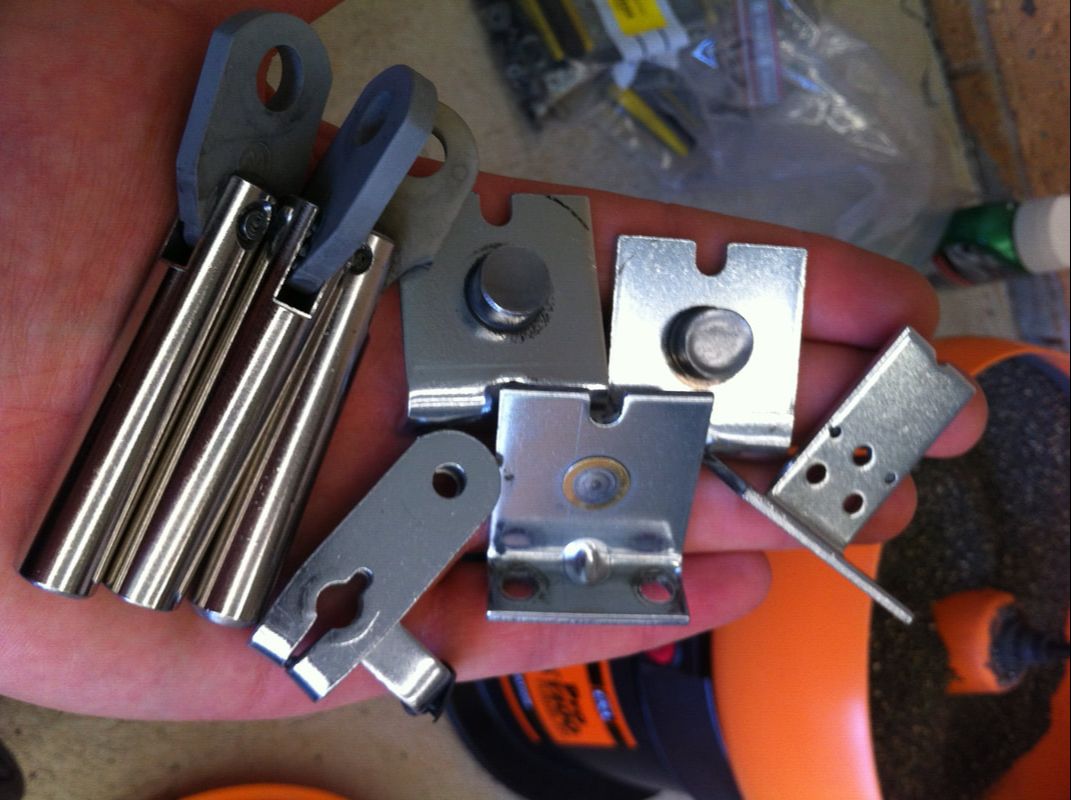
Flipper assembly parts after tumbling.
Another method for polishing particularly rusty metal parts is to polish them using a bench grinder. This is particularly good for larger pieces of metal which may be difficult to fit into the tumbler. For polishing, I start with a sisal rag wheel, and follow up with a stitched rag wheel. You can finish up with a loose rag wheel for a final buff and shine, but I find the results are great after using the stitched rag wheel. You can get polishing wheels at most hardware stores. I actually found a useful starter kit at Supercheap Auto, with all three wheels and polishing compounds included. Use the black or white compound for initial cutting on the sisal rag wheel, and then finish up with green compound on the stitched rag or loose rag wheel.
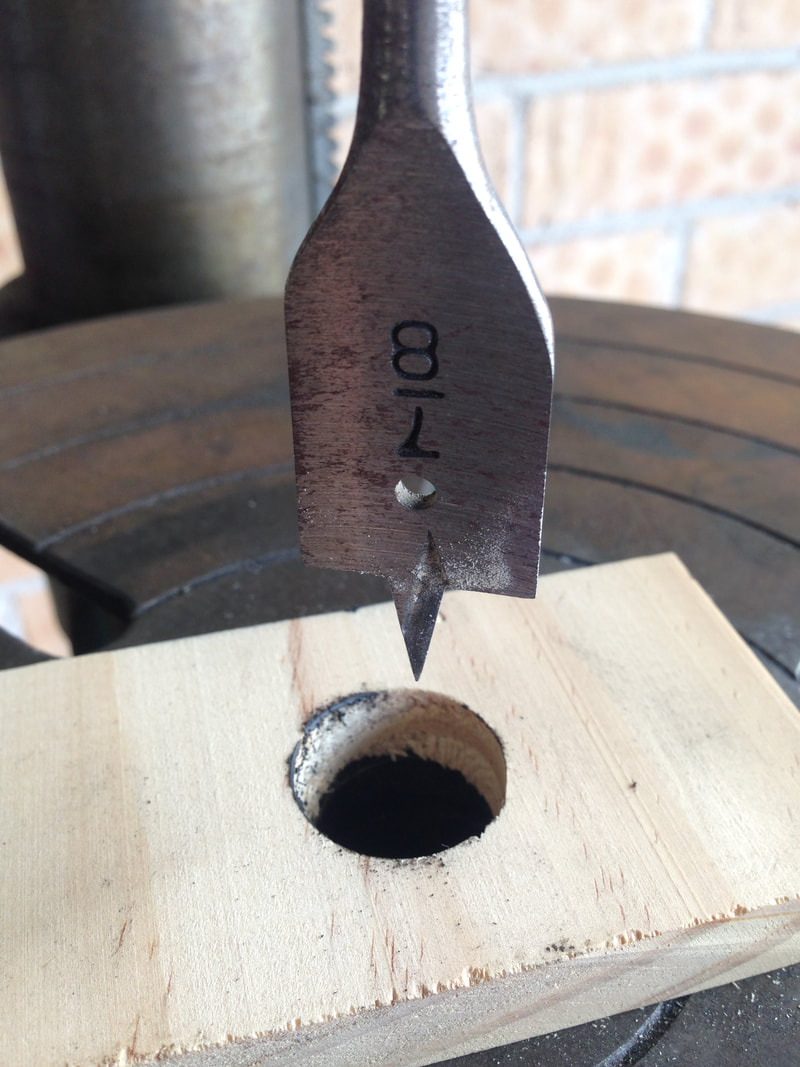
That's all well and good for big pieces of metal that you can hold, but what about steel pinballs? If you've ever tried to hold a pinball up against a polishing wheel, you will know that you can't hold it for too long until you seriously burn your fingers. All the heat from that friction has to go somewhere. So, for this purpose, I drilled out a small piece of wood to 'hold' balls as I polished them. Credit for this idea goes to john17a, who initially suggested this idea on Aussie Arcade. Using a spade bit, gouge a hole in a block of wood which a pinball can sit inside. I used a 7/8" bit, but this was a bit too small, so I had to drill several times. The ball should be able to sit in this hole and spin as it needs to while you hold it against the buffing wheel. The timber will absorb the heat, so no more burned fingers!
Using a spade bit to gouge out a hole for the ball to sit
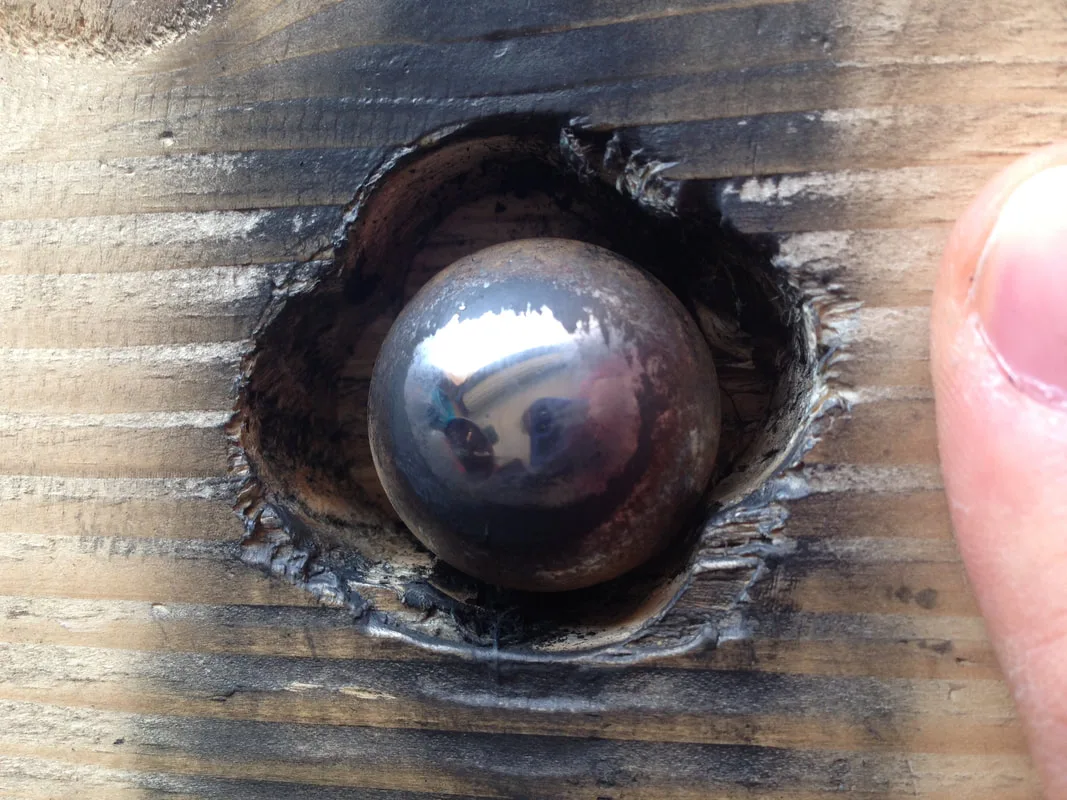
Ball placed in the timber block and polishing started

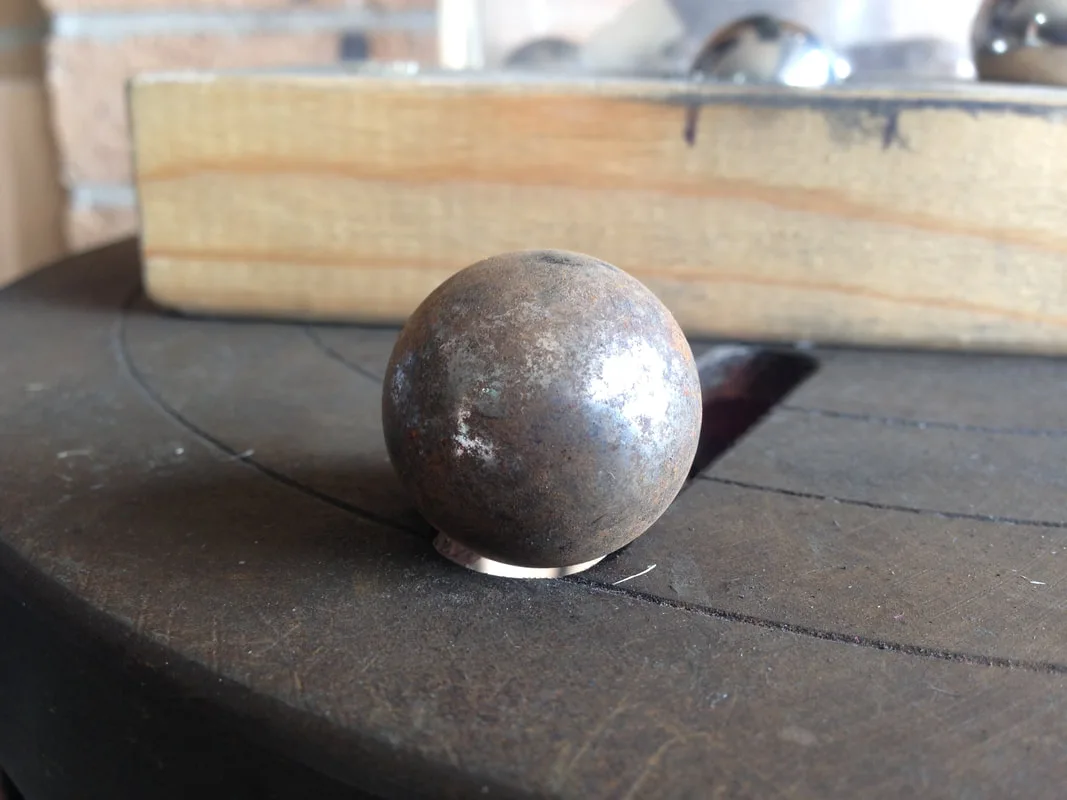
Rusty pinball before polishing

End result after polishing and buffing

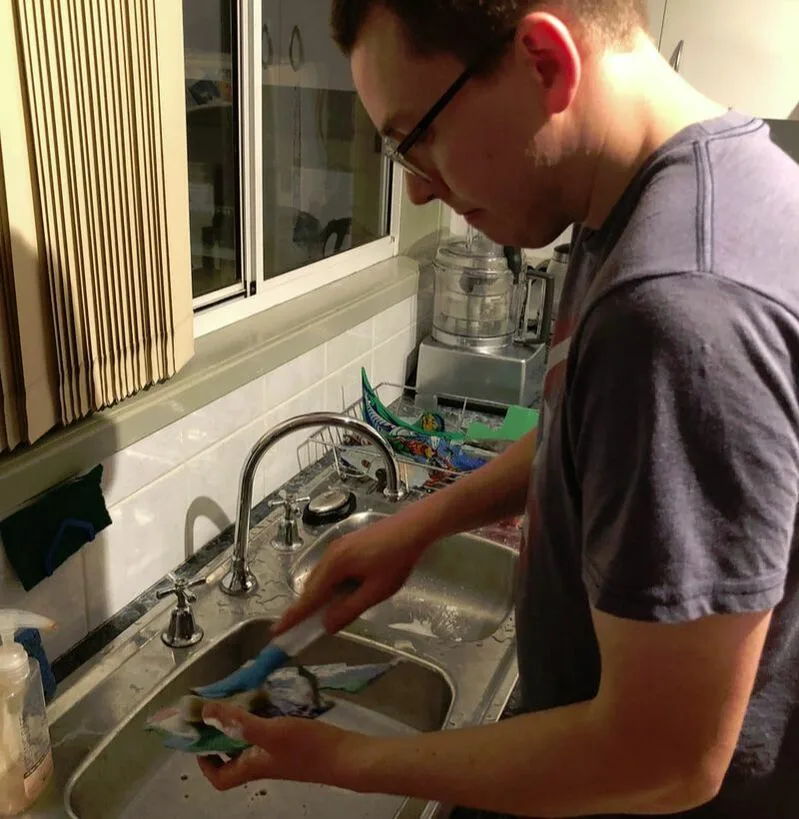
Cleaning plastics in the kitchen sink!

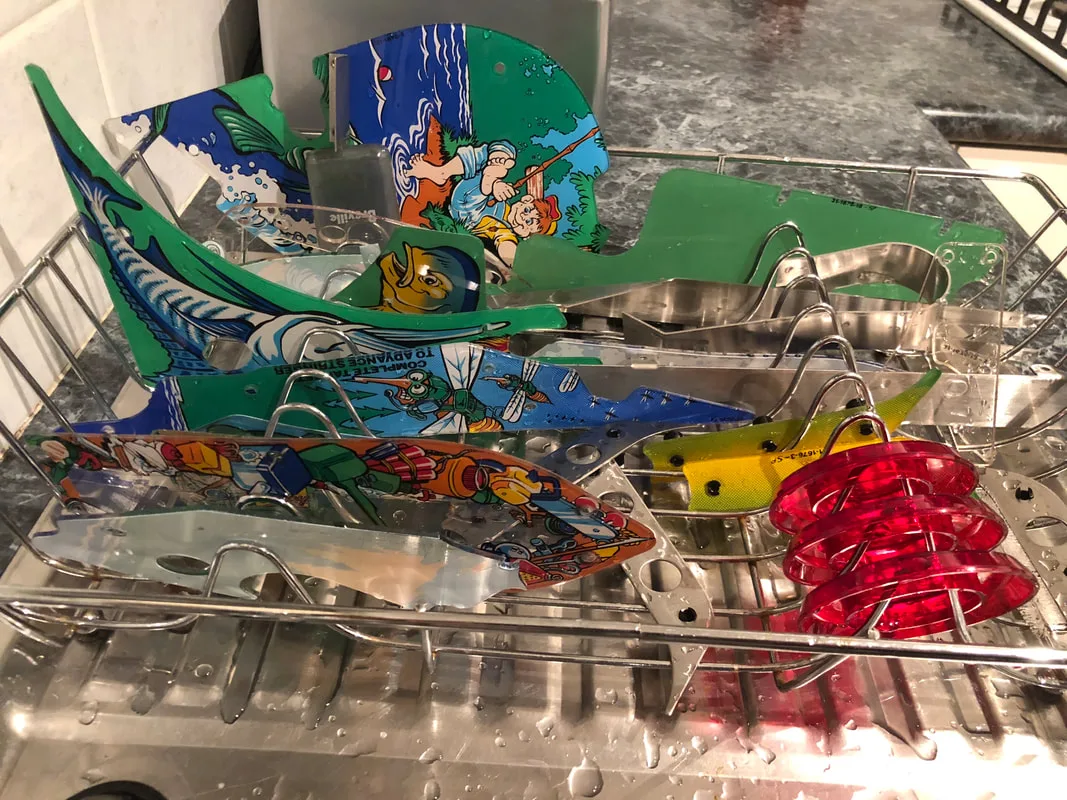
Plastics on the drying rack
Sometimes, the surface of the plastic is badly scratched up. Luckily we have the perfect product for polishing the scratches out already, as we used it during our playfield polishing - Novus! A Novus 2 and 1 combo will usually have most plastics looking like new again.
Playfield plastic parts before cleaning.

After polishing with Novus.
Plastic assembly components such as drop targets, coil sleeves, circuit boards, and similar parts, can also be cleaned with detergent and water. Be careful with any electronic parts and make sure they are thoroughly dried before they are reinstalled. As most of these parts are usually not seen by the player, I get as much of the dirt off them as possible, but don't normally bother trying to pretty them up to perfection.

Lamp board before cleaning.

After cleaning with a damp cloth and water.

Like polishing metal parts, there is a mechanical solution to the simple cleaning process, too. A lot of people like to use ultrasonic cleaners to help dissolve and displace dirt on various parts. Ultrasonic cleaners work by producing vibrations in a bath of water. The vibrations cause bubbles in the water to constantly form and pop, basically blowing the dirt away. I have not incorporated an ultrasonic cleaner in my own cleaning process as I like to be able to see where the dirt is and know that I have removed it properly instead of relying on the machine. However, ultrasonic units can being some dirty parts back to life in a matter of no time. The 'Clean Members Only' Pinside thread contains a lot of good recommendations and cleaning photos.
That said, there is not much point in me describing how to rebuild a flipper assembly. There are many great resources that explain this process in more detail and more simply than I will be able to here. Refer to the following resources when rebuilding your flippers, and you can't go wrong:
Replacing all of the flipper components (plunger and link, crank/pawl, coil stop, coil sleeve, bushing, EOS switch, and return spring) will bring your flipper back to life and flipping like new. However, you can usually get away with just changing the coil sleeve, coil stop, and plunger and link. These are the highest-wearing components of the assembly and need replacement most frequently. Other parts are good to replace, but may also be in good working order. So inspect the parts visually to ensure you're not throwing good parts away. Flipper parts for older or more obscure games may be more difficult to find. In these cases it can be worth trying to substitute more common parts from other manufacturers to see if the flipper will still work.

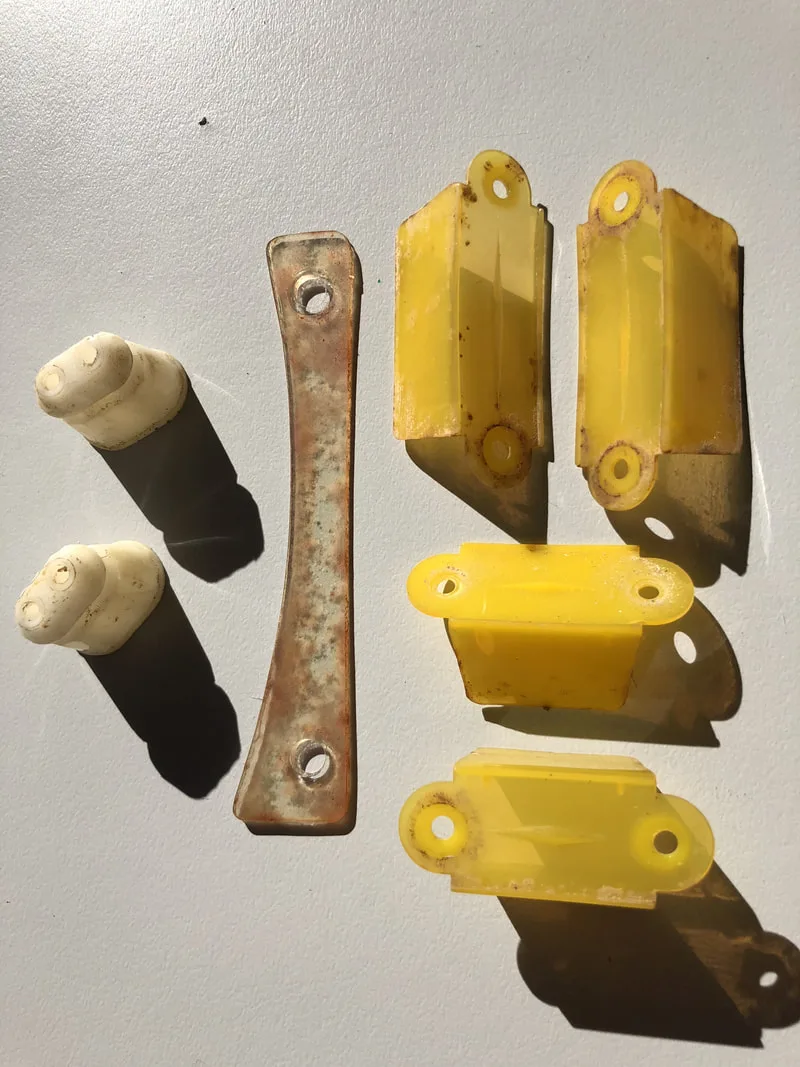
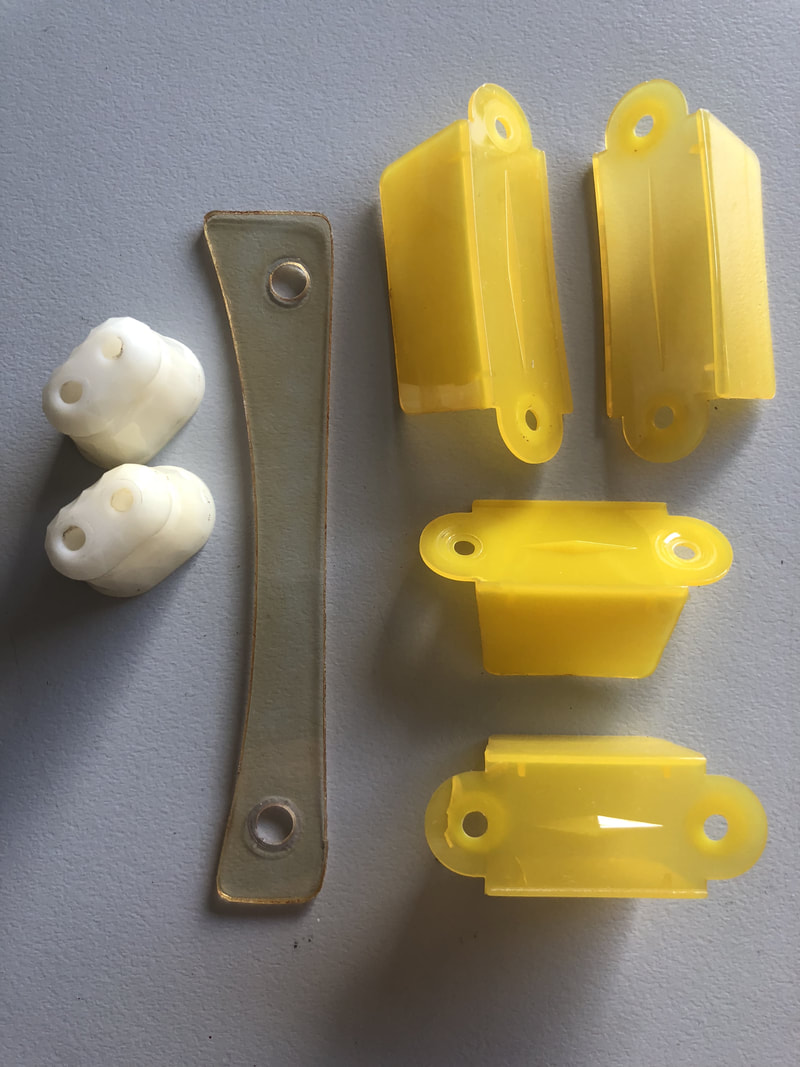
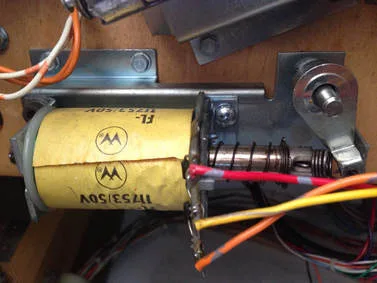
Sega/Data East/Stern flipper assembly with Williams plunger and crank installed.

Williams pop bumper assembly.
Pop bumpers get a lot of action, and as the ball is always being flung around this area at high speed, damage usually occurs. Check that the pop bumper cap, main body, and plastic skirt/wafer are all intact. Sometimes, the rod and ring assembly will break at one of the rods. Under the playfield, make sure the yoke that attaches the plunger to the rod and ring assembly is also intact. Yokes on Bally/Williams games are notoriously easily broken. Vid's guide covers all aspects of pop bumper rebuilding and Pinwiki provides some good guidance on tuning them for good performance.
I like my pop bumpers to have hair triggers. That is, I like them to activate even if they are only slightly touched by the ball. This makes for great pop bumper action and powerful pops. To do this, adjust the leaf switch under the playfield (located under the plastic pop bumper spoon). Shorten the gap between the switch contacts, so that light touches by the ball will activate the switch. Be careful, as you don't want to make them so sensitive that game vibrations trigger the switches.
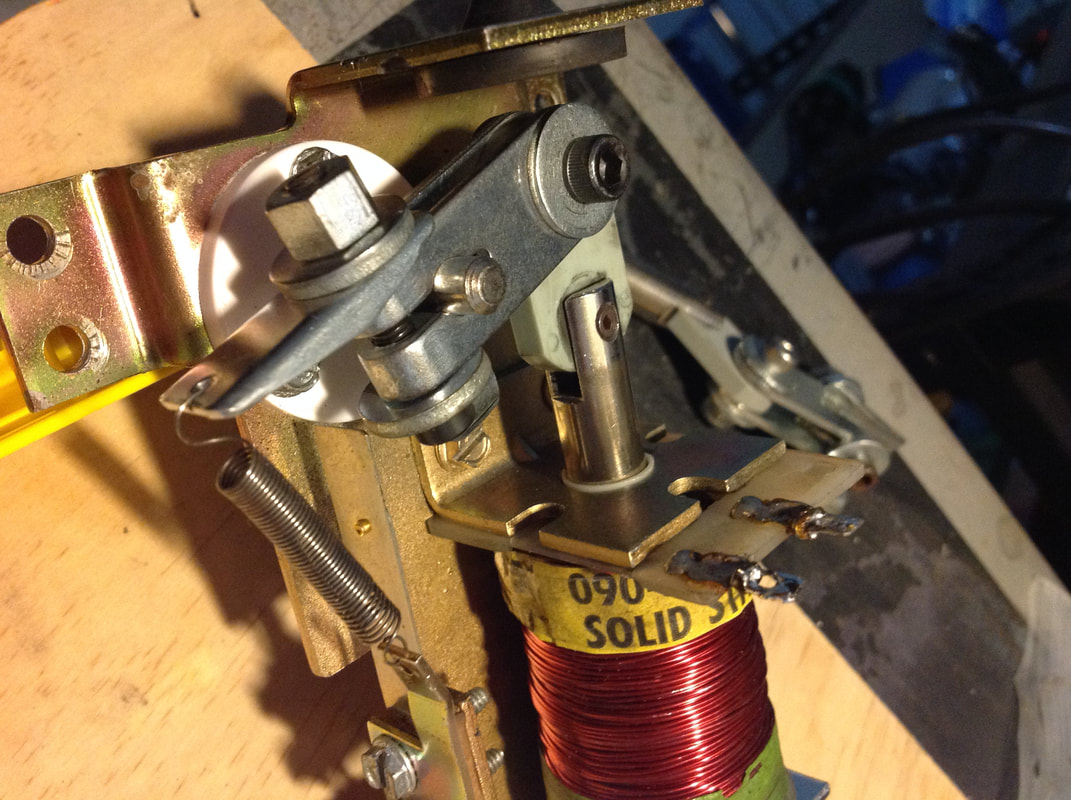
2. Ball poppers/kickers
Williams upkicker assembly.

These assemblies normally consist of a hole which the ball falls into, before being kicked up again by a coil plunger, or a crescent-shaped armature. These assemblies can loosen over time, causing balls to be kicked out at strange angles, or not having enough power to exit the assembly. Wires attached to ball popper coil also have a habit of breaking off due to vibration. Make sure all hardware is mounted securely. Also make sure the tip of the coil plunger is not damaged, or the crescent-shaped armature is not bend at a weird angle. These defects will also cause the balls to be ejected at odd angles.
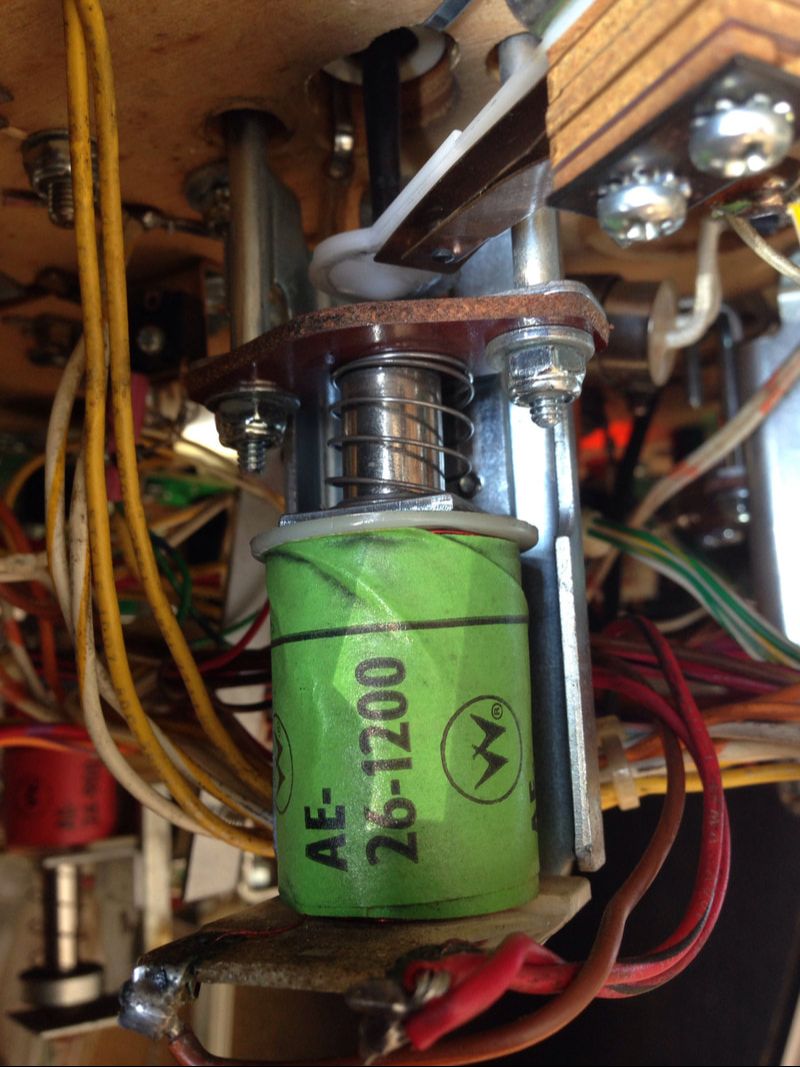
3. Diverters
Williams diverter assembly.

There are several diverter designs, but the most common involves a plunger pulling on a crank assembly, with the diverter shaft attached to it. Grub screws normally secure the cranks to the diverter shafts. Loose screws result in the diverter not closing properly, or not opening at all. Diverter assemblies need to be clean so they respond quickly to ball movement on the playfield, so clean them well.
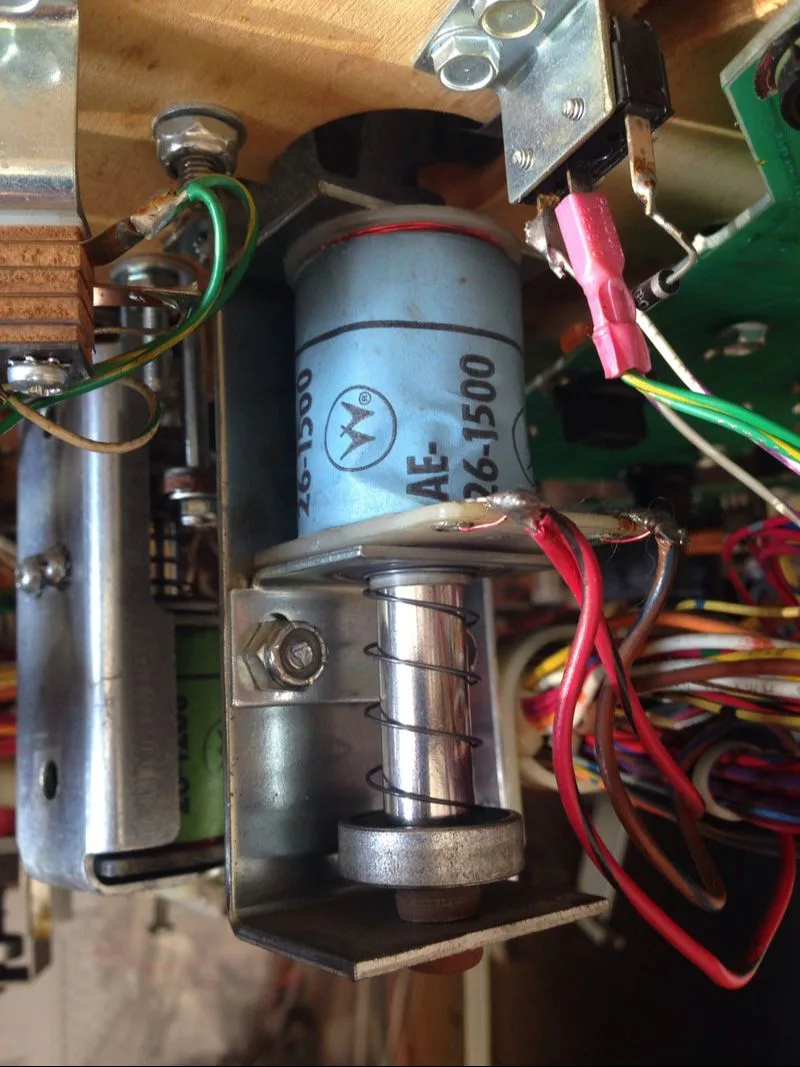
4. Slingshots/kickers
Slingshot assembly.

Like pop bumpers, slingshots also get a hell of a lot of ball action. The slingshots are normally activated by leaf switches mounted perpendicularly to the playfield and against the slingshot rubber. The switches are often improperly adjusted; one is often set much more liberally than the other, resulting in inconsistent slingshot activation. The kicker arm armatures are sometimes bent, which can also make slingshot kicks less consistent. These assemblies typically need a thorough clean. Pinwiki has a good description of slingshot operation and how to tune them for proper action.
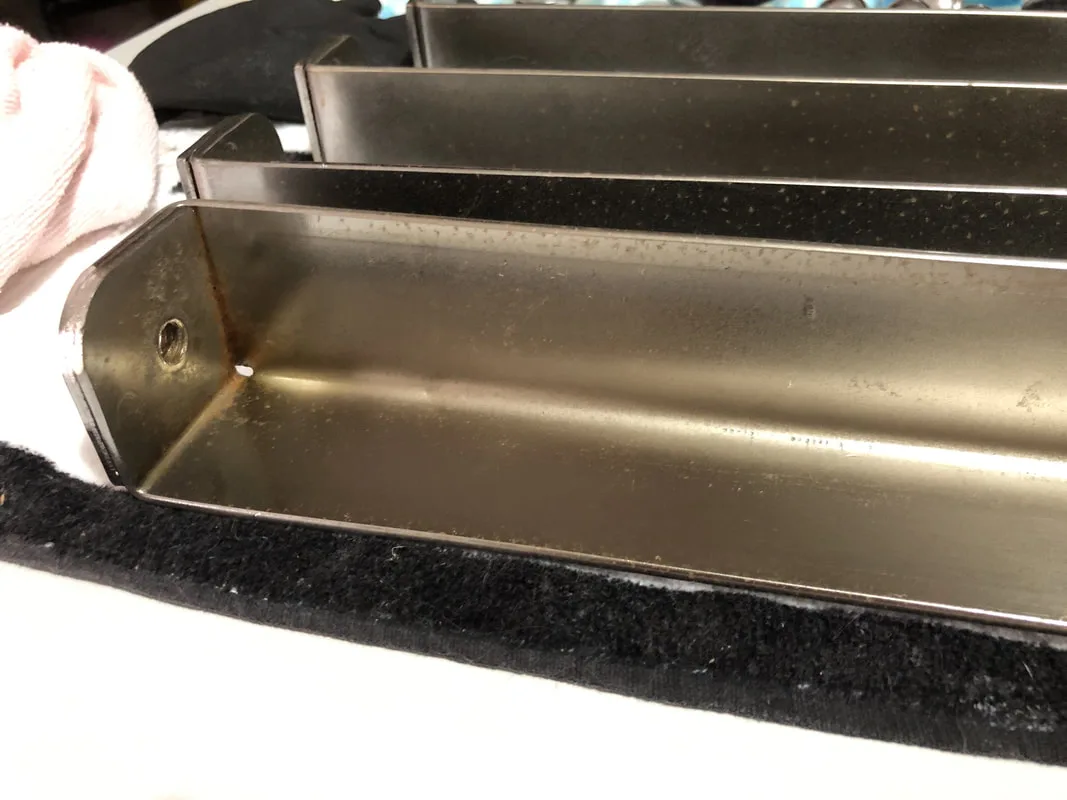
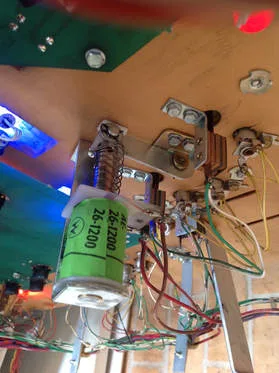
5. Ball trough assemblies

Microswitch-controlled ball trough (Gottlieb).

Opto-controlled ball trough (Williams).
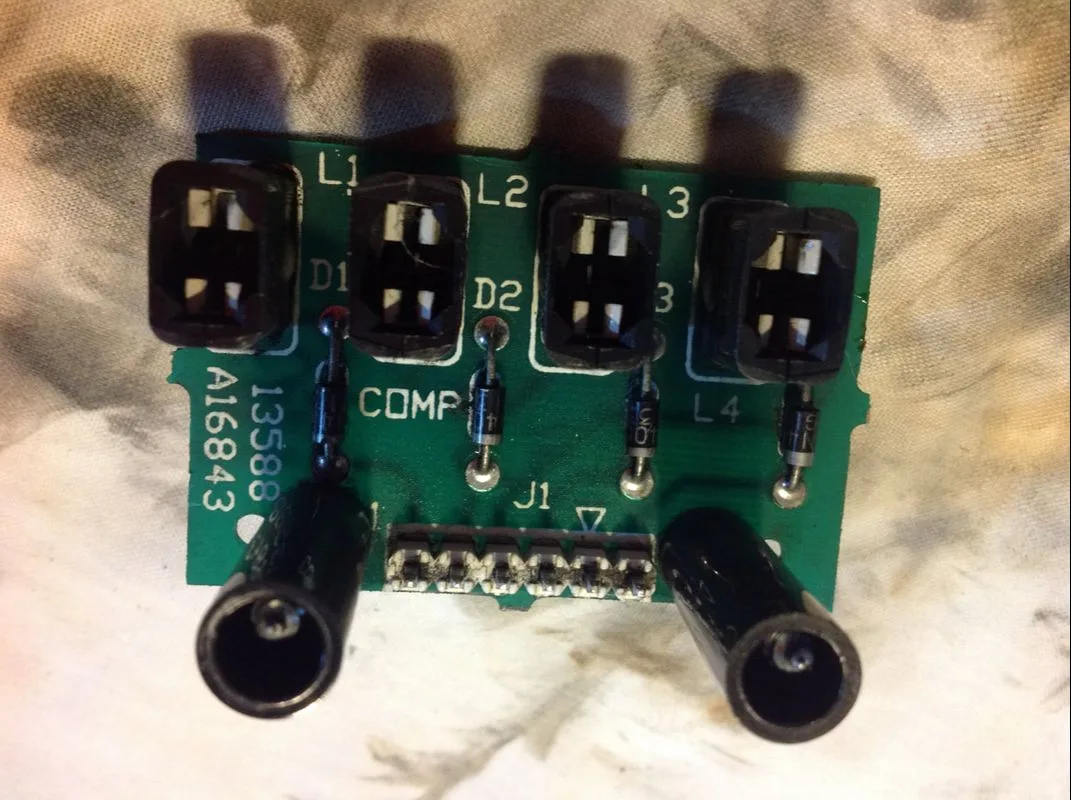
Ball troughs are where balls spend most of their life. They get kicked into and out of the trough multiple times every game. It's no surprise that the ball trough is where a lot of issues seem to start. Most of these issues are caused by the excessive vibration that occurs in this area as a result of balls falling into and being ejected out of the trough. Loose wires are common, for example. Large ball troughs such as those used on mid-1990s games often used a coil plunger to launch the ball into the shooter lane, while earlier games used various armatures to flick the ball into the shooter lane. Common issues with earlier trough designs was included balls bouncing back into the trough or not being kicked out properly into the shooter lane. Adjusting the armature or the walls of the ball trough would normally alleviate this. Troughs with coil plungers also frequently have issues with the switches (particularly opto switches and associated circuitry) which fail and require replacement.
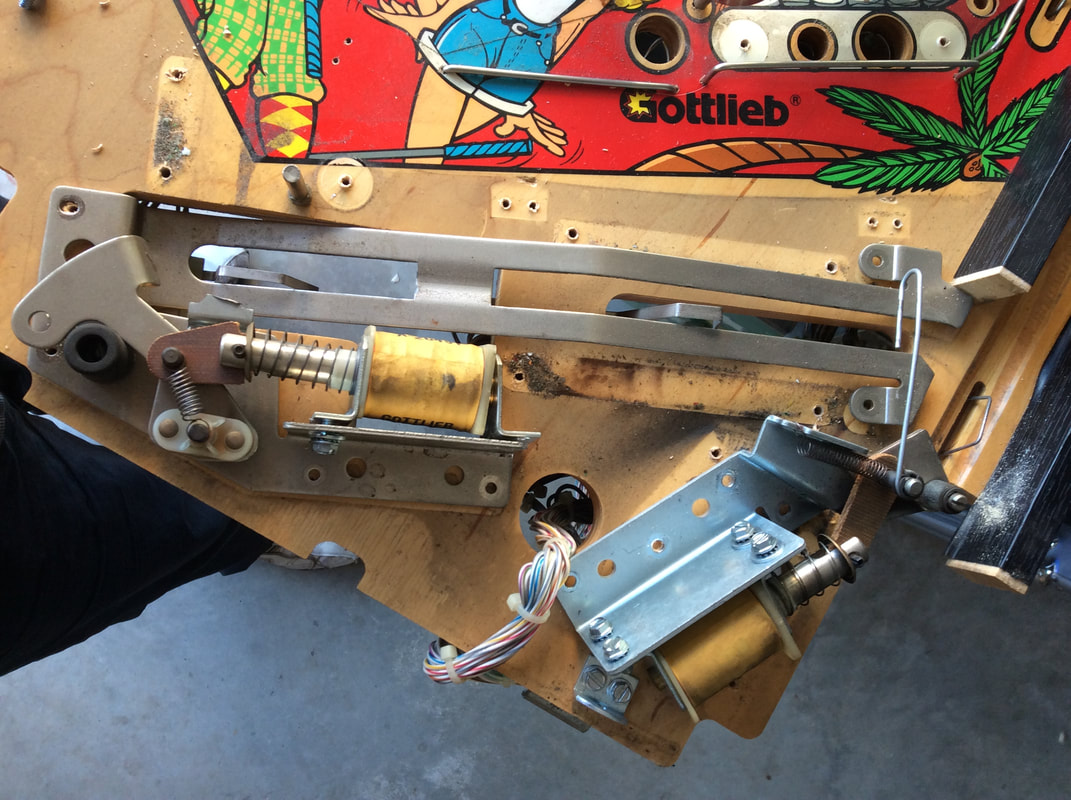
6. Drop target assemblies

Gottlieb drop target assembly.

Drop target assemblies come in a variety of sizes ranging from single drop targets to banks of seven or eight targets. The main issue with all of these assemblies is that of 'sticky' targets that do not drop when hit by the ball, or do not reset fully. More often than not, this is a caused by a buildup of gunk and dirt in the assembly, which needs to be cleaned for smooth action. Never use any kind of lubricant on drop targets. Pinwiki has some useful information on drop targets made by the different manufacturers including tips for adjustment of each.
I have a few pieces of equipment that I use consistently when working on electronic assemblies. The first is my trusty Hippo soldering station. Parts are readily available for it and it was relatively cheap to buy. Comparable soldering stations can be had for around $200 on eBay. Whatever brand of soldering iron you use, a temperature-controlled soldering iron is a must. For desoldering, a simple solder sucker or solder wick will work, but a desoldering gun makes life so much easier that I think it is worth the extra expense.
I also have a couple of multimeters, a TES 2360 and a Fluke 77 series, both of which are probably as old as I am. The Fluke is a more expensive meter and has some very handy features such as auto-ranging and specific beep codes for different tests, so I prefer using it. However, even the cheapest of multimeters (Jaycar) suffice for most pinball work.
Electrical repairs you may need to conduct on a pinball machine will vary. Electromechanical machines have simple soldered terminals which may require reflowing now and again, but there is no solid-state circuitry to worry about. Replacement of relays may be necessary in some cases, especially relays that are always on which have burned up over time. Continuous duty relays in Gottlieb machines are particularly prone to this, and Clay's guide describes the recommended repair methodology.
Solid-state games are a different beast. Not only do you have physical connection issues, but you also have the added headache of computer-controlled logic circuitry and having to replace circuit board components. Generally, the best advice is to only perform circuit board work when absolutely necessary. Any work done on a board risks damaging it, so it should always be done only when other contributors to the problem have been eliminated. The reset issue common to Williams DMD games comes to mind here - there are many potential causes for WPC resets yet a lot of people go straight to replacing the bridge rectifiers and capacitors, unnecessarily risking damage to the board.