|
Having repaired a couple of Doctor Who (Bally, 1992) machines, I've found that the Time Expander mini playfield always needs to be rebuilt. There are two main parts to this:
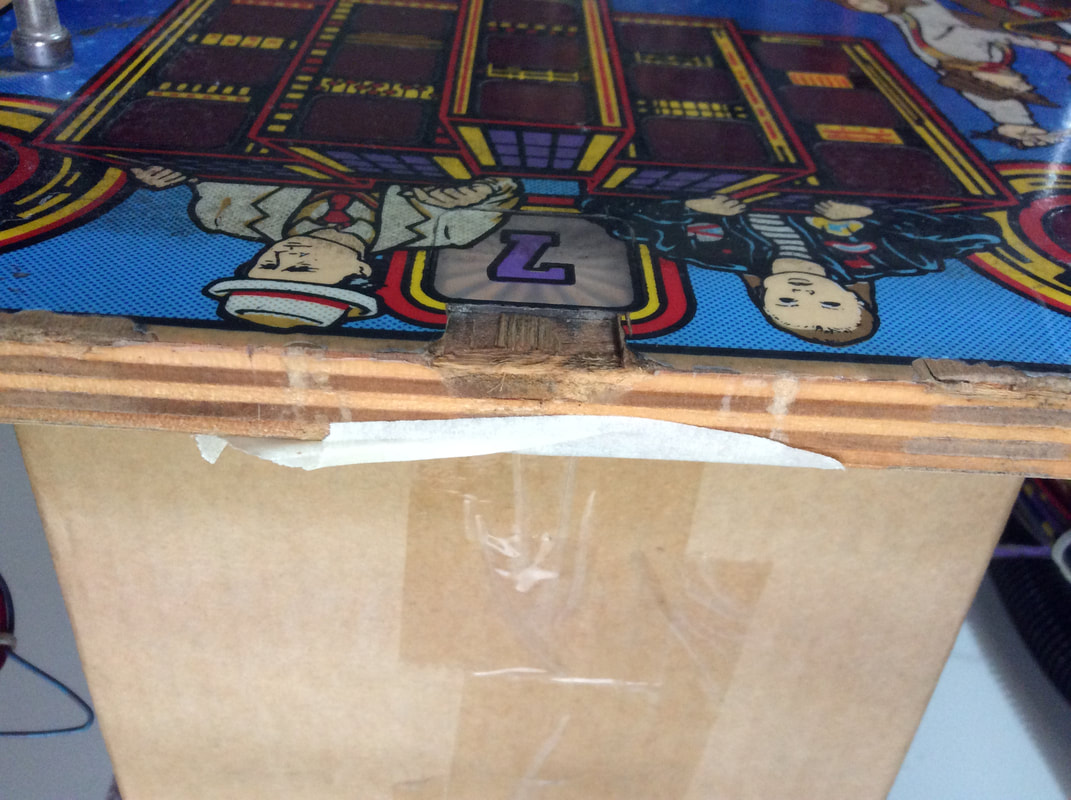
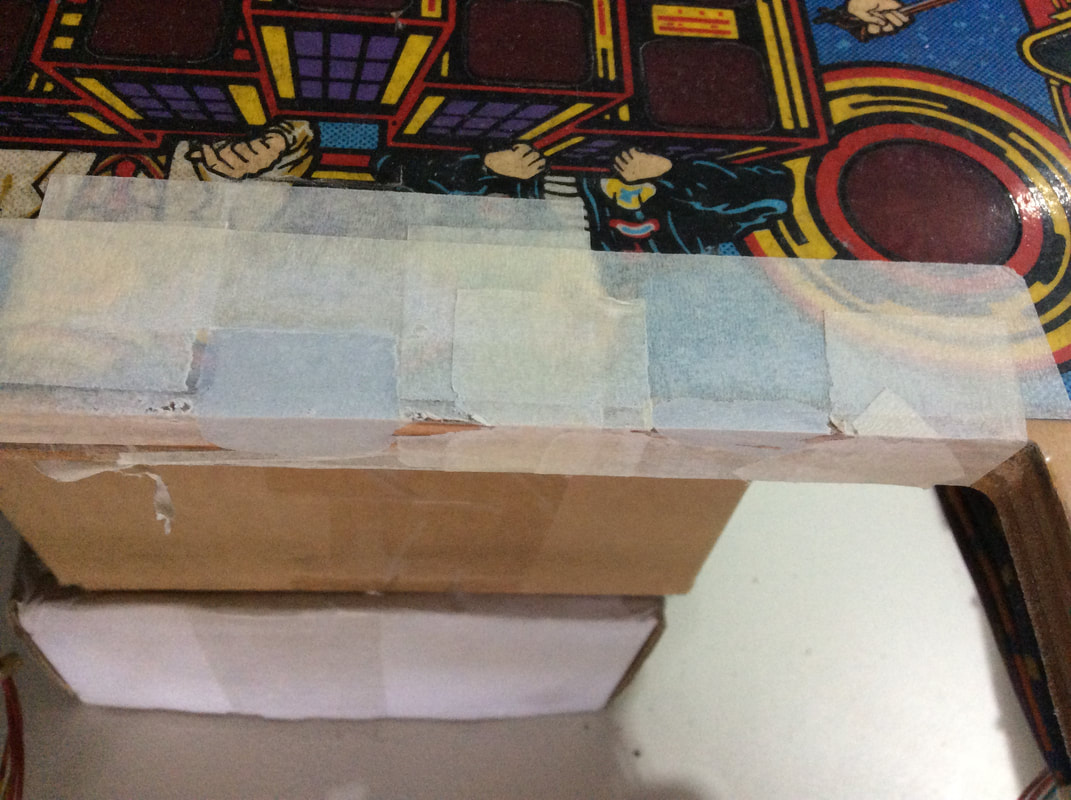
This is a small write-up of how I approach these repairs and what the end result looks like. Rebuilding the mini playfield wood edge As the mini playfield has an exposed wood edge that balls can hit, it eventually gets worn down, forming divots in the playfield wood and, eventually, chipping up the playfield artwork. The worse the damage is, the more will need to be repaired. In this post I'll just cover the procedure I use to carry out wood repairs to the playfield. Check out my first and second Doctor Who restoration posts for examples of playfield artwork touch-ups. If your mini playfield has never been serviced or rebuilt, it will probably look a lot like this...
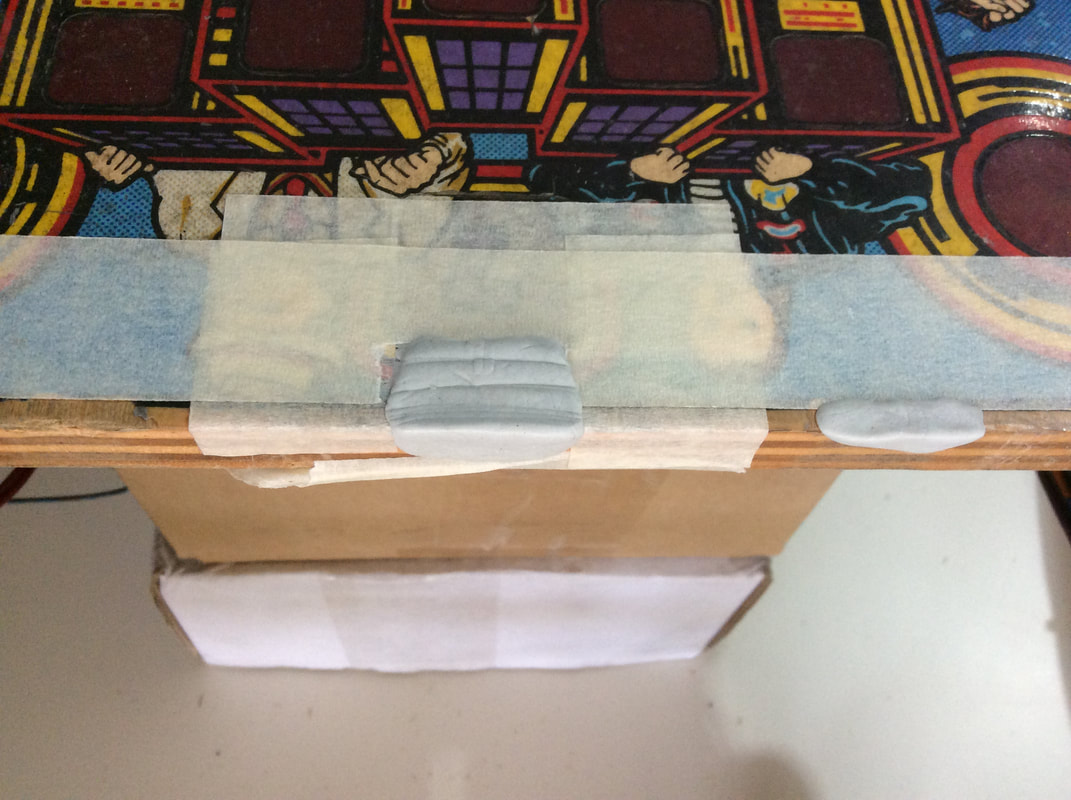
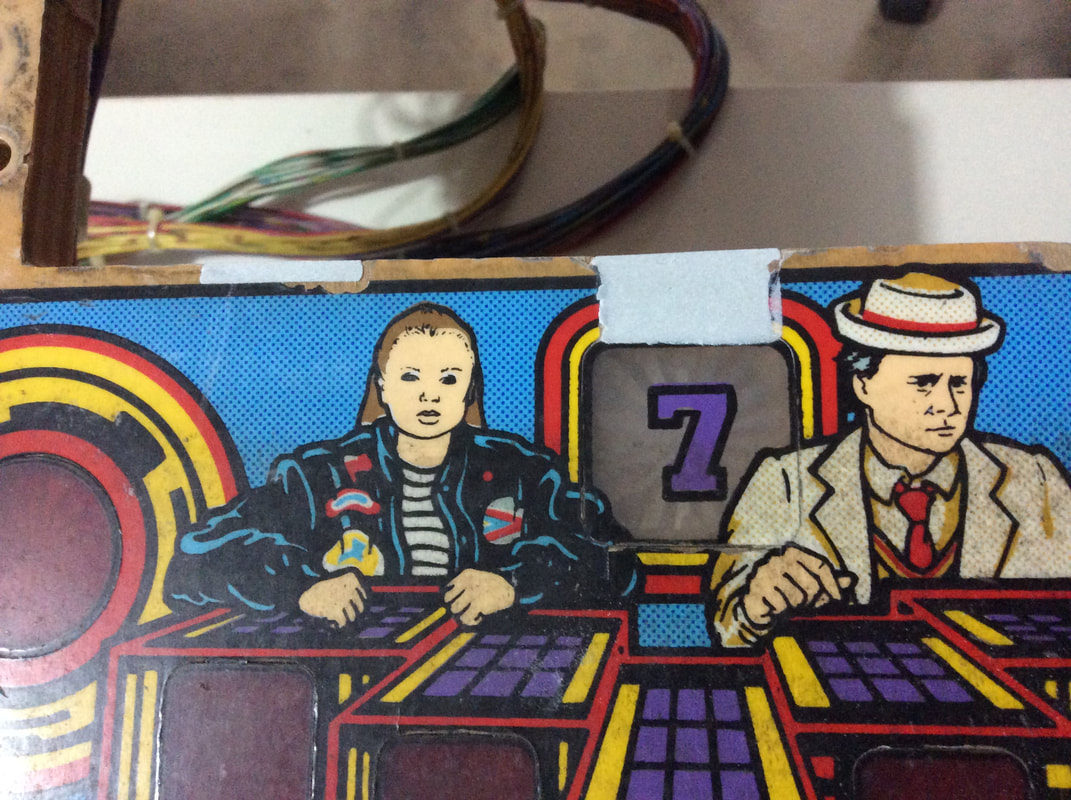
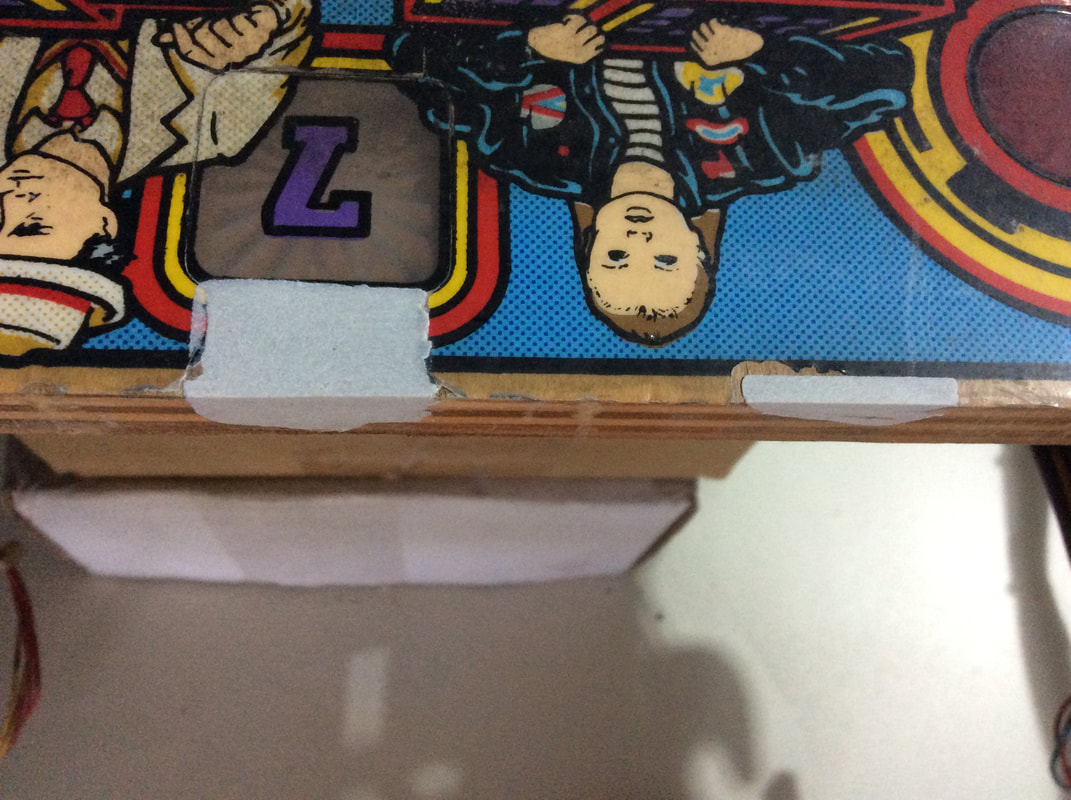
Yikes. Plenty of wood damage which has started to impact on the plastic insert, as well. The first step is to clean and then sand down the playfield edges slightly so that any loose wood fibres are removed. Use a coarse grit sandpaper as you want a rough surface for the wood filler to adhere too. If it's too smooth, the filler won't be able to stick. Next, we can apply some filler. Vid's restoration guide recommends Woodwise Epoxy Wood, which is a two-part filler. It's not available in Australia, so I like to use Selley's Knead It as it is basically the same type of product. Any similar wood filler would work, but use a two-part filler instead of a premixed slurry, as the latter generally won't be as strong. Bog the filler material in and pack it tightly. Don't worry about being too neat, as you can sand it down in the next step. Apply some masking tape or other protective material over the undamaged parts of the playfield you don't want to sand. Then, sand everything down so it is flush with the original playfield surface. Use progressively finer grits of sandpaper until the finish is smooth to the touch.
Then, remove the tape and clean up any areas where the filler material shouldn't be. At this point, the playfield is ready for reinforcement. You can leave these areas unprotected if you wish, but eventually they'll chip and crack like the original wood. A product like Cliffy protectors or Mantis protectors is the best way to protect commonly damaged playfield areas. Cliffy offers a set of protectors for Doctor Who. You can use this procedure on any game that requires wood repair before applying a Cliffy protector. It's always a good idea to repair this kind of damage first, so the Cliffy protector doesn't warp or bend into the damaged areas when struck by the ball.
And that's about it! Pretty simple, really. The next stage would be artwork touch-ups, as necessary. Most protectors are designed to cover repaired areas, so sometimes art touch-ups aren't even required, depending on the damage. 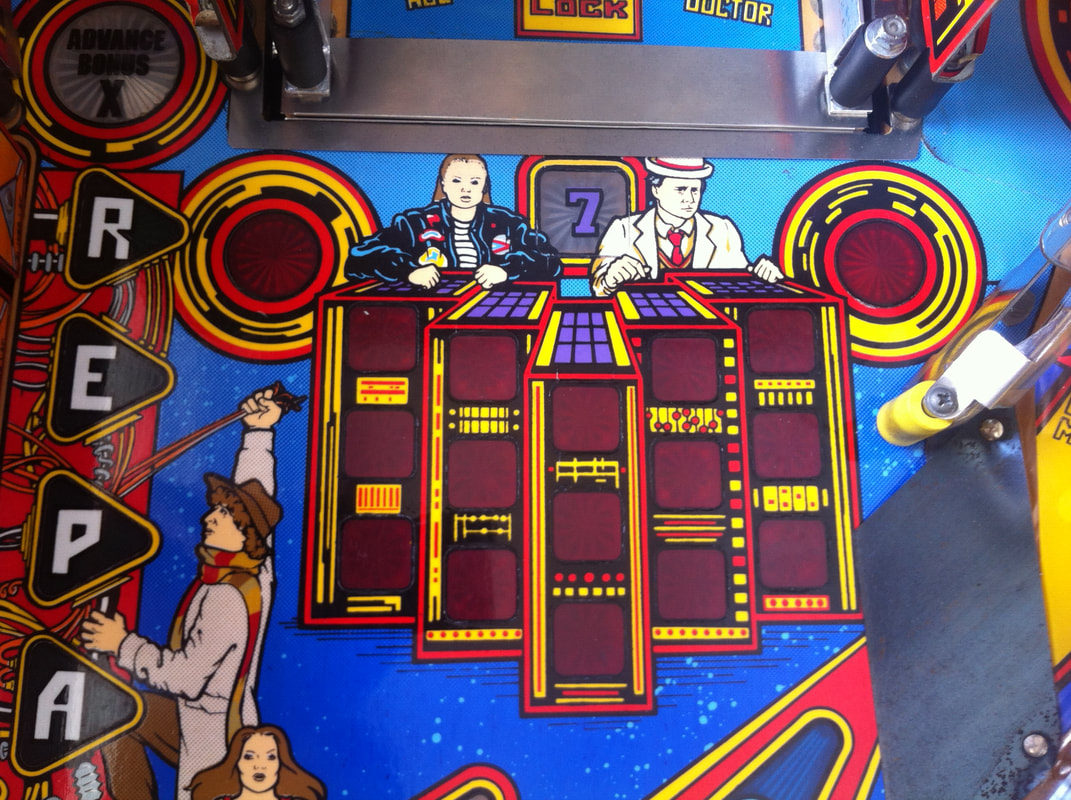 End result after wood repair, protector installation, and artwork touch-ups. Rebuilding the mini playfield gearbox and cleaning the entire assembly This task is a painful one as there's a lot to clean and a lot to disassemble/assemble. For this, refer to Faz's Doctor Who mini playfield guide. He gives an excellent rundown on how to take things apart, test them, and put them back together again. Download a copy below:
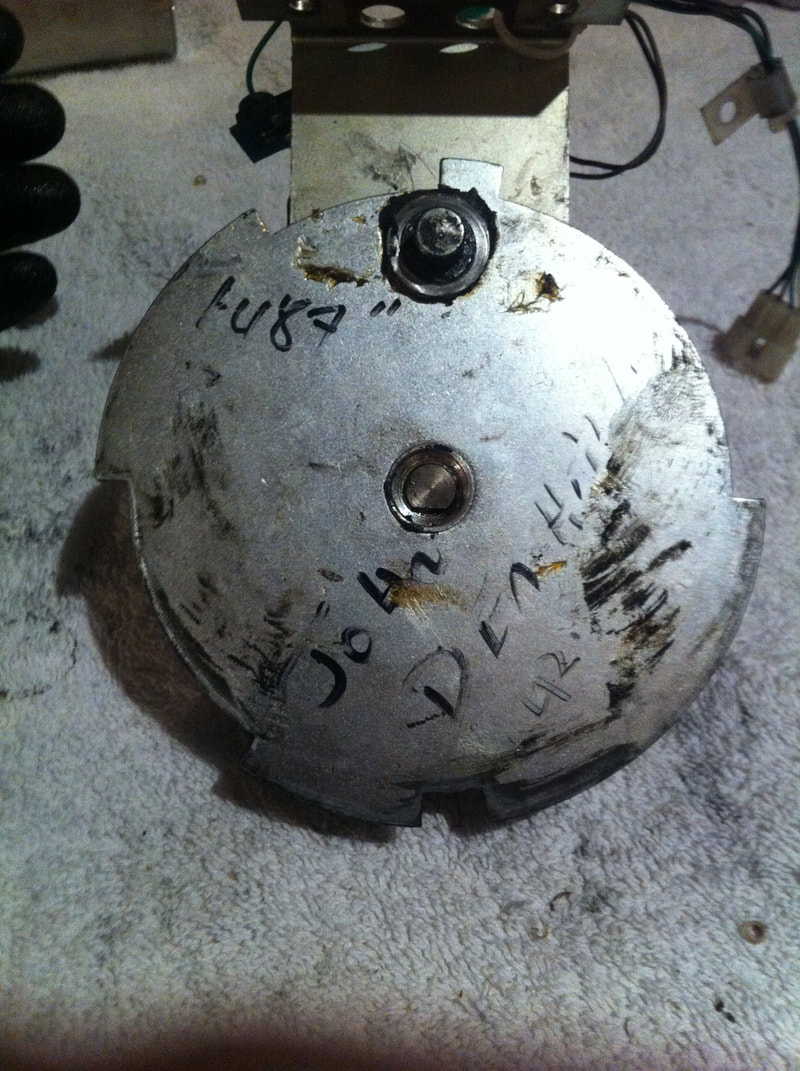
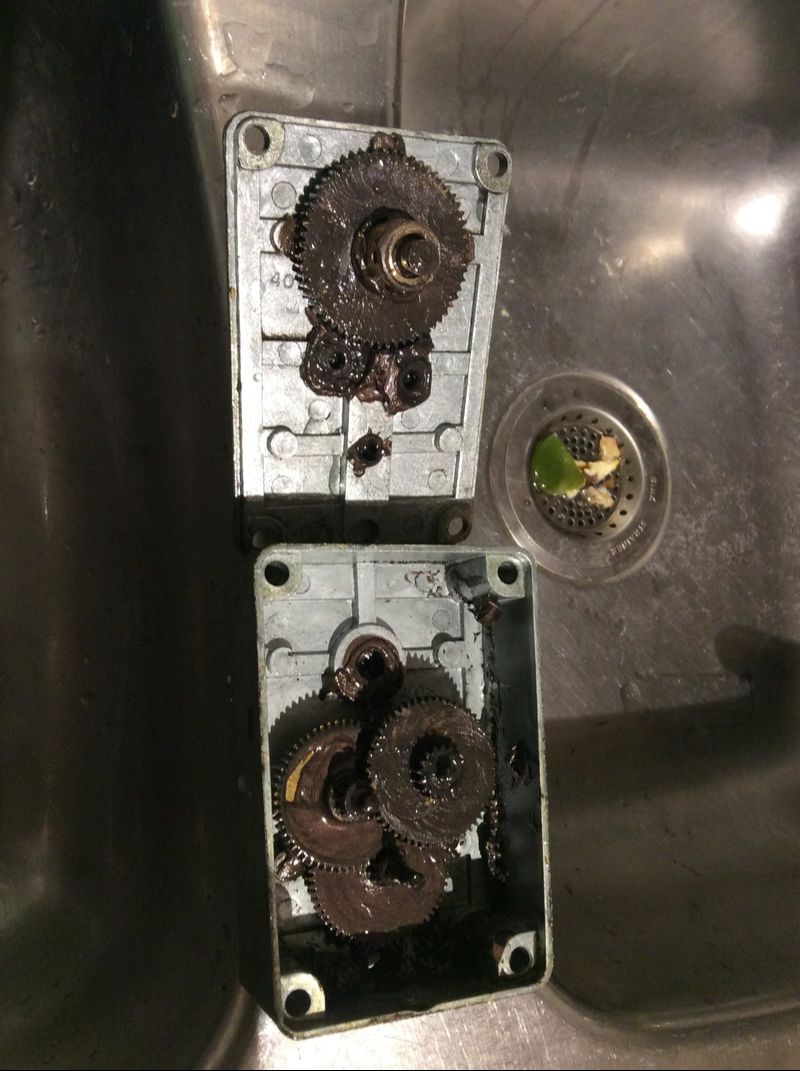
The best advice I can give is simply to take plenty of pictures when disassembling the unit so there's no confusion when putting everything back together. The most important thing to do is to clean the old grease off the cam assembly (part no. A-15035) and the motor gearbox (part no. 14-7970). The old grease is typically very dirty and, in some cases, completely dry.
Cleaning the grease off is as simple as using your favourite degreaser and some elbow grease. Isopropyl alcohol also works well. Any hydrocarbon solvent will do the trick. You'll probably need to use a toothpick or other fine tool to clear the dry grease out of gear teeth. Once it's all clean, make sure everything is completely dry before reassembly. Use your favourite bearing lubricant to grease the gearbox gears and the cam assembly. The president of Multi Products, the company that makes pinball machine gearboxes and motors, recommends Magnalube for this purpose. However, Magnalube isn't readily available here, so I use Nulon Extreme Performance Grease, which is another Teflon-based lube. However, if you wish, you can order Magnalube from Seal Innovations, based in New Zealand. There are a lot of resources online that discuss other aspects of cleaning and regreasing pinball motors and gearboxes - they're all well worth a read. Here are a few (while they talk about gearboxes in specific machines, the concepts are universal):
The next tricky part about reassembly is aligning the cam assembly on its mounting bracket. The alignment needs to be just right to ensure that the playfield doesn't bind or shimmy when it moves up and down. Faz has some good instructions for aligning the assembly in his guide. Test the assembly with a 9-volt battery or external power supply to make sure it works before it goes back into the machine. If it moves cleanly, then it's ready for reinstallation and play testing! 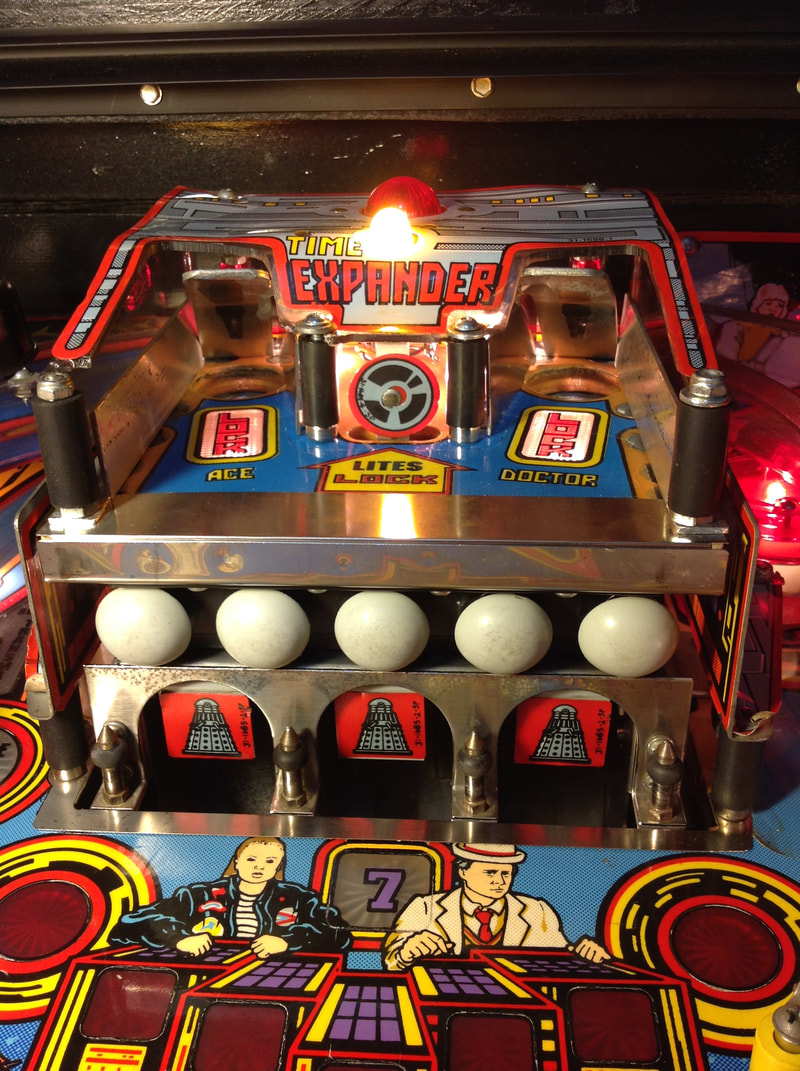 One Doctor Who mini playfield assembly after a full rebuild and clean.
0 Comments
Your comment will be posted after it is approved.
Leave a Reply. |
About
Here you will find logs of our pinball and arcade machine restorations, repairs, discussion about general pinball and arcade topics, as well as recounts of our random pinball adventures.
Check back regularly for updates! Blog updates
Archives
May 2024
Categories
All
Donate

Running this website is a hobby for me (just like pinball!). I like being able to show off my restoration work so everyone can learn from it and potentially fix their own machines. If you enjoy reading the site's content or it has been helpful to you, please consider donating to offset some of the website's operating costs. |
||||||||||

 RSS Feed