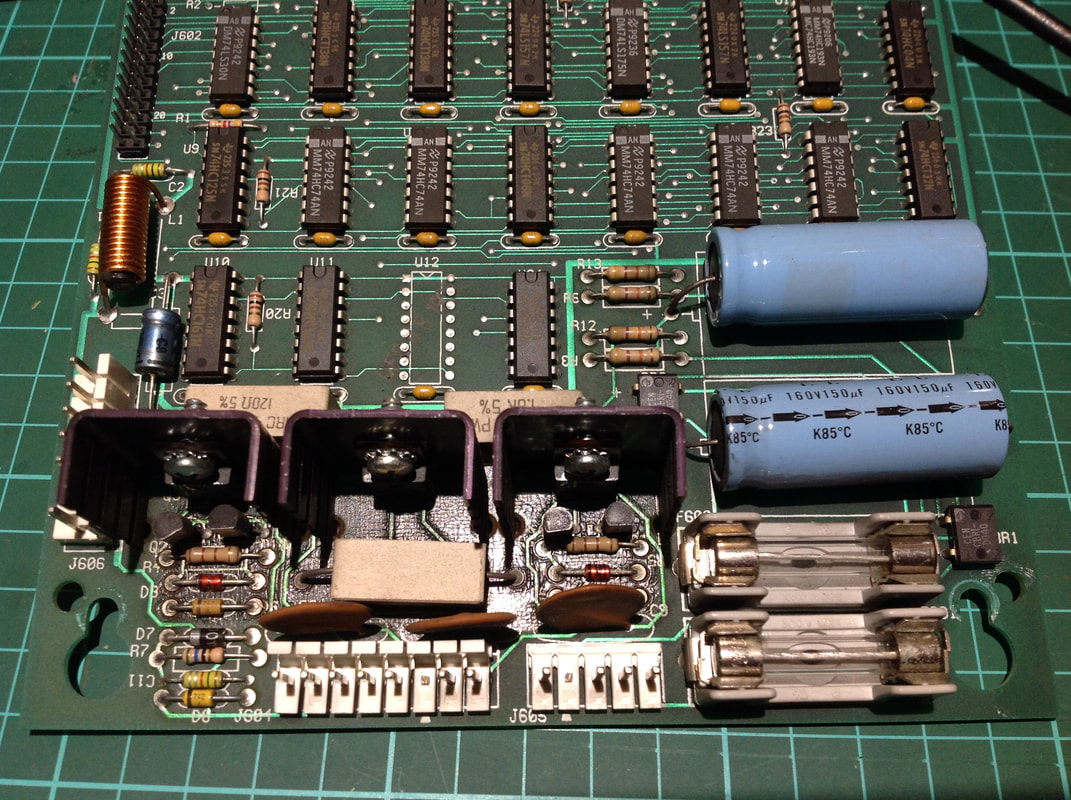
 The dot matrix display used in most modern era pinball games is a high-voltage plasma gas discharge display. High voltages are required in order to energize the plasma in order to illuminate it, creating the dots and pixels we see on the display. This process is controlled by a specific section of the display driver board (part no. A-14039) in WPC games. Pinwiki has a detailed description of problems that can occur with these displays and how to fix them. In particular, the section on testing DMD controller voltages discusses the high voltage section of the board and the voltages you can normally expect to find on it. When the components on this section of the board go out of spec, they can affect the display, rendering text and images on the screen impossible to read (if present at all). At this point, it was time to rebuild the display driver boards in a couple of my games. The display in my Getaway (Williams, 1992) seemingly worked fine, but the voltages being produced by the board were way too high. On the other hand, the voltages on my Judge Dredd (Williams, 1993) were perfectly fine, but the display would occasionally fail and stop working mid-game. Both of these problems were fixed by rebuilding the high voltage sections of the display driver boards. I had been putting off this rebuild for quite some time simply because it was a lot of effort to organise all of the parts required for it. Thankfully, these parts are used on display driver boards from Williams and other manufacturers including Gottlieb, Data East, and Sega, so they are handy to have around. The high voltage section of the WPC board occupies the bottom third of the board and most of the components in this section are subject to replacement when doing a high voltage section rebuild. There are component kits available locally (John's Arcade). Although there are kits available, I wanted to see if I could source all the parts more cheaply myself. I was able to find most of the necessary parts on eBay, with some more readily available locally at Jaycar. Below is a list of the parts I ordered, based on the kit listed at Great Plains Electronics. In my first batch, I ordered enough parts to rebuild at least five display driver boards. At the time of ordering, the total cost of these parts was $38. That included enough of some of the components to last a lifetime (like 50 2N5401 transistors). That comes to less than $8 per kit, including the capacitors. Not bad! You can probably find some of these parts a little cheaper if you can be bothered to shop around, too. The only components that were difficult to find a direct replacement for was C4 and C7. Radial capacitors with the same specifications are everywhere, but axial ones are less common. I opted to go for the radial caps, but axial ones are available locally at higher cost (RS Components). Note that the capacitors can be replaced with ones rated for a higher capacitance, which is appropriate for this application.
Before continuing, make sure you're comfortable with soldering on circuit boards. There are high voltages present on this board and a miswired component can potentially destroy a board. The traces on these boards are often fragile as they are heat-damaged. So, make sure you're got a few soldering victories under your belt before tackling this one. Pinball Help has a helpful video that guides you through the process. Read through the Pinwiki DMD repair section and, if you have access to it, the relevant section in Clay's guide.
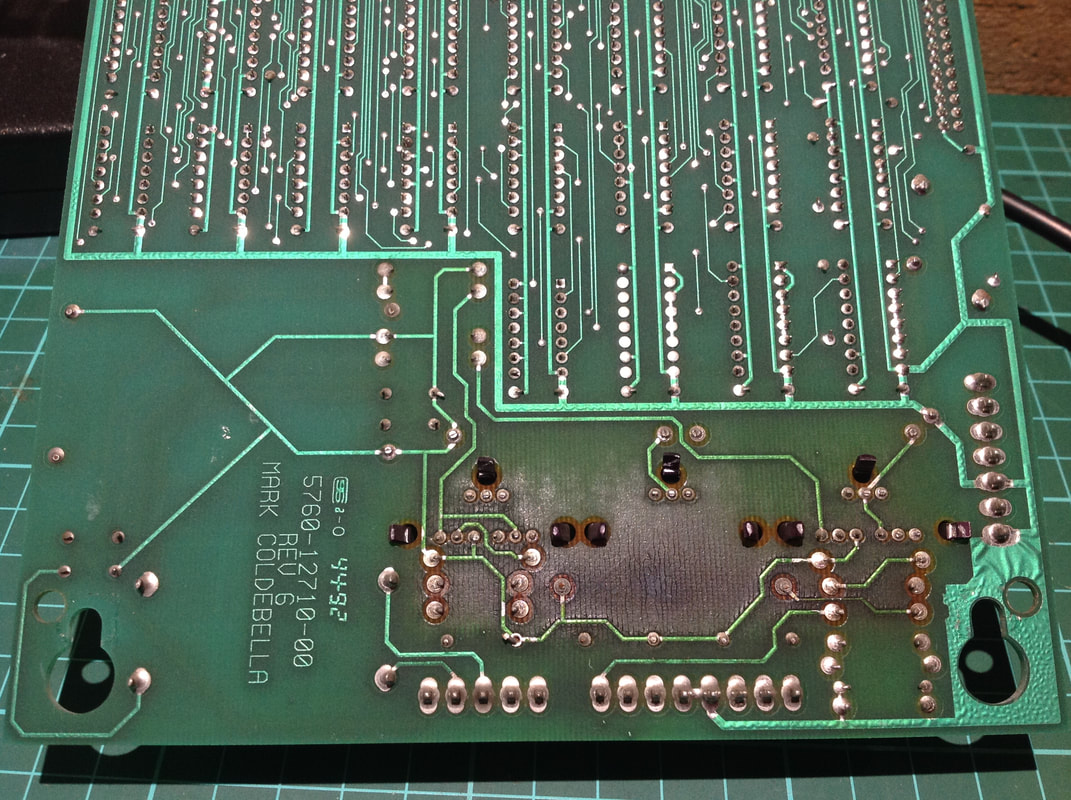
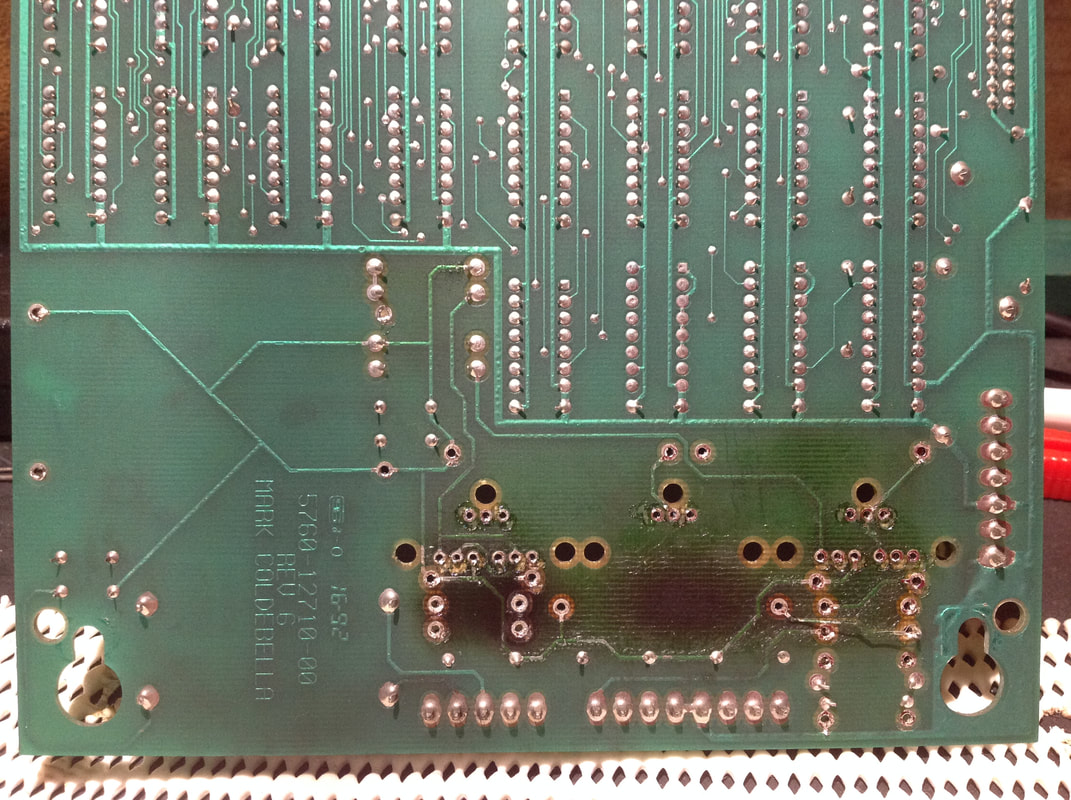
Use standard soldering/desoldering techniques when removing components from the board. I prefer to clip the components off the board and desolder the legs separately. You are replacing most of the components anyway, and they are cheap to obtain, so why bother saving tired, old components? Just replace them all! This part of the board is often heat-damaged, as can be seen in the images above. So the traces on this part of the board are extra fragile. Be gentle when pulling component legs out of through holes, and don't use more heat than necessary. The transistors at Q3, Q6 and Q7 are attached to heatsinks. You will need to bend the legs of these heat sinks from the rear side of the board in order to remove them. When reinstalling them, simply bend the legs again to hook the heatsink into the board. 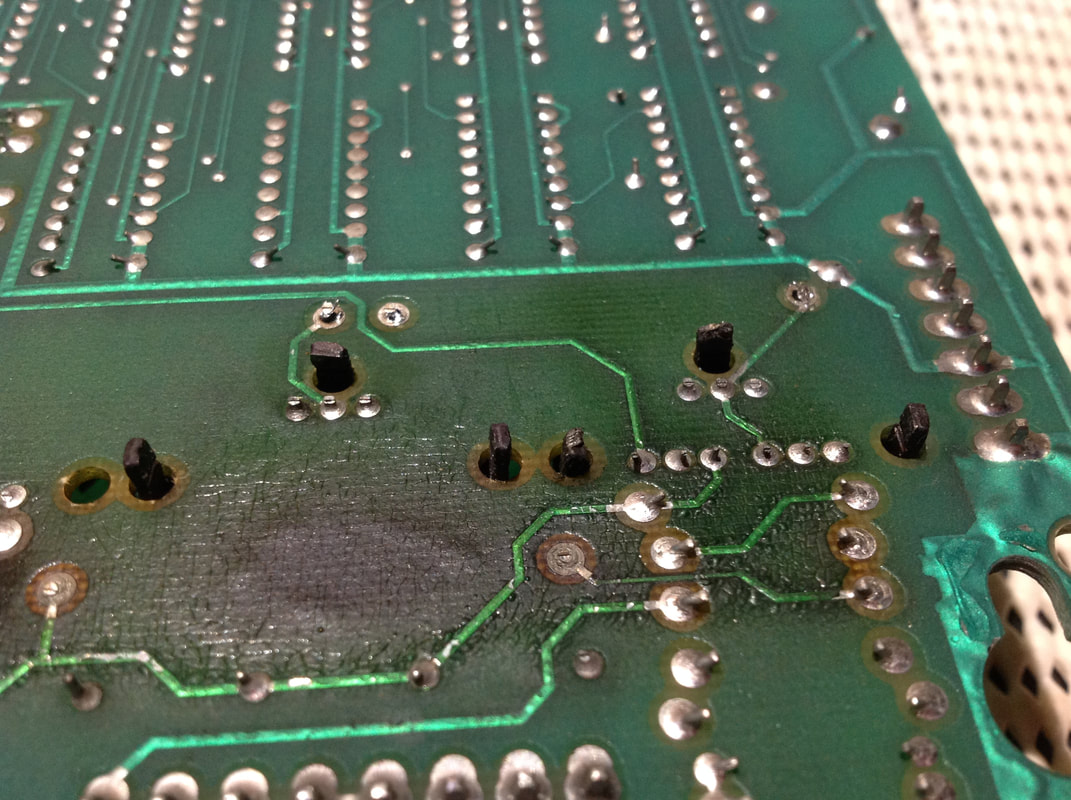 Transistor heatsink legs that have been straightened so they can be removed from the board. After some time (and patience), you'll eventually have all of the components removed. Clean the board lightly to remove any debris, but don't scrub hard as you will damage the fragile traces.
Now you're ready to install your new components. There's not much to this step, just make sure you are installing components with the correct orientation. It is also a good idea to mount components slightly higher off the board, especially the resistors, so they can cool more effectively. 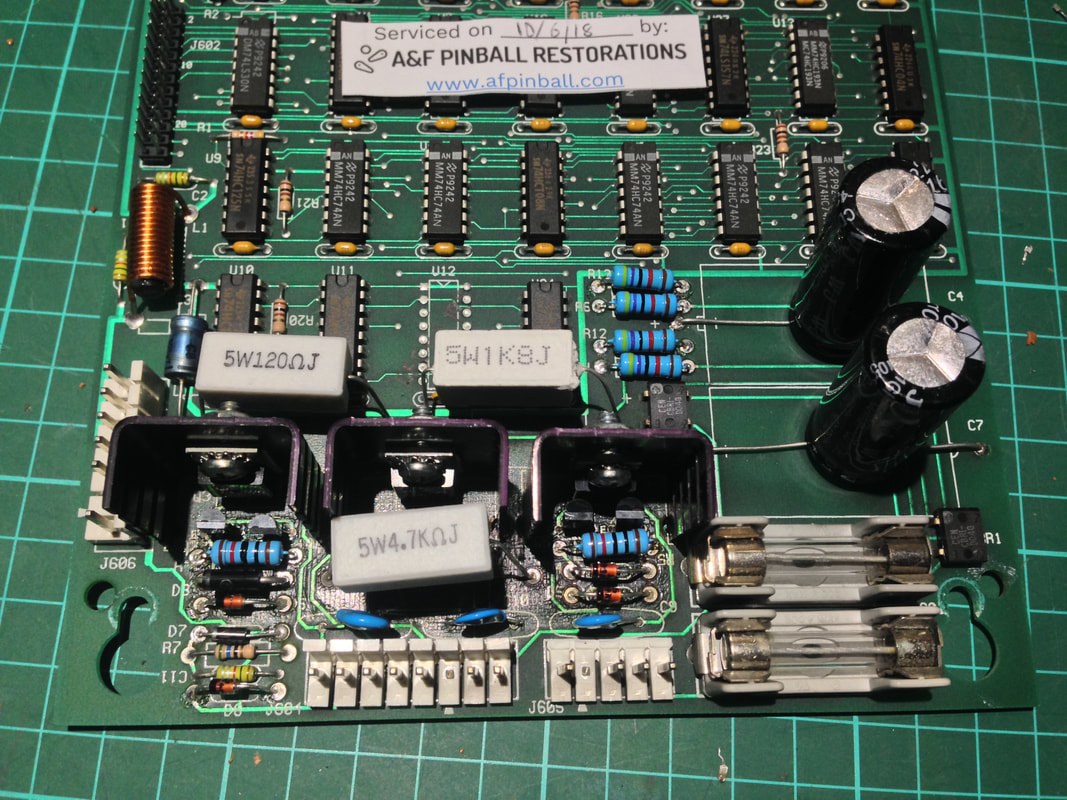 Fully rebuilt high voltage section. And that's all there is to it. Double check all component traces and compare continuity with what is correct according to the schematic. Take note of traces below the ceramic resistors, as these are typically the ones that are destroyed by heat damage. Otherwise, ensure any damaged traces or through holes are adequately repaired. Then simply plug the board in and test the voltages with the display unplugged, just in case something has gone wrong. If the voltages are OK, then plug the display in and enjoy your fully working display!
0 Comments
Your comment will be posted after it is approved.
Leave a Reply. |
About
Here you will find logs of our pinball and arcade machine restorations, repairs, discussion about general pinball and arcade topics, as well as recounts of our random pinball adventures.
Check back regularly for updates! Blog updates
Archives
May 2024
Categories
All
Donate

Running this website is a hobby for me (just like pinball!). I like being able to show off my restoration work so everyone can learn from it and potentially fix their own machines. If you enjoy reading the site's content or it has been helpful to you, please consider donating to offset some of the website's operating costs. |

 RSS Feed