- Published on
Doctor Who
- Author
-
-
- Name
- Posts
- Posts
-
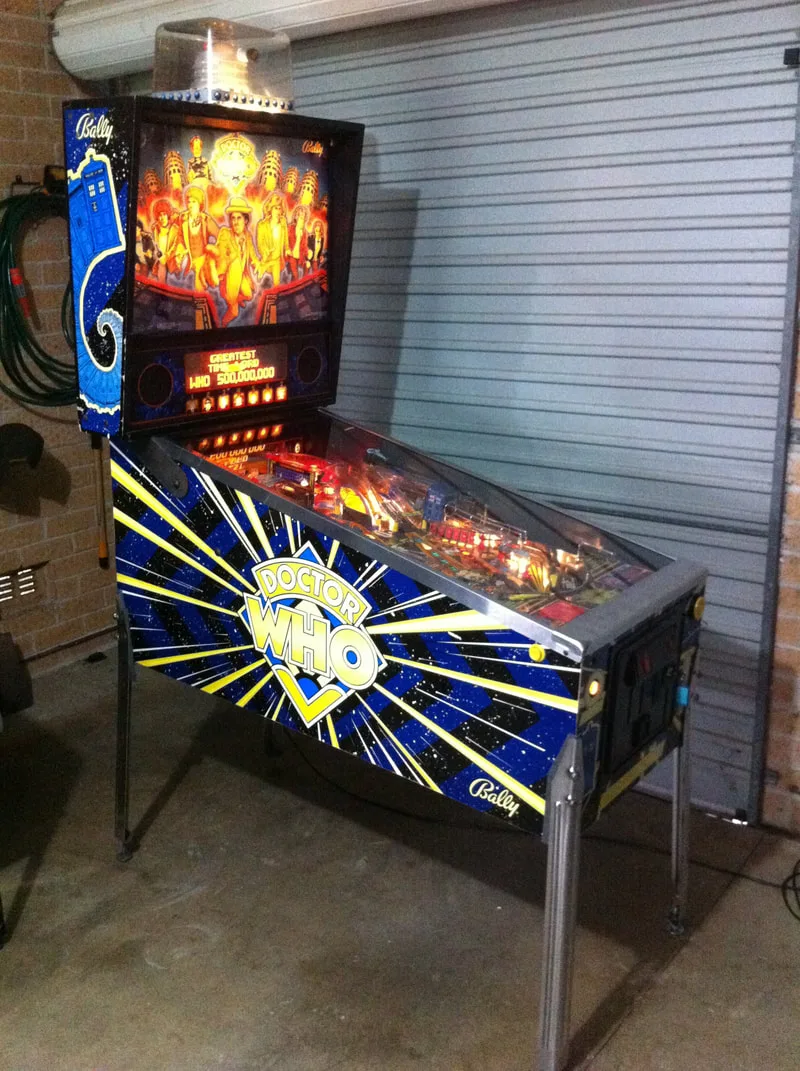
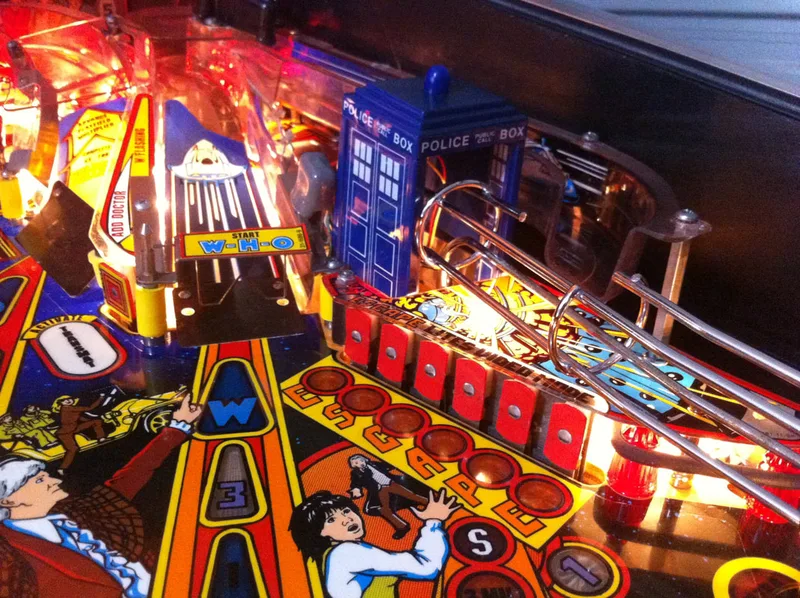
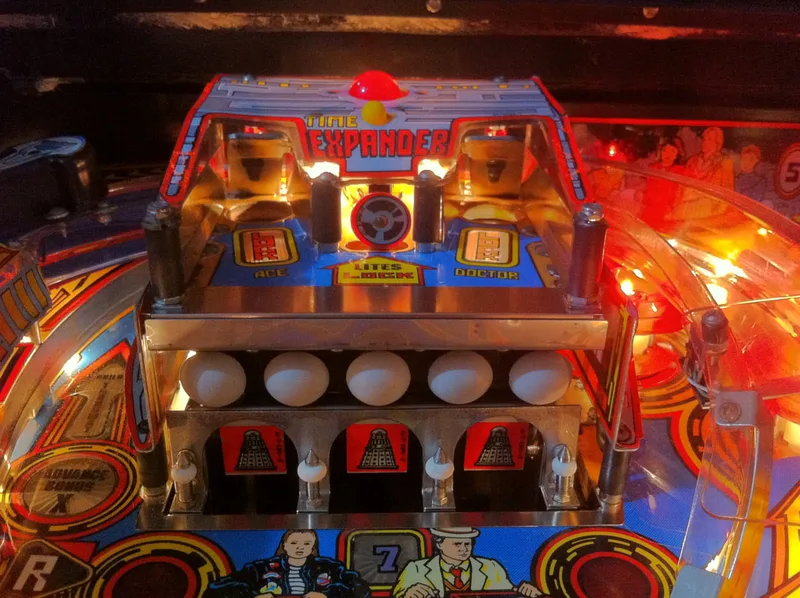
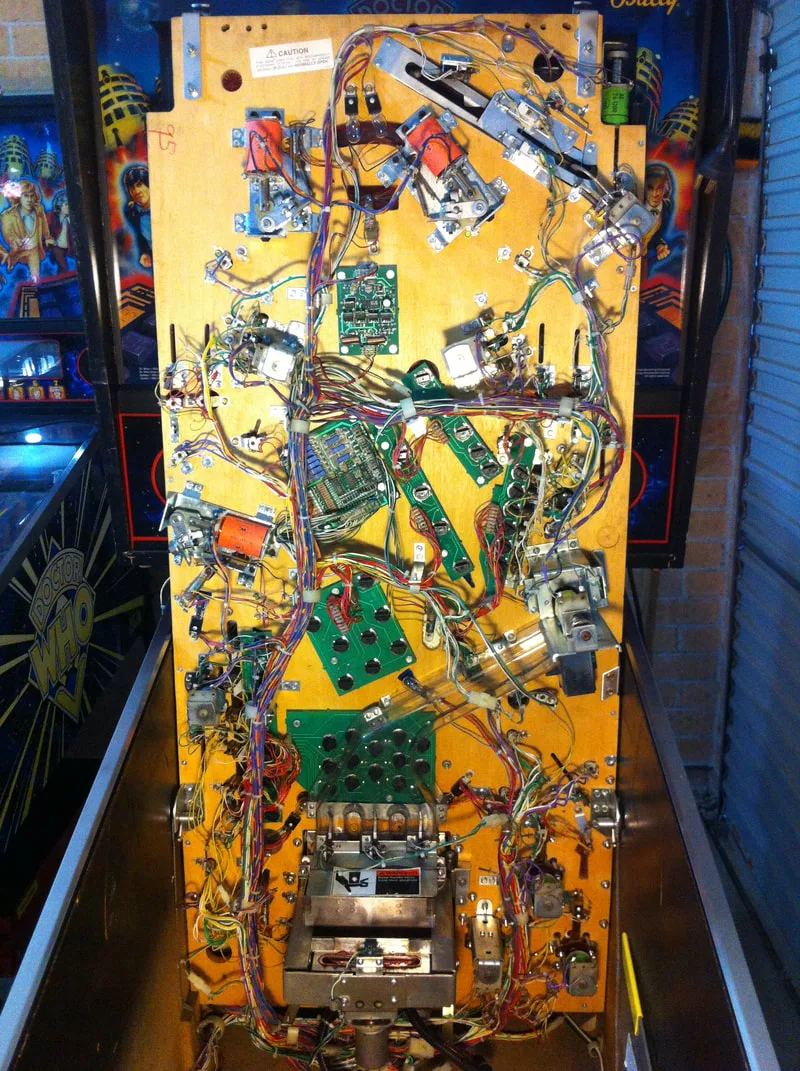
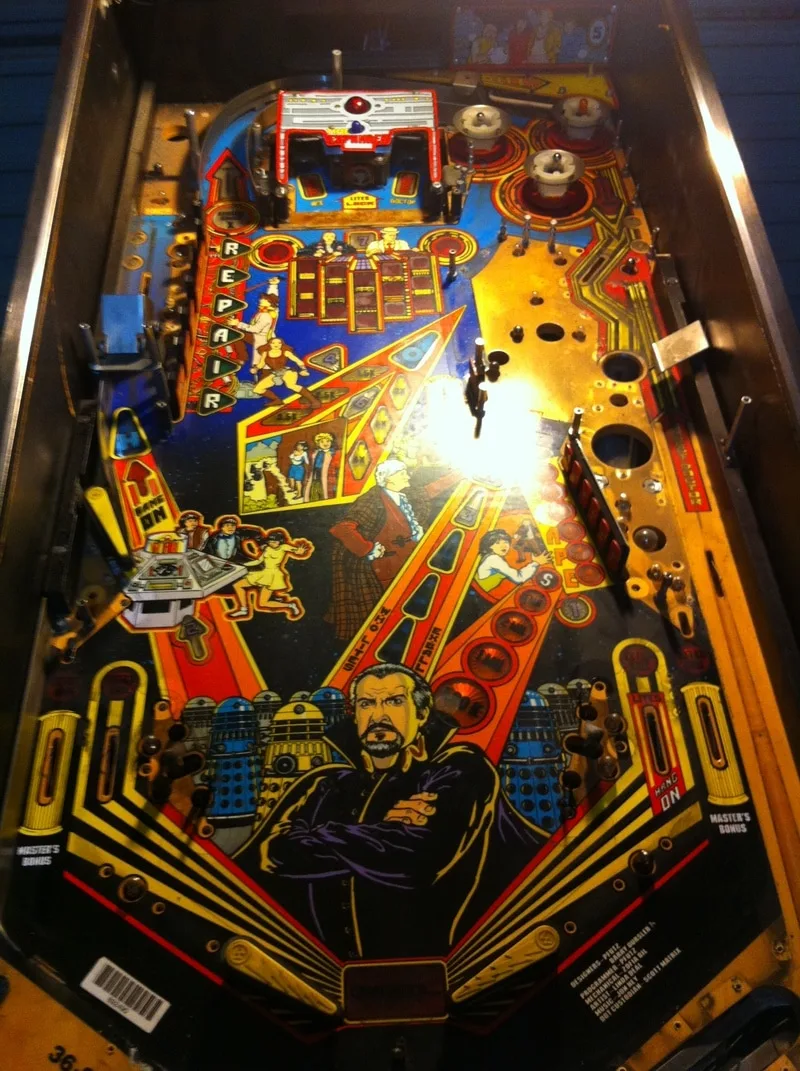
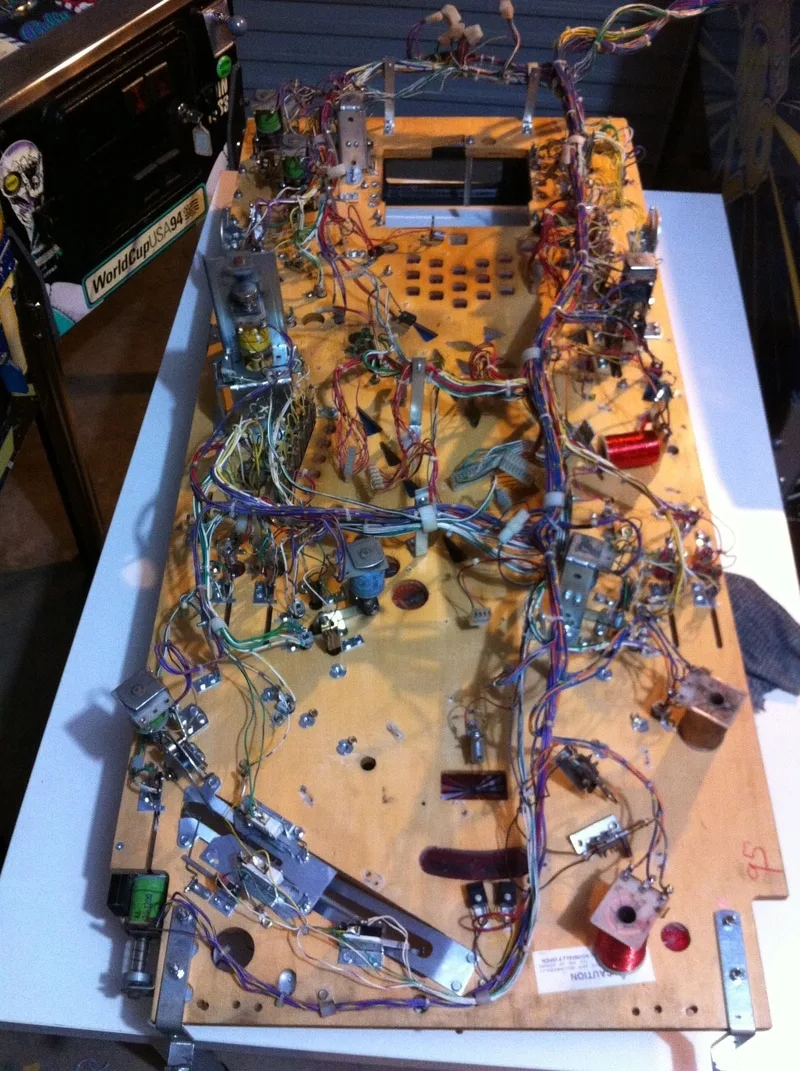
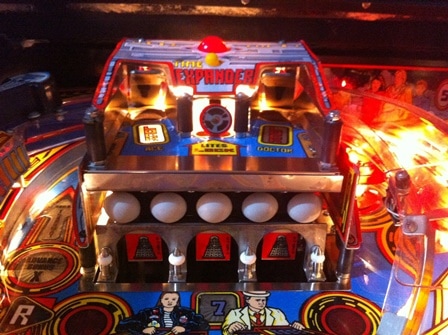
After my World Cup Soccer restoration, I was rearing to go for another. Doctor Who (Bally, 1992), was another machine I had bought at the same time as World Cup Soccer. I had a lot of mixed feelings about Doctor Who as a pinball machine. While I wasn't much of a fan of the TV show or other Doctor Who media, I hadn't played the pinball machine much before and many pinheads insist that it is a really cool game. The mini playfield is the main feature on Doctor Who. It's a section of playfield that rises and sinks to reveal objectives to hit; it is very similar in style to the ball lock area on Jack-Bot (Williams, 1995). Doctor Who definitely looked like more of a technical challenge so I decided to sink my teeth into it and see how far I could get.
- Timber in average condition. Some small scuffs and marks. Gouges on inside of cabinet from playfield scraping by.
- Decals significantly faded.
- Translite in average condition.
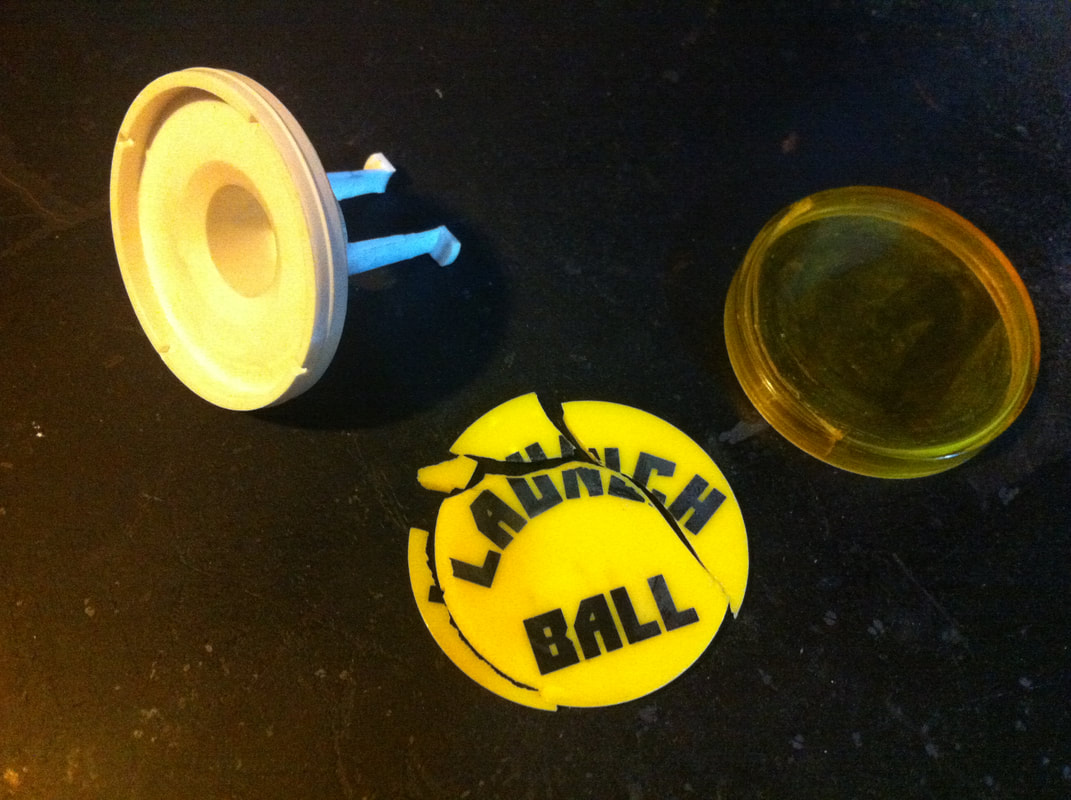
- Launch ball button damaged.
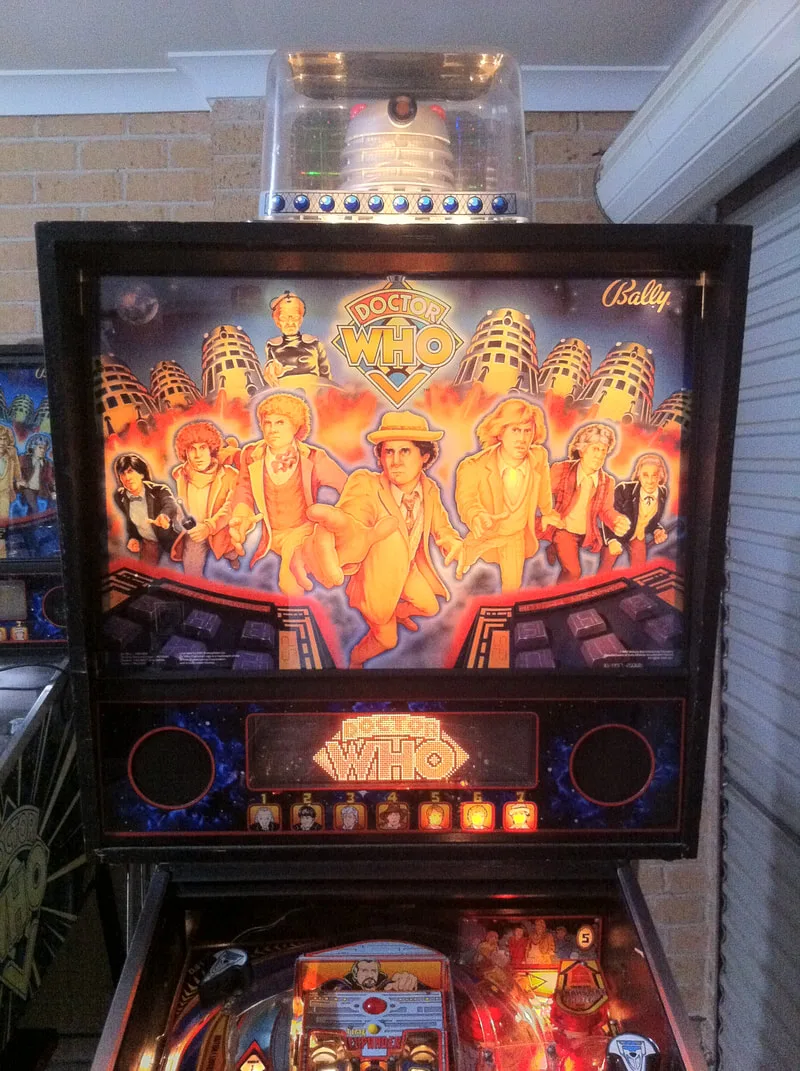
- Dalek topper intact.
- Playfield was very dirty.
- Consumables (rubbers and lamps) dirty and in poor condition.
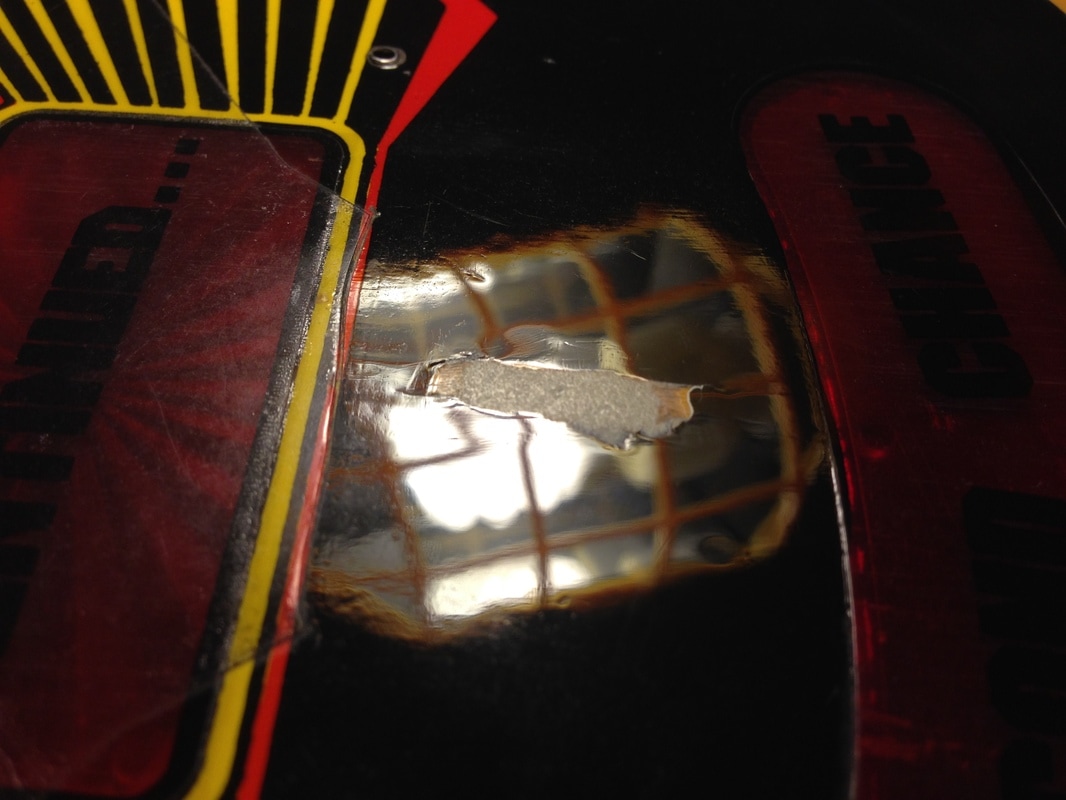
- Playfield Mylar dirty and lifting in one area.
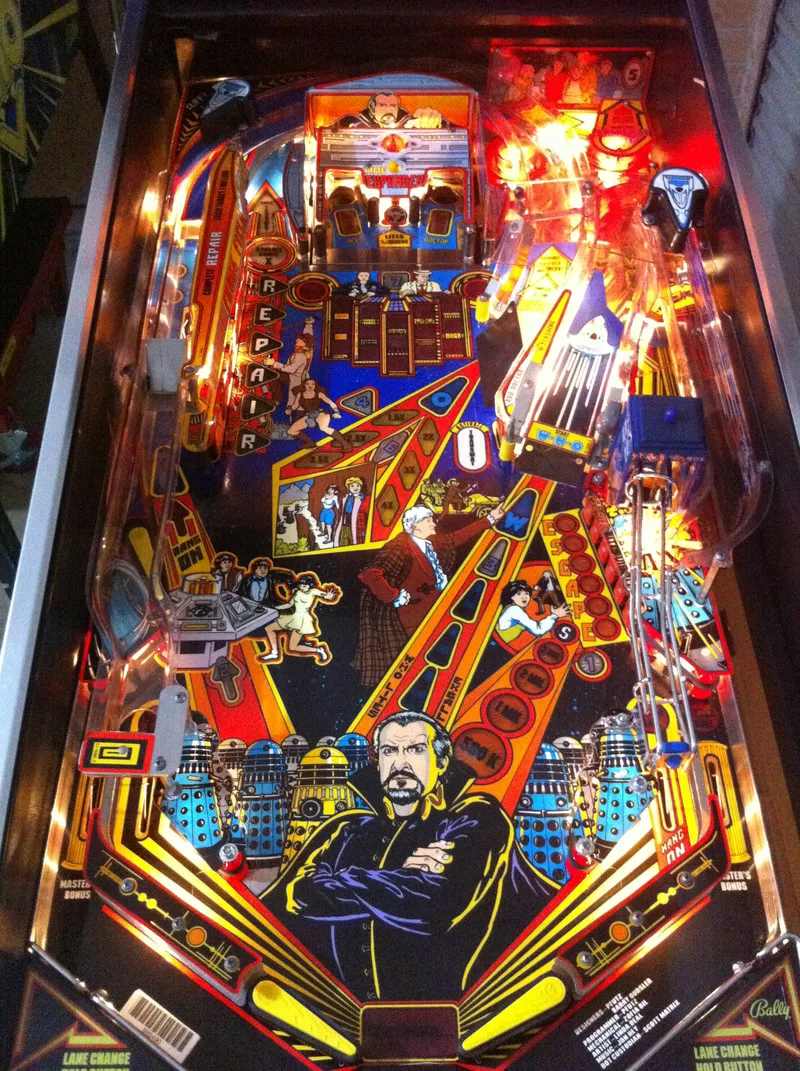
- Playfield and playfield artwork in poor condition. Heavy wear to mini playfield and main playfield edge.
- Plastics in average condition. Time Expander cover edges broken. Two slingshot plastics broken. Pop bumper skirt broken.
- Playfield mechanisms/toys in poor condition. Mini playfield would not move. Mushroom targets sticking. Some mini playfield parts missing.
- Inserts in average condition. Some raised.
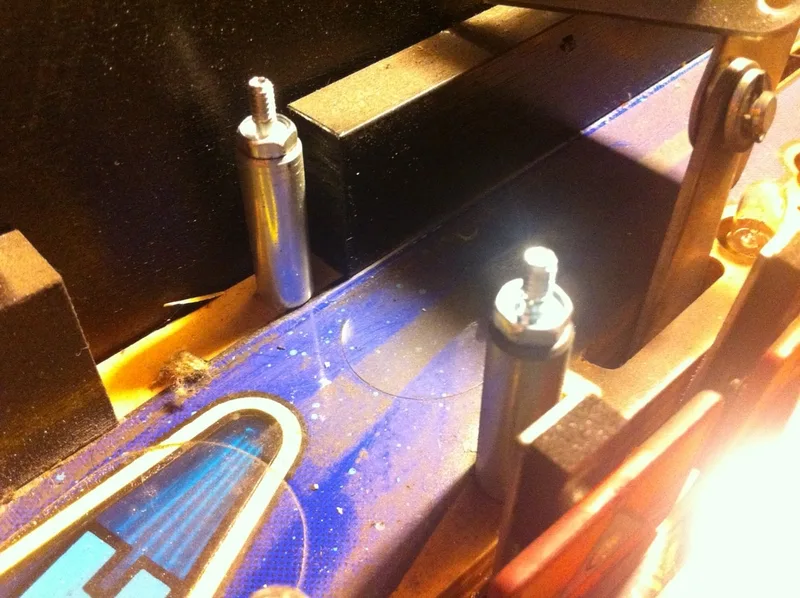
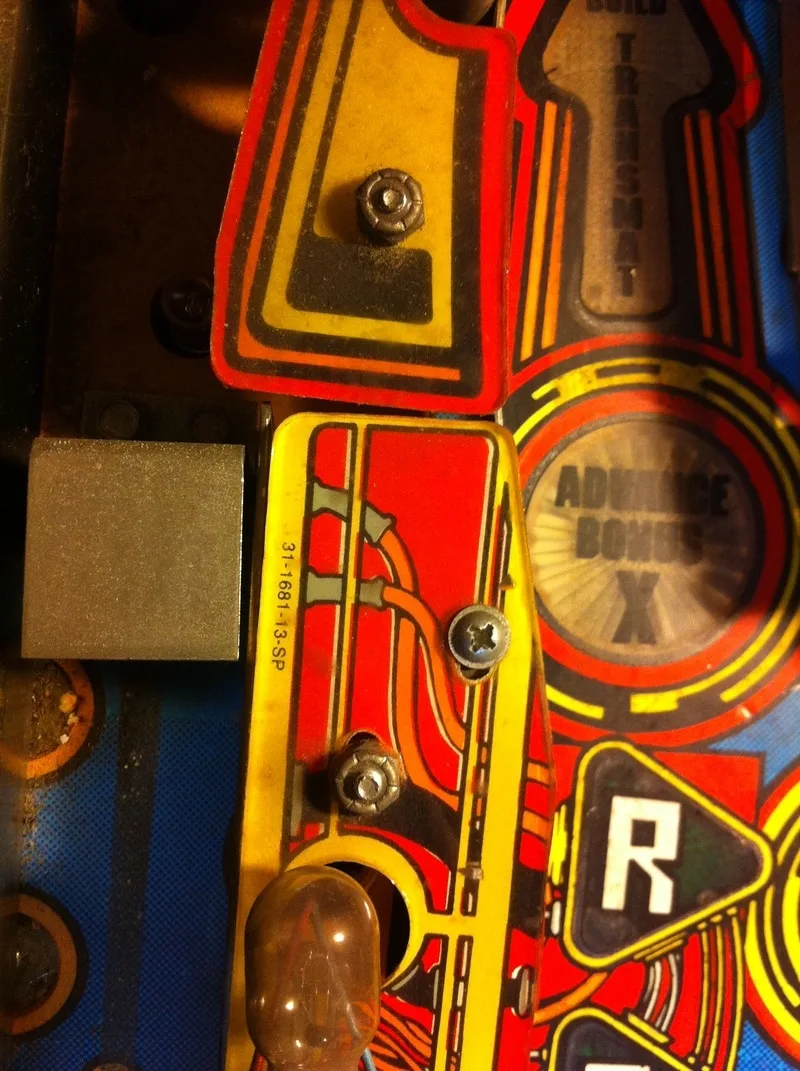
- Incorrect parts installed. Centre post installed between flippers. Star post installed above right inlane.
- All mechanisms and assemblies very dirty.
- Consumables (coil sleeves, flipper parts) dirty and in poor condition.
- Machine booted and could start a game however mini playfield did not move.
- One ball popper not working.
- Some ESCAPE standup targets not registering.
- Time Expander insert lamps not working.
- Playfield and backbox wiring in average condition.
- Dot matrix display in good condition.
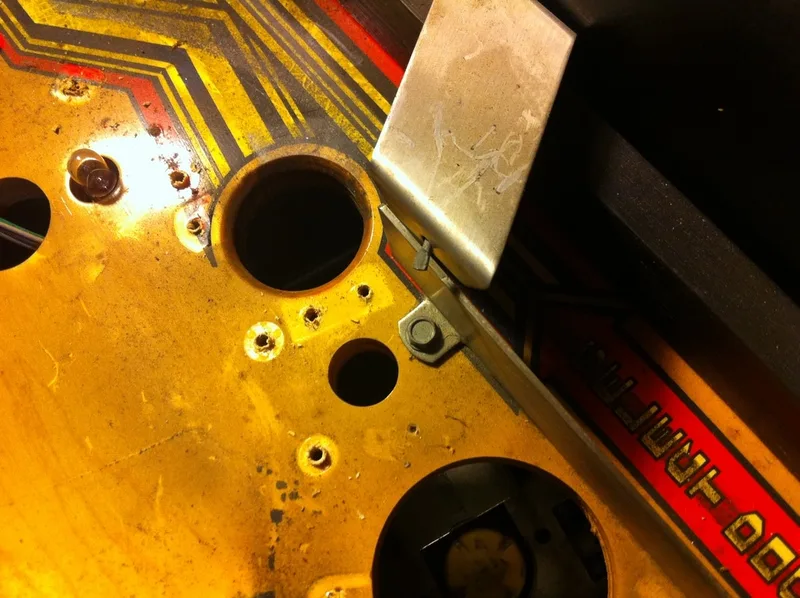
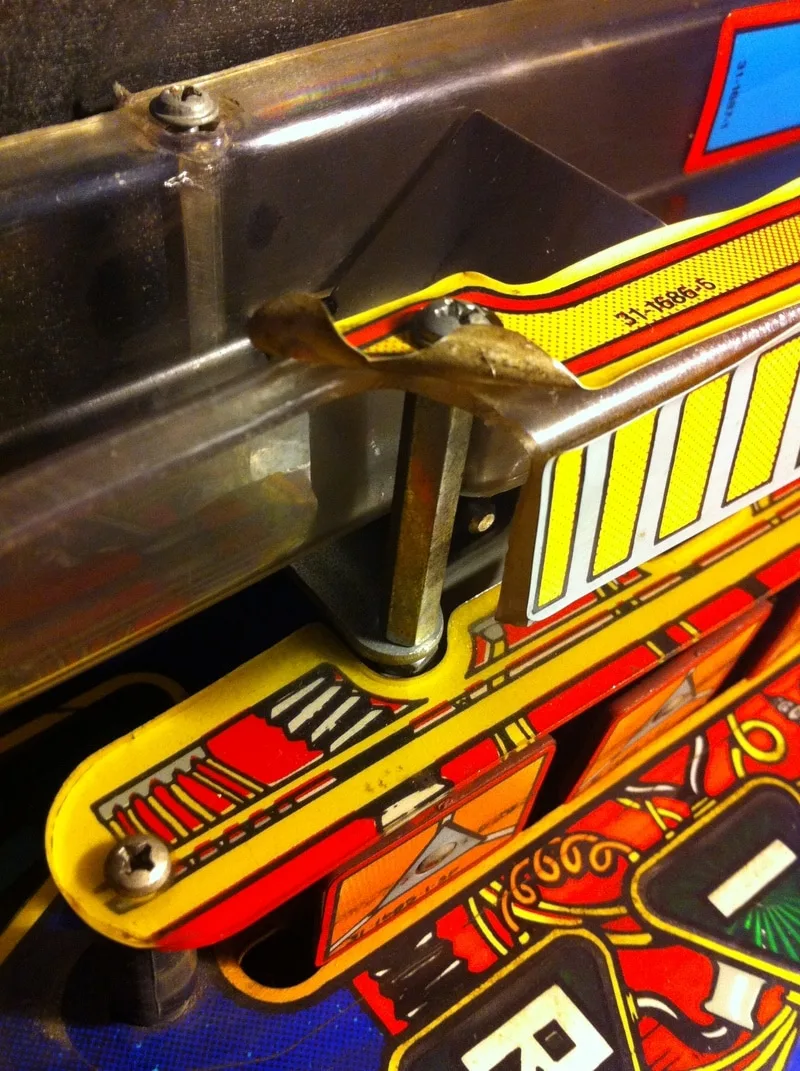

Removing the mini playfield assembly from the main playfield.
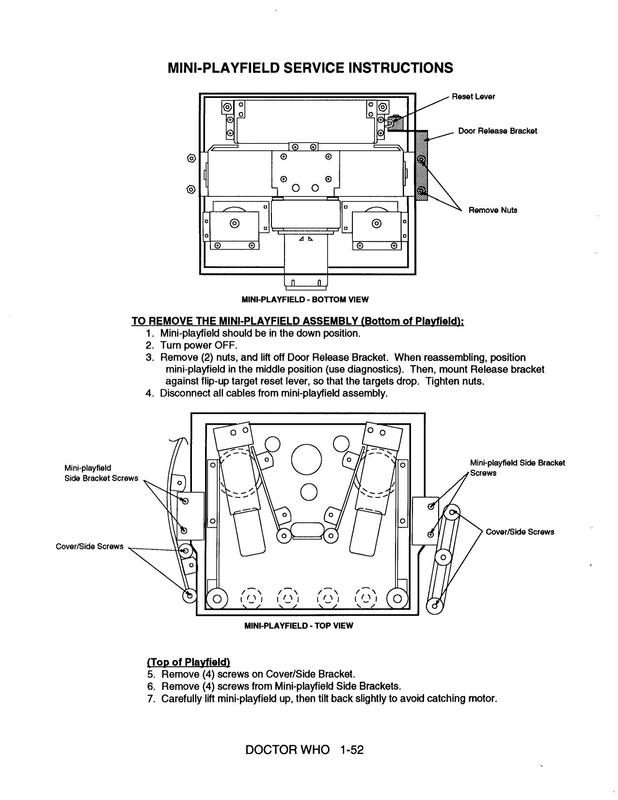
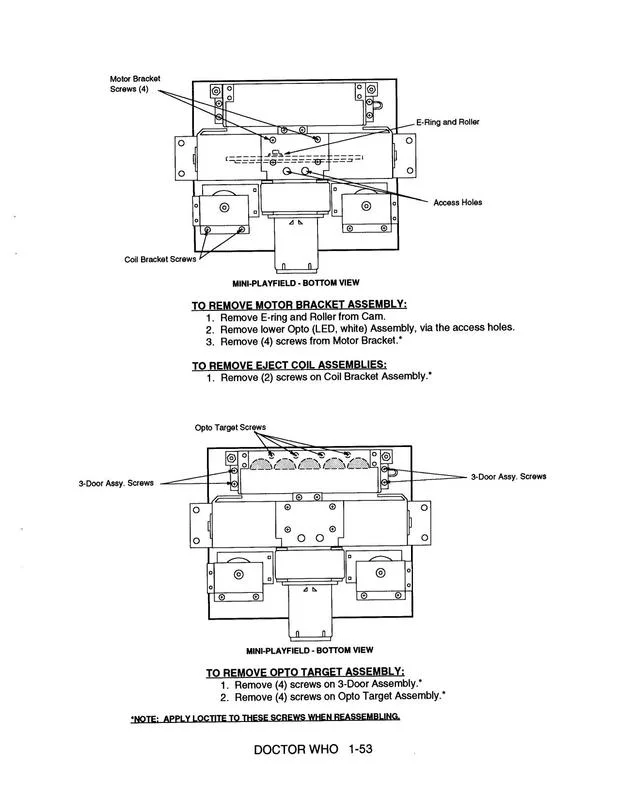
Removing individual assemblies from the mini playfield.
These instructions are useful, but vague. Every Doctor Who owner who has done work on the mini playfield has therefore resorted to Rich Fazio's fantastic guide on disassembling and repairing the Time Expander mini playfield. This guide is the most comprehensive reference on the Doctor Who mini playfield and covers everything about it in more detail than I could hope to cover here. If you're planning on taking the mini playfield out and are having trouble with the manual's instructions, Faz's guide will make things much clearer. Download a copy here:
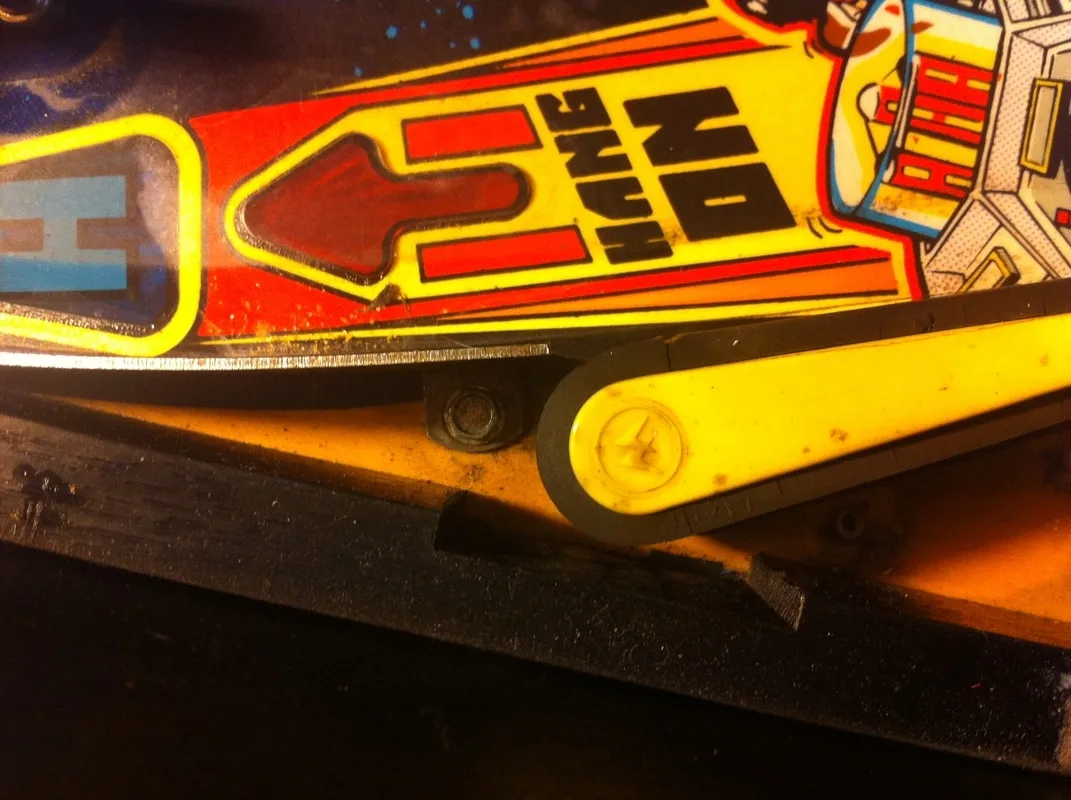
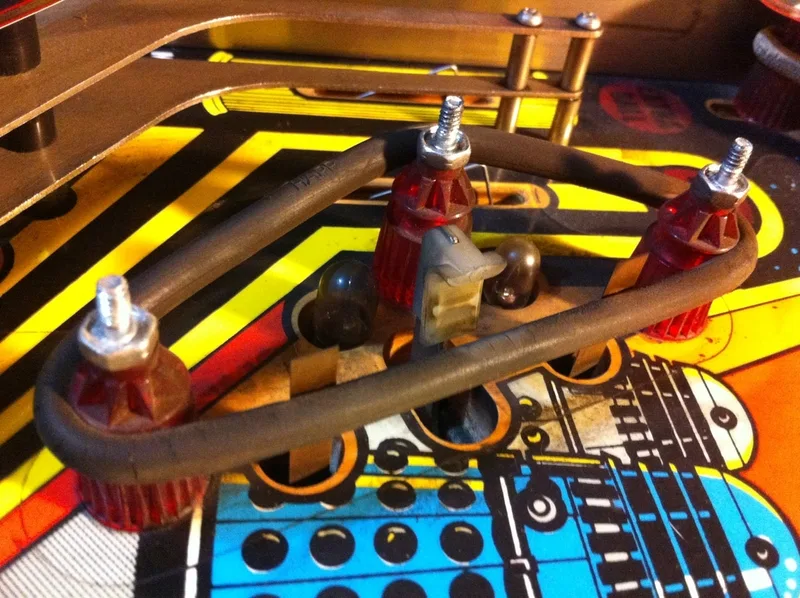
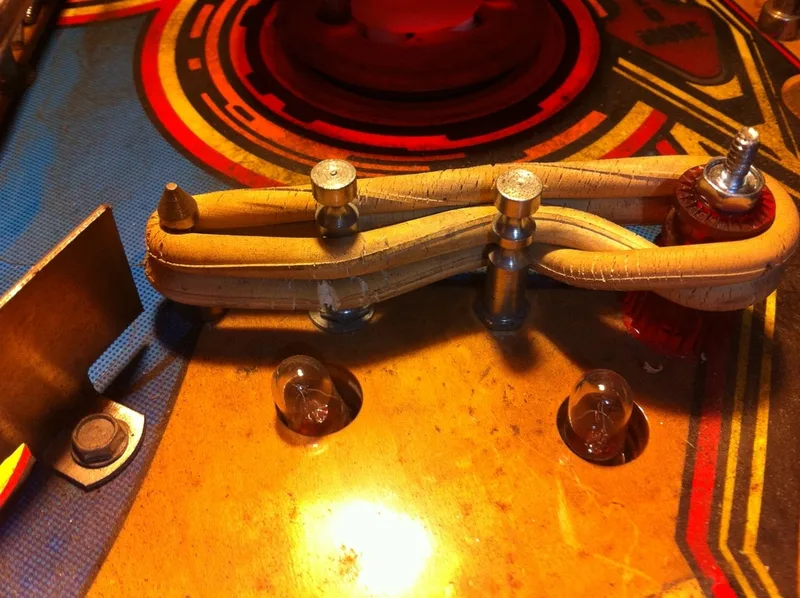
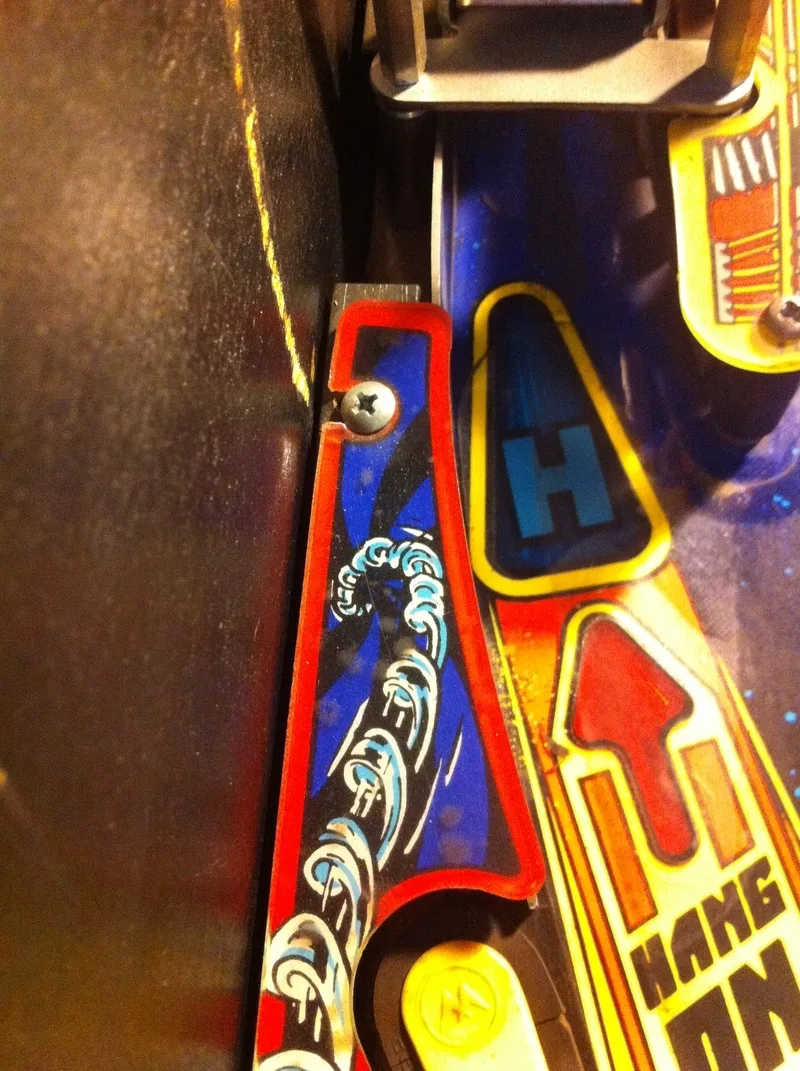
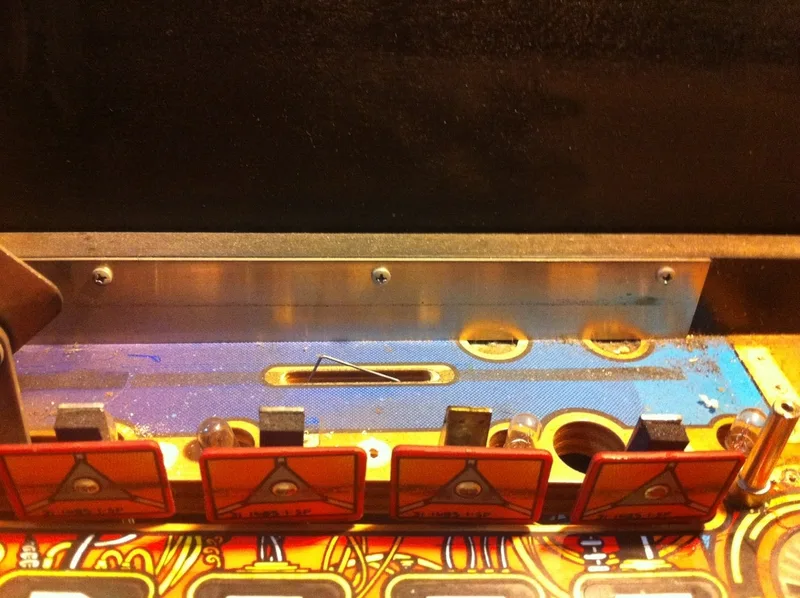
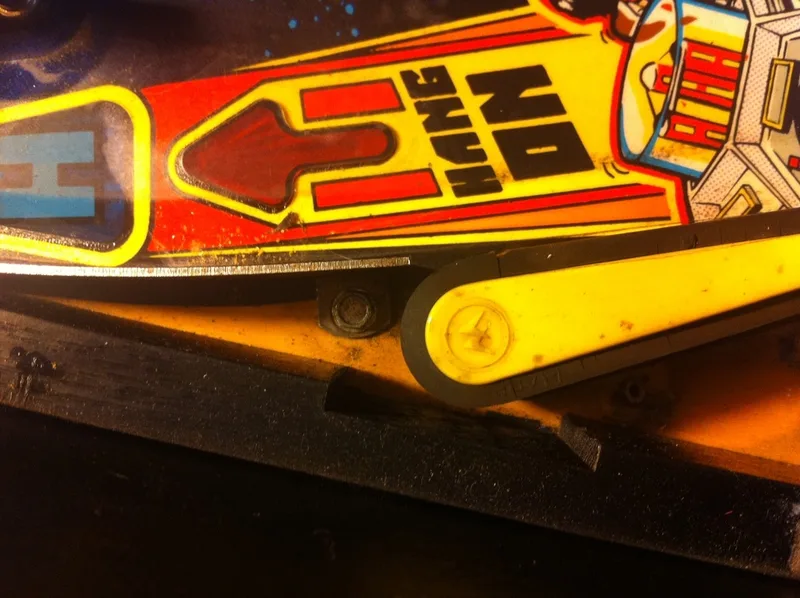
Raised "Hang On" insert with dirt accumulating under the Mylar near it.

Fiona and I decided to cut out the dirty section of Mylar, which was the section covering the "O" and "Hang On" inserts. As the Mylar was already lifting, it was easy to get a plastic razor blade under it and pry it up to remove. We then used the freeze method to unstick the rest of the Mylar. This process worked really well and we managed to complete the removal without losing any artwork. As we were only cutting a small section of Mylar out, we had to very carefully cut the Mylar out with a sharp blade, being careful not to cut deeply enough to damage the playfield. There are heaps of resources online that explain how to carry out Mylar removal using the freeze method.
I have read that the heat removal method is just as effective, but I would personally prefer to spray a short burst of freezing gas onto the playfield instead of expose it to prolonged periods of intense heat.

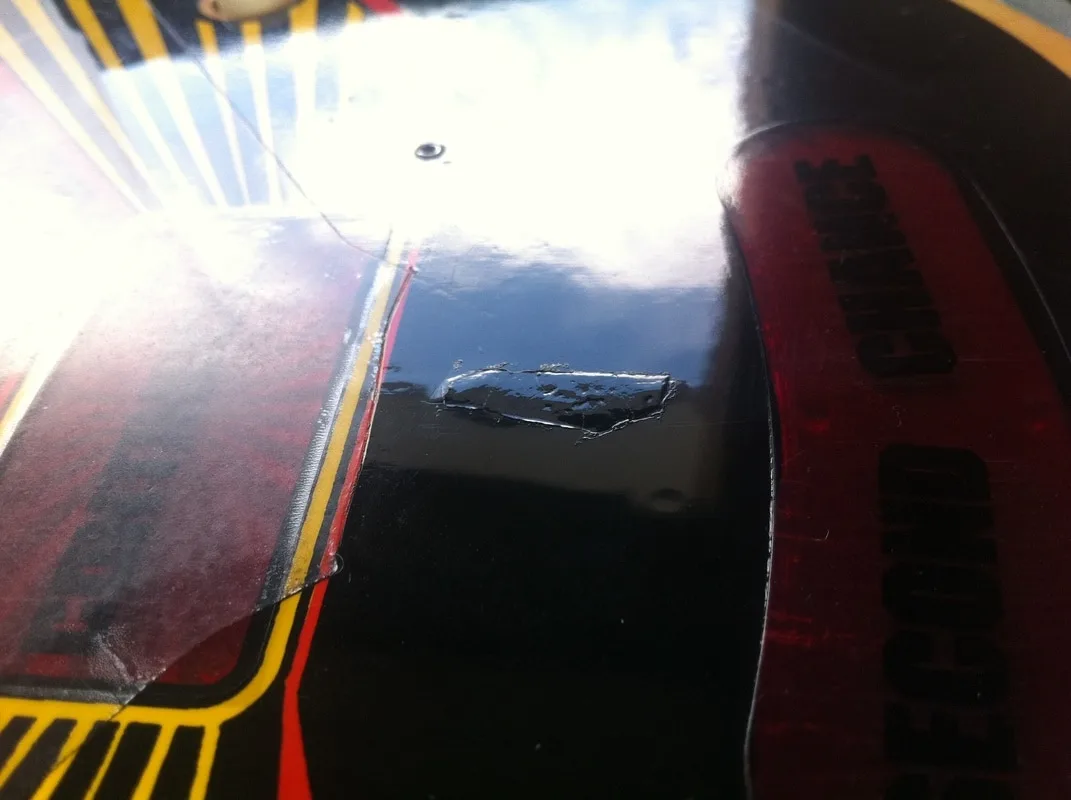
Damage to the Time Expander cover screw hole areas.
Ready for servicing!

Disassembly of the pop bumper assembly for skirt replacement.

There are plenty of guides available online about how to rebuild pop bumpers, so I won't go into too much detail here. Suffice to say, Vid's guide is a fantastic resource. Parts are readily available from Australian suppliers. I grabbed a new red skirt (part no. 03-6035-4) to replace the broken one.
Rebuilding pop bumpers is one of my least favourite repair tasks. They're a pain to extract from the playfield as you need to desolder the lamp leads from underneath the playfield, and then connect them again when you're done. To make this process easier, I now install flexible lamp leads on pop bumper lamps. If the playfield is still in the machine, the bumpers are usually in some hard-to-access spot which makes working on them impossible. But good pop bumpers are important for good gameplay, so it's worth going through the effort. I disassembled the bumper with the broken skirt and replaced it with a new one.
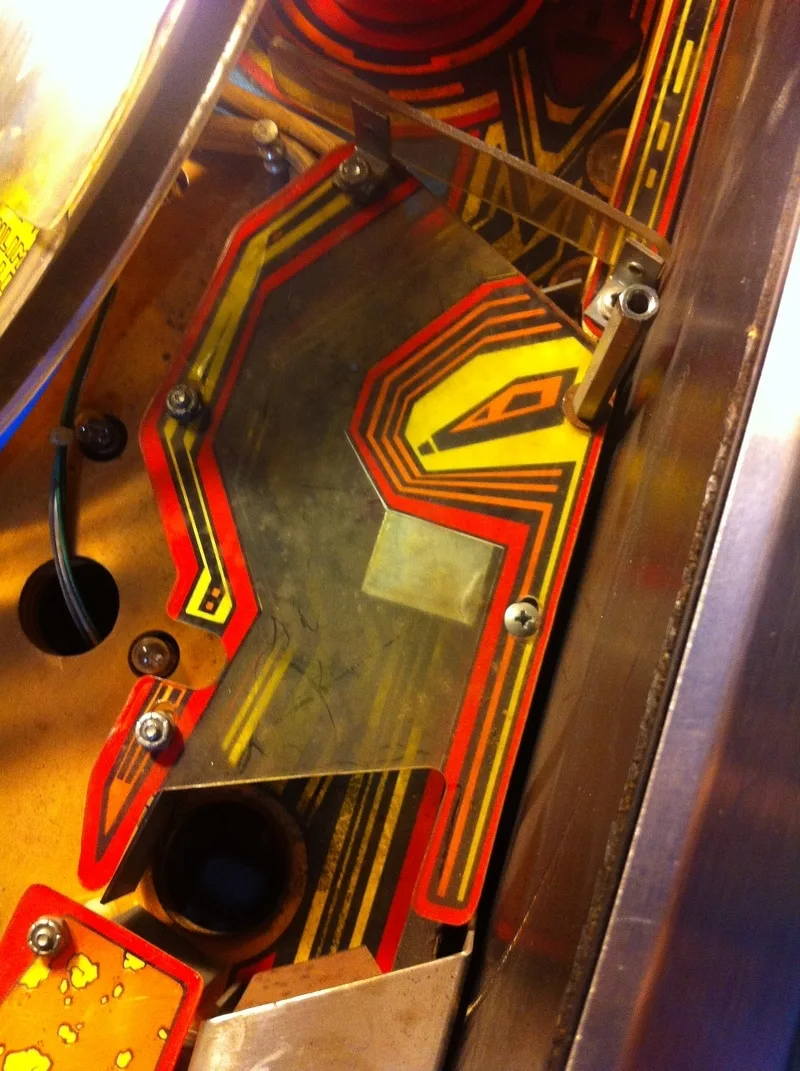
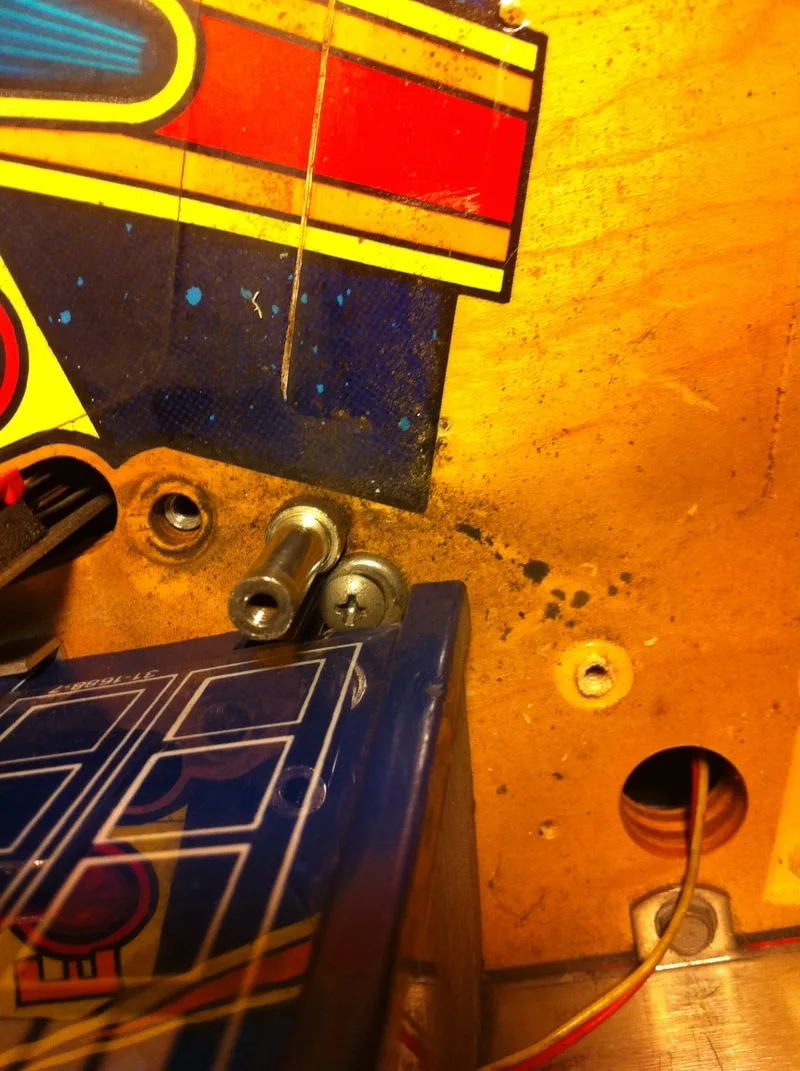
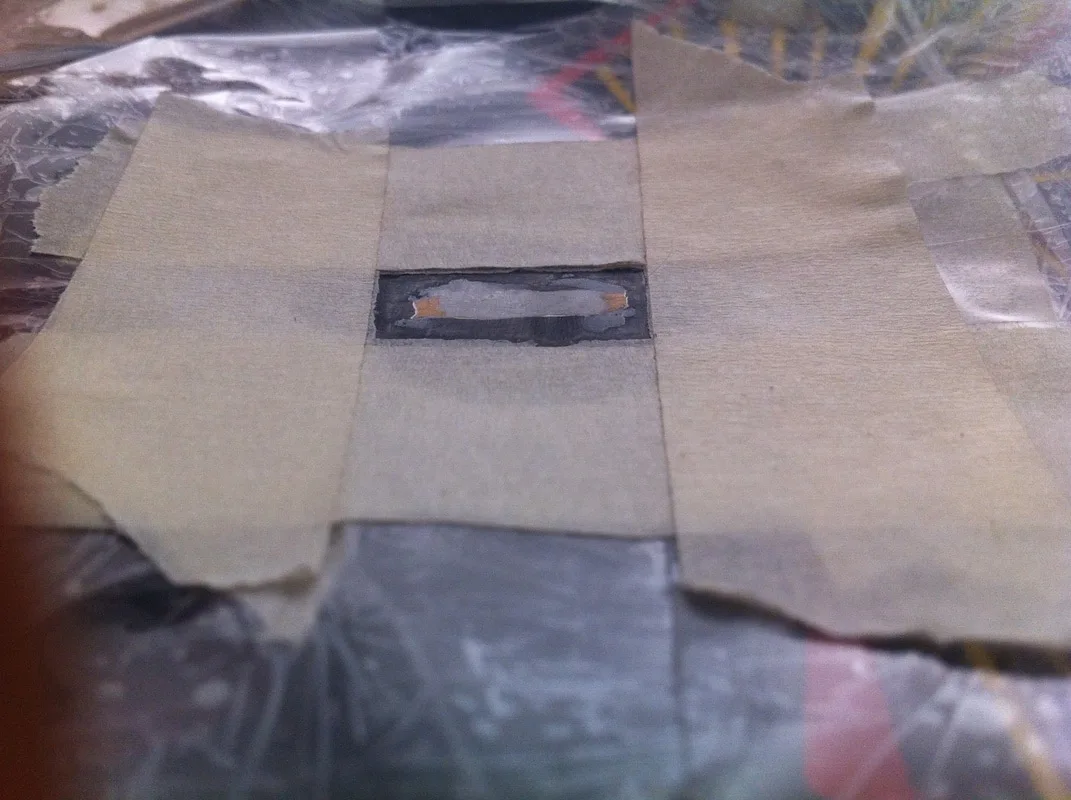
Even more frustrating was the fact that there was another hole in the playfield near the centre post hole. The post had probably been installed in this hole first, before being moved to the next hole, leaving two holes for me to patch up. Fun!
There are plenty of guides on playfield repair online that are well worth a read. In particular, Vid's guide on Pinside is very thorough. Reading articles online has made me think that people overthink these kinds of simple repairs far too much. Repairing simple holes and gouges in the playfield comes down to filling the hole, sanding it down, then painting over the repair. This is the technique I used to fix the holes on Doctor Who. This is what I started with after removing the centre post between the flippers.
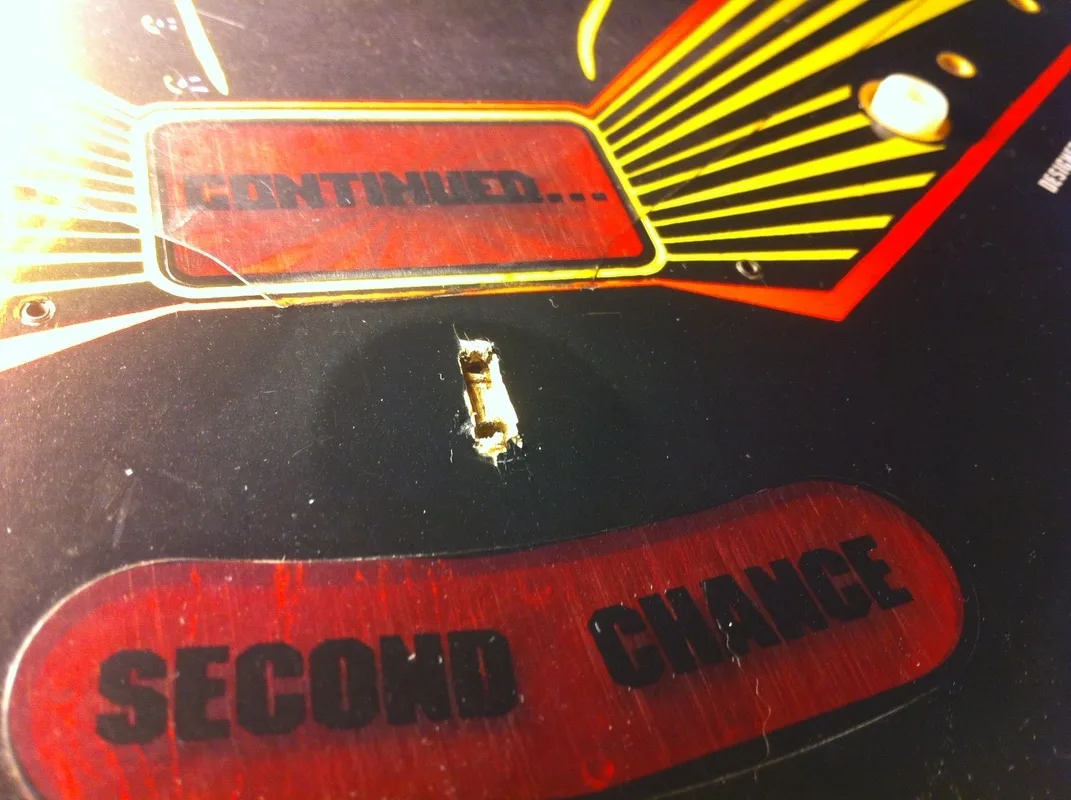
The two holes from the centre post between the flippers before the start of repairs.

Next, I needed to fill the hole. I used Selley's Knead It for this. It is easy to work with until it sets. Fill the hole and pack as much filler in as possible. If you don't fill the hole completely, the filler will be able to move and crack. It doesn't need to be particularly neat as it will be prettied up in the next step.
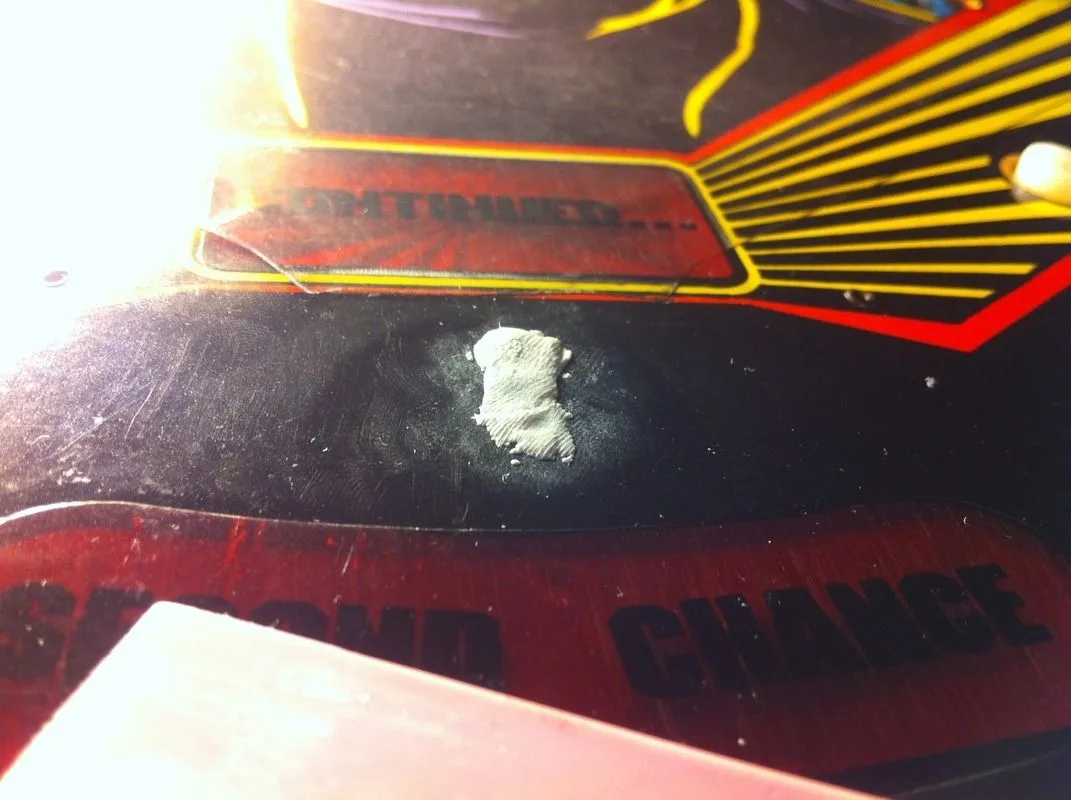
Filling the hole with wood filler.

After the filler has set, it's time to sand it down. I would suggest sanding the filler down to a level slightly below the playfield. Don't forget that you will be painting over the top of the filler, as well as applying a clearcoat (if desired). Multiple coats of each can be quite thick, so the lower you sand things down, the more paint and clearcoat you can apply. It helps to mask the surrounding area to avoid marring the undamaged areas of the playfield.
Sanding the filler so it is flush with the playfield.
Next step is painting. Again, Vid's guide covers this aspect in much better detail than I ever could here. We used Createx Opaque Black in an airbrush, which applied the paint nice and evenly and was a good colour match.
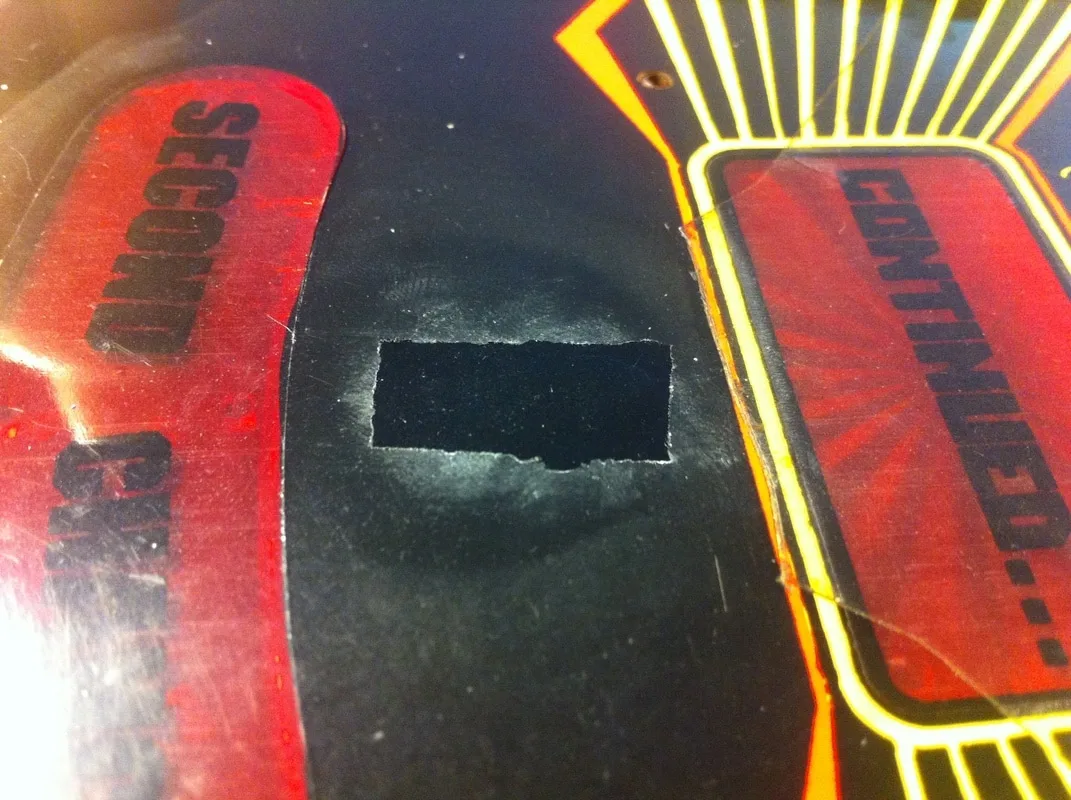
Repair area after painting and removal of masking tape.

One thing I found particularly interesting was how nicely you could polish the playfield using Novus 2. I used Novus 2 to clean and polish the repair area after using some slightly more aggressive sandpaper to level the wood filler. I was surprised at how nicely you could actually polish the clearcoat up. From the factory, the coat is quite rough, but after some polishing, it shines up like a mirror. Below is what it looked like on an undamaged part of the playfield compared to the repair area. Shiny! If you see your playfield get this shiny when polishing it, exercise caution. You will soon eat through the clearcoat's full thickness and damage the paint.
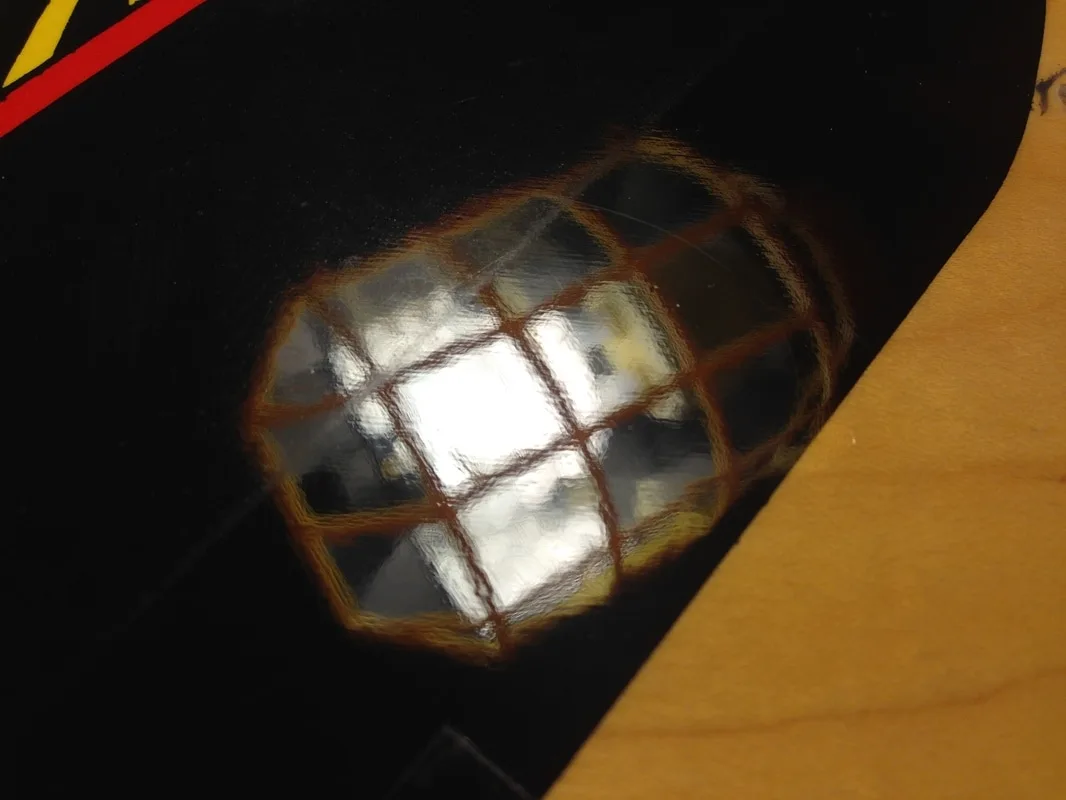
Separate area of the playfield with minimal Novus 2 polishing. The playfield finish looks "rough", even though it is smooth to the touch.

Repair area after extensive Novus 2 polishing. Like a mirror!
Finally, I decided to protect the repair area with a final coating. The best option for this is a couple of drops of two-part automotive clearcoat, as this is what is used on the playfield normally. However, this seemed a little excessive for such a tiny wear spot, so I decided to experiment a little. People have suggested a lot of alternative "clearcoats" ranging from varathane to nail polish. Nail polish, eh? Fiona had some spare bottles lying around, so I thought, "why not give it a go?". I brushed it straight on, waited for it to dry, and polished it up. I think it actually turned out quite nicely; the angle of the photo with the oblique light makes it stand out much more than it does from the playing position. Time will tell how it lives up to the ball rolling over it, but I don't expect it to get hammered.
Centre post hole repair complete!


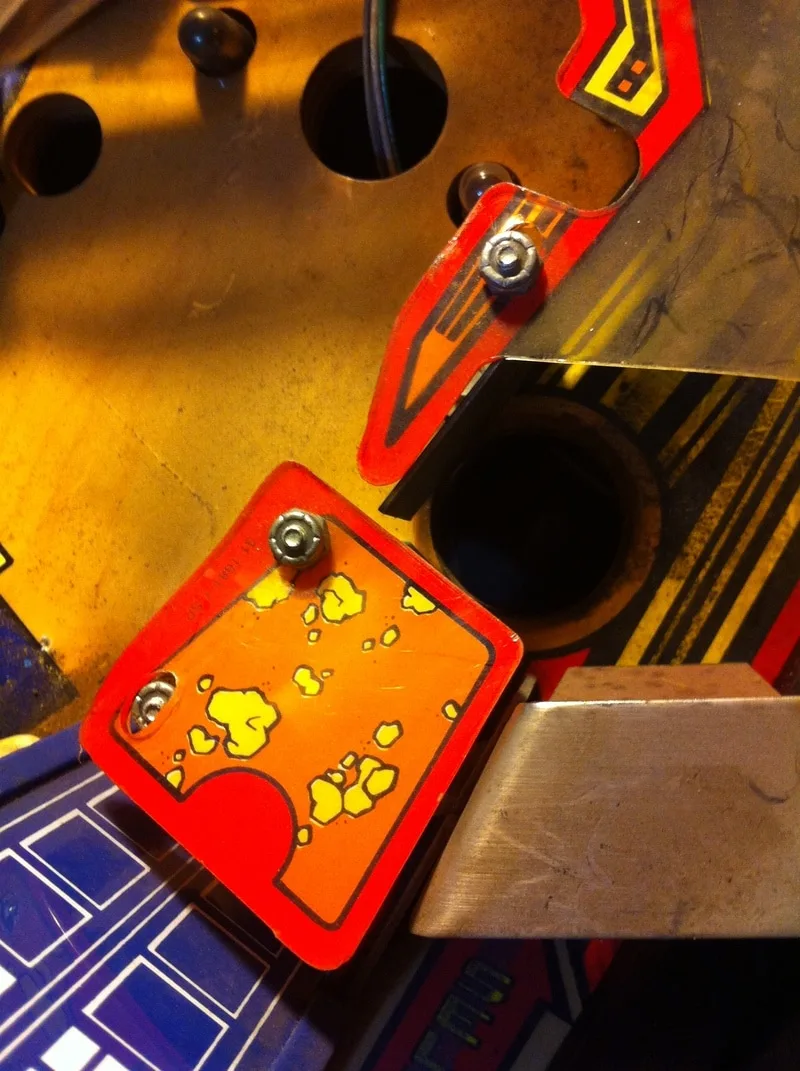
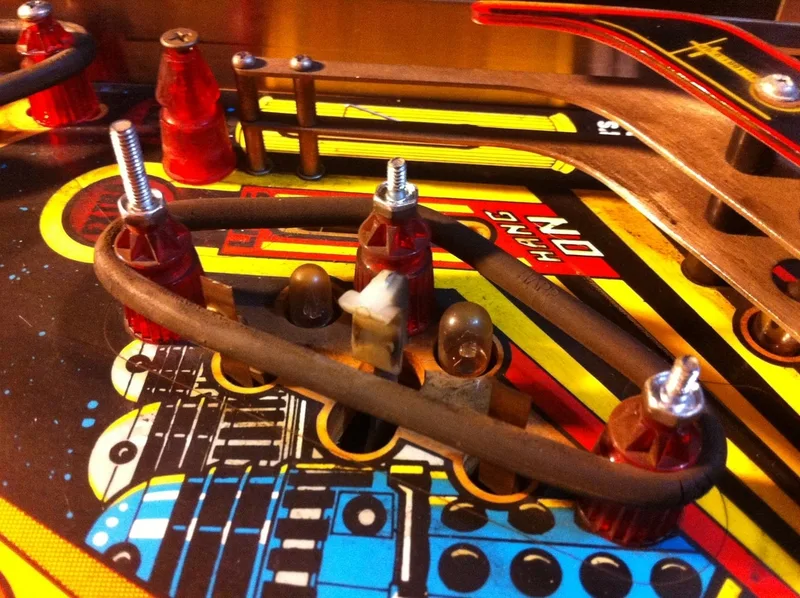
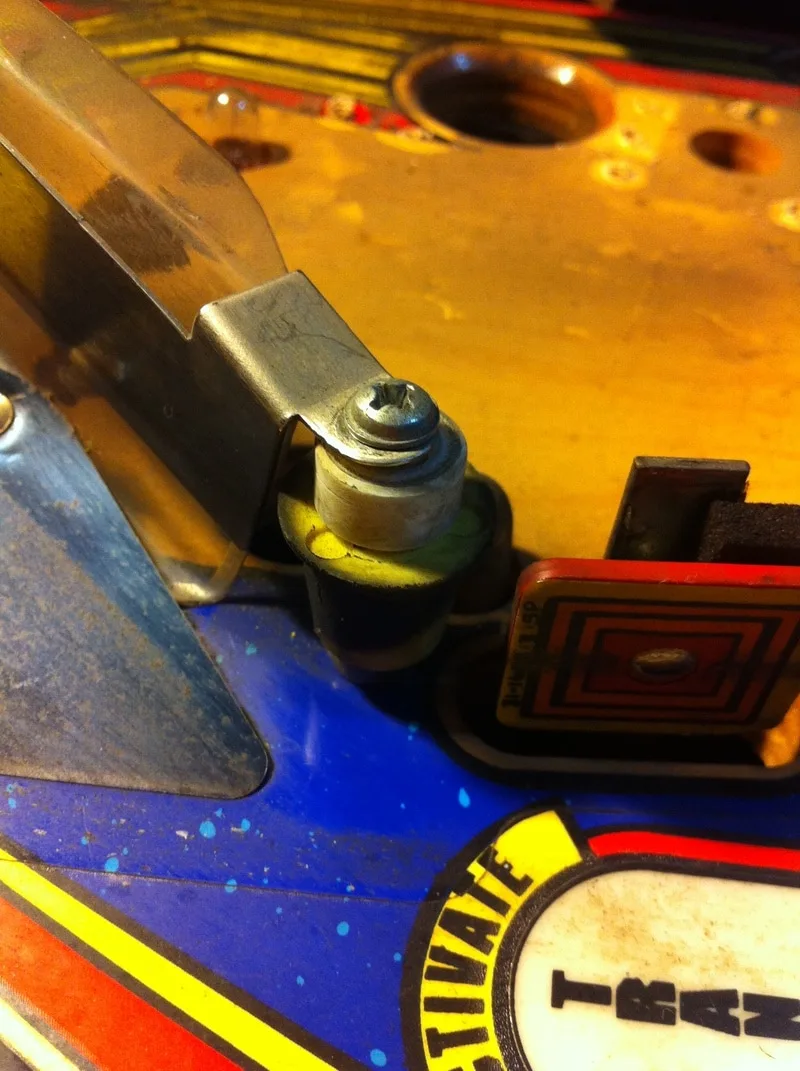
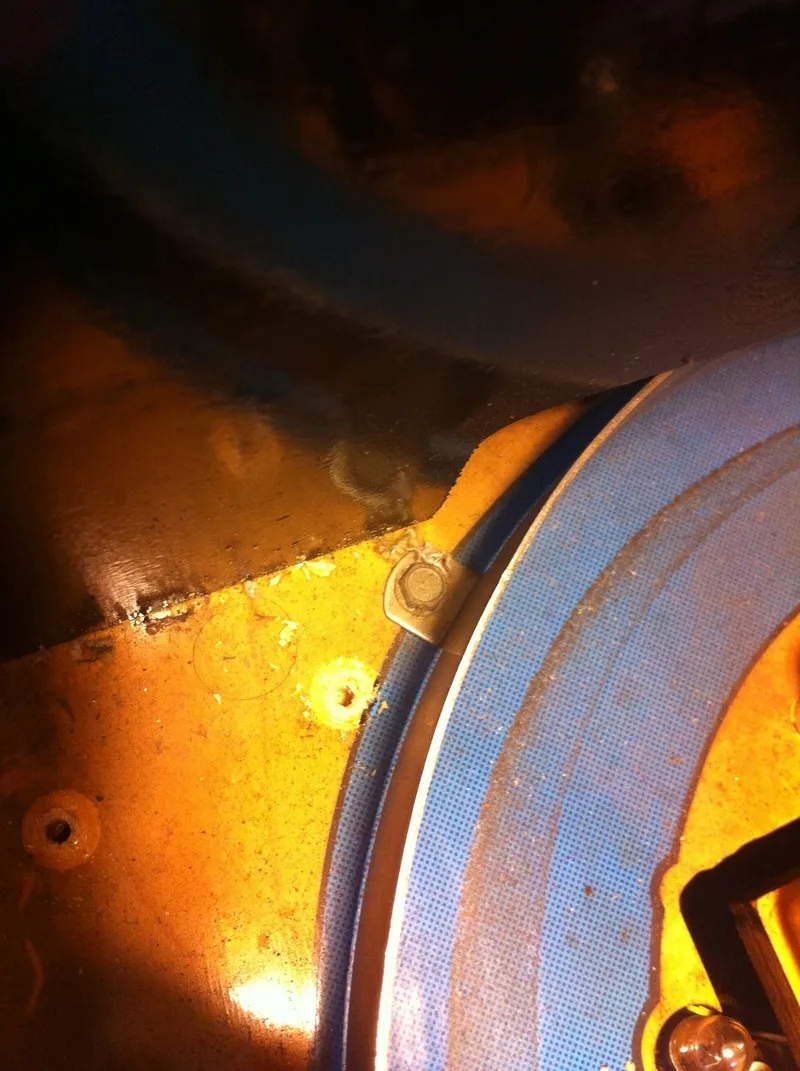
Extraneous star post installed above the right inlane and outlane.

This was an extra star post that wasn't meant to be there. It was installed above and between the right inlane and outlane. Unlike the centre post, I actually understood why this one was installed. The ball would often bounce off the slingshot rubber when it was kicked out of the TARDIS upkicker. This would result in it draining down the right outlane about 20% of the time. This is something that needs fixing, for sure. But all you need to do is adjust the wireform ramp attached to the slingshot and move it left or right! Installing a post is hamfisted and totally unnecessary. There is even a page in the manual that mentions this problem specifically and instructs you on how to adjust the wireform to fix it!
I followed the same procedure to fix the hole created by the star post as I did to repair the centre post hole. The repair went pretty much the same way, the only difference being that I needed to paint a small section yellow to match what was on the playfield. Fiona did an excellent colour match on this one using Createx opaque yellow with a dab of opaque red for darkness. Then, some opaque black for the edge. Unfortunately, I forgot to snap an 'after' picture.
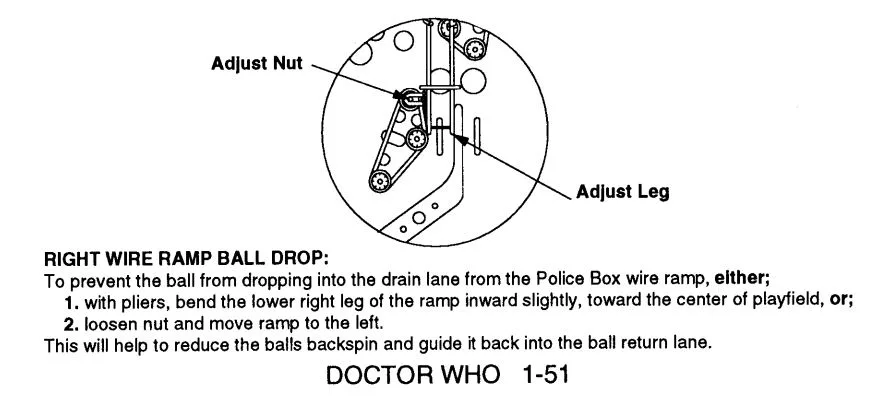
Excerpt from the Doctor Who manual describing how to adjust the wireform ramp.


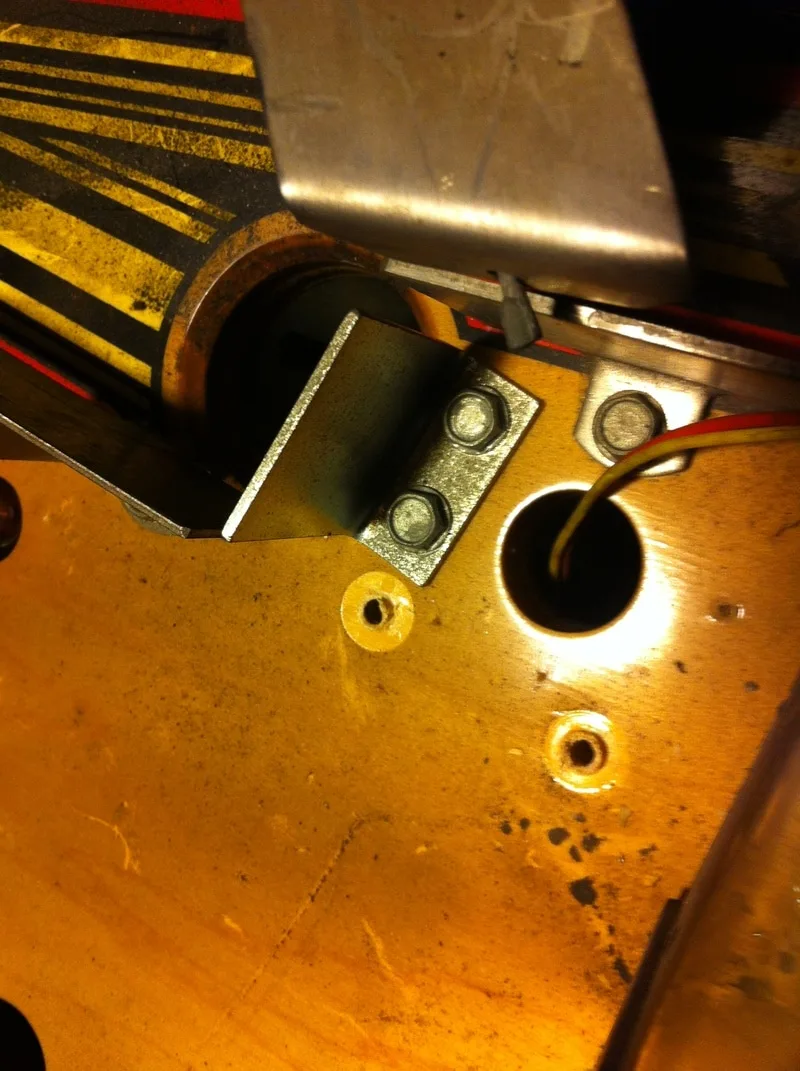
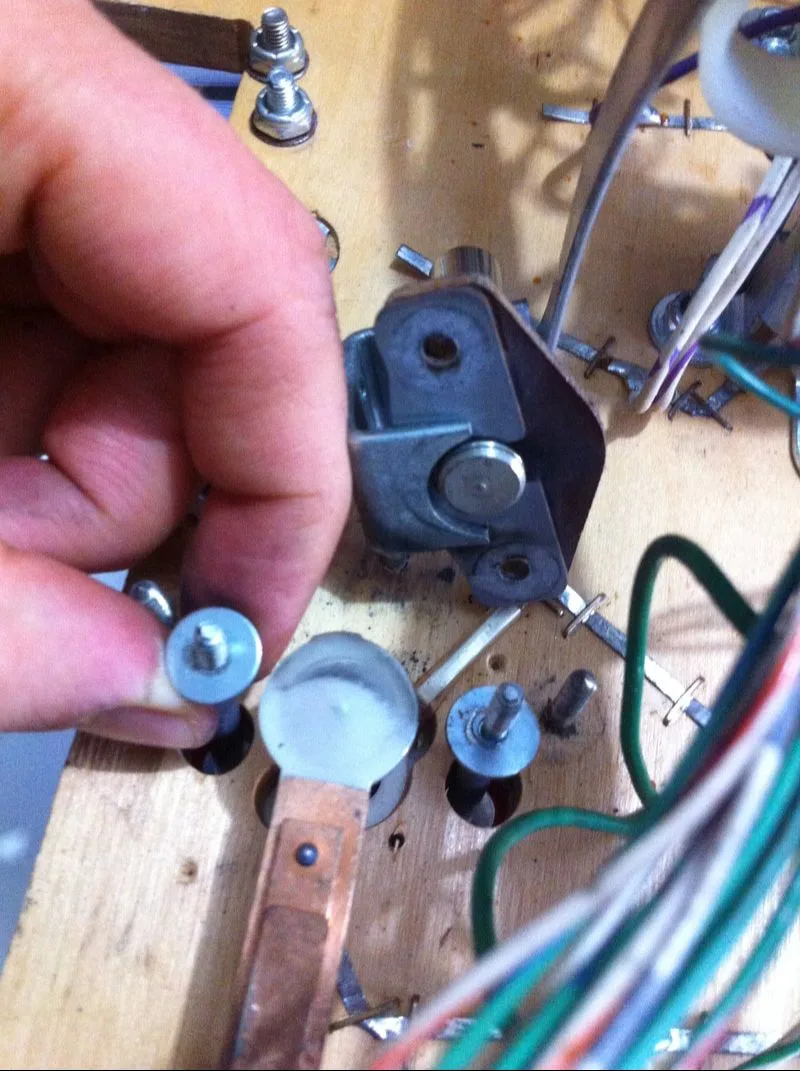
Loose purple wire underneath the mini playfield.
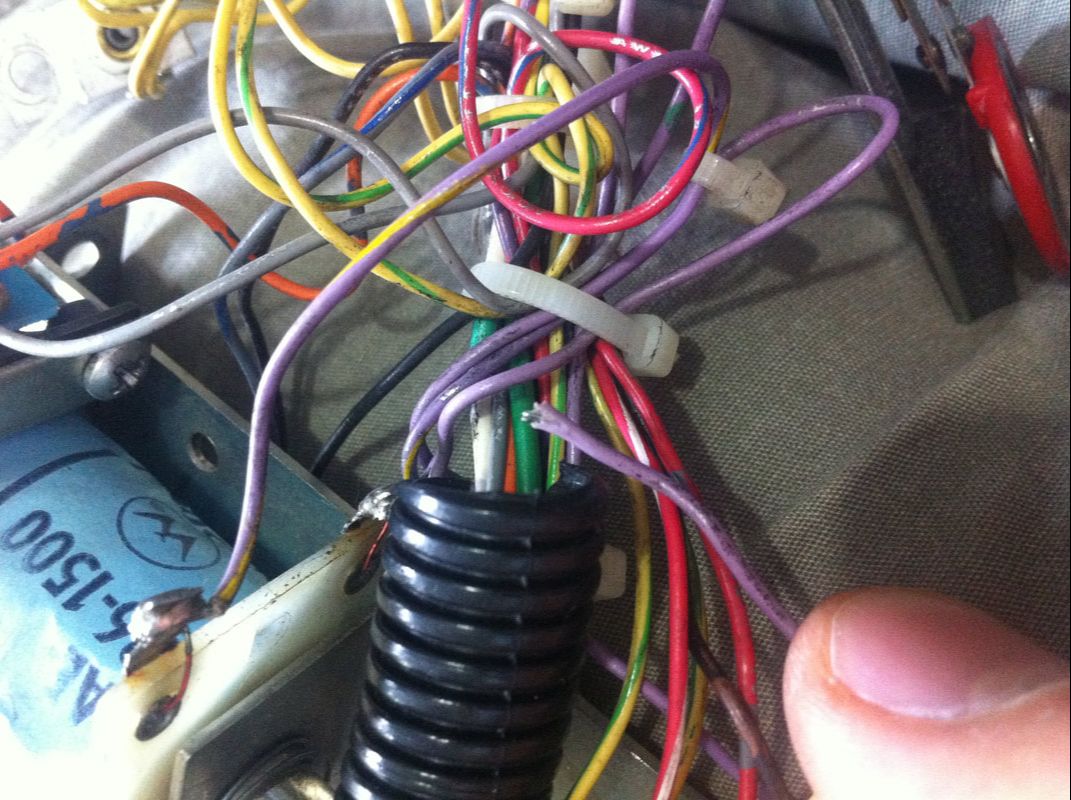
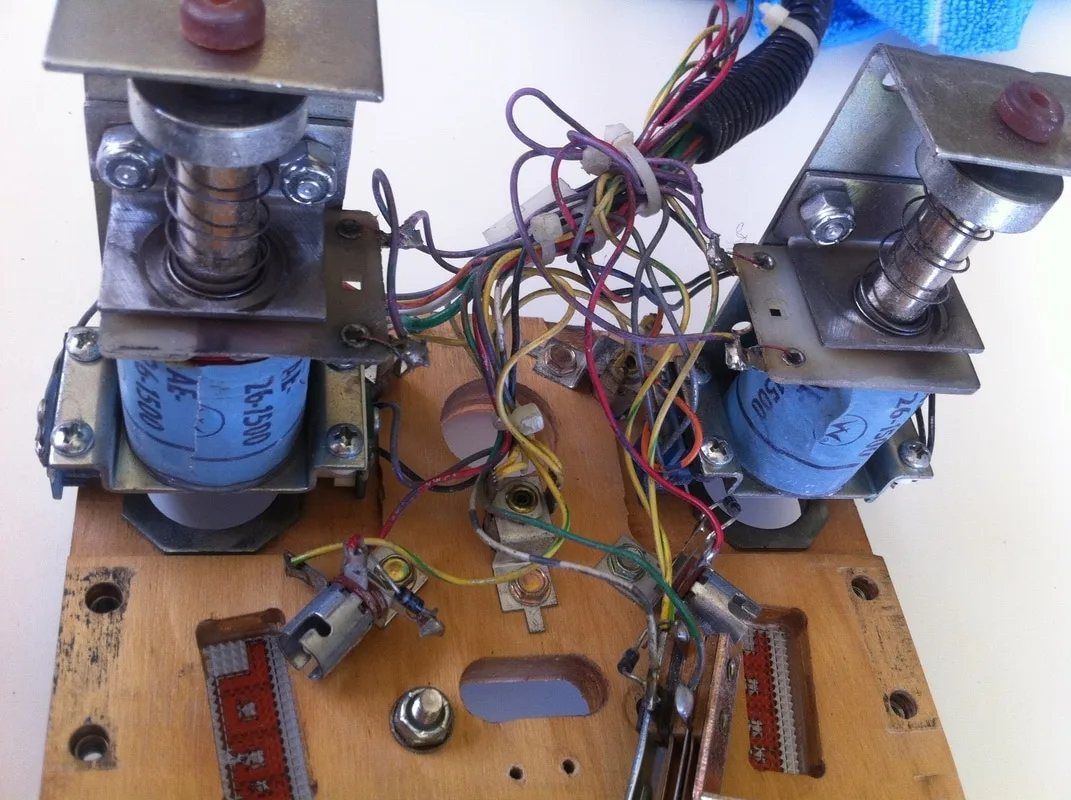
The two rear lugs on the coils were meant to be connected to each other with the loose purple wire.

Incorrect edge flap replacement was peeling, ugly and tarnished.


Looking much cleaner after replacement with a set of Cliffy protectors!
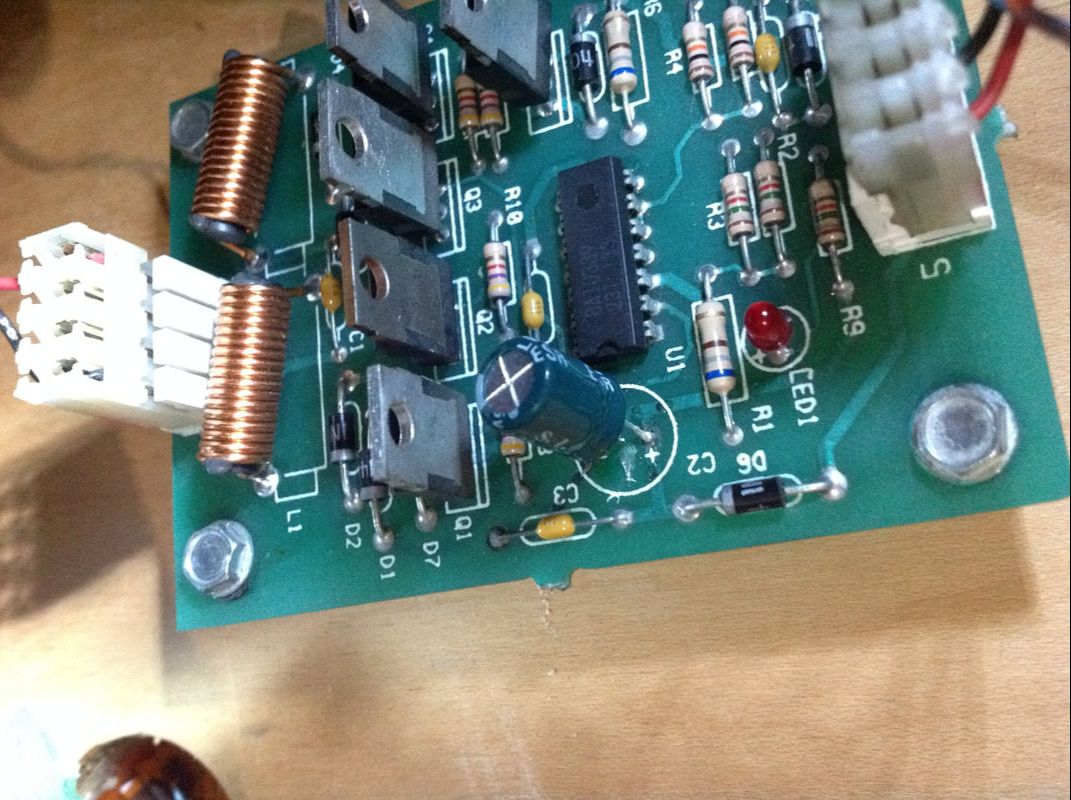
I had verified that the motor was working with an external power source. This suggested there was something wrong with the power going to the motor from the power driver board. This circuit leads to the motor via a bi-directional motor driver board mounted underneath the playfield (part no. A-15680). Looking at the board, there appeared to be something wrong with the capacitor at C2. Thankfully, this is an easy one to replace as Jaycar have an equivalent part. Pinwiki also has a good description of the problems associated with this capacitor, including the potential loss of 12 volt power for the motor. So, I replaced the capacitor but still did not have any movement at the motor. The LED on the board was on, indicating that the 20 volt supply and ground connection were good.
The bi-directional motor driver board after replacement of C2.
Next, I checked the mini playfield motor. Perhaps it had shorted to ground or had failed somehow. I tried to check continuity across the motor via the J2 connector from the motor driver board, but got nothing. Weird. Then, I checked continuity directly at the lugs of the motor, where I got a reading of 4.5 ohms. So the motor was fine. But this got me thinking - why was there no reading when I tested continuity from the J2 connector? After all, this was connected to the motor via a connector.
And that was the problem. The pins inside the connector had come loose and were not making good contact between male and female terminals. This meant that even when plugged in, power was not passing from the motor driver board to the motor. As a result of this problem, I now replace this connector for the mini playfield motor on every Doctor Who I work on. It is almost always flaky because it has been damaged or the wires have come loose inside of it. Better to replace it and eliminate the problem forever!
Upgrading the flaky mini playfield motor connector.

The target base plastic piece deforms and compresses under the paper shroud.
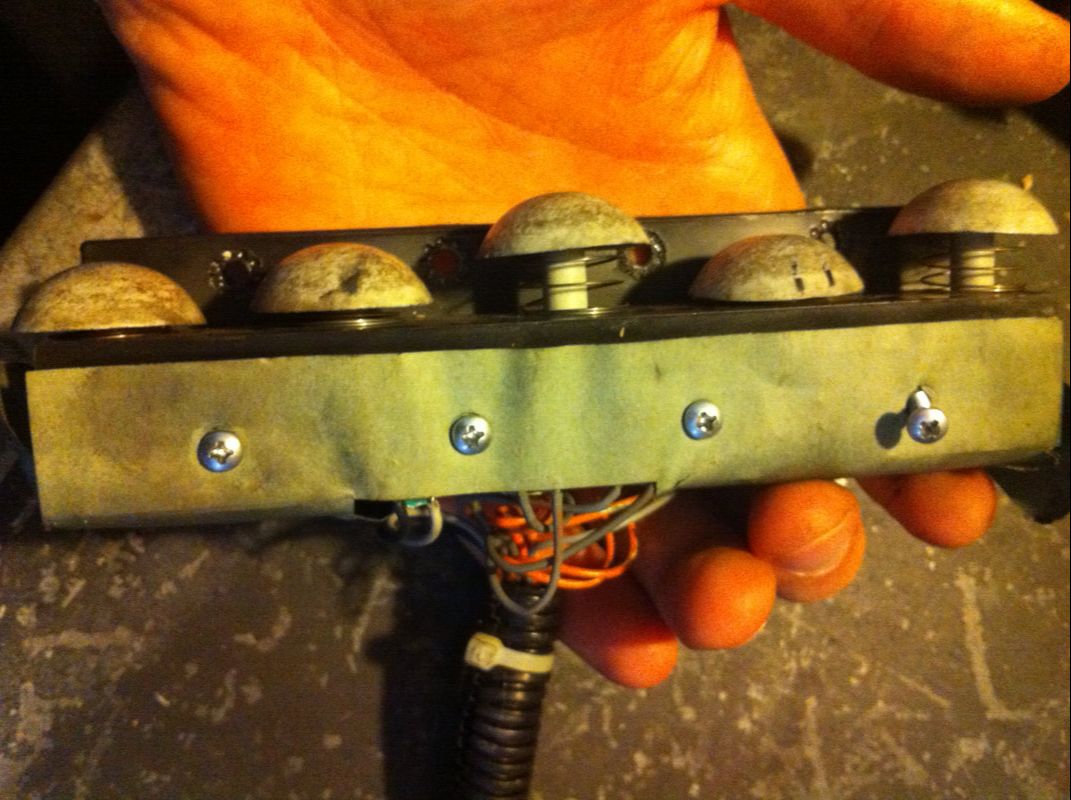
The solution I found was to make up some spacers from a strong cardboard tube which I cut to size and pushed into the bracket to keep it rigid. The spacers were placed in between the opto LEDs to prop the edges of the plastic shroud apart. This solved the problem nicely and the target stopped sticking. Later on I discovered that you can actually purchase a 3D printed cover which slots into the original plastic shroud, helping it keep its shape as well as isolating each of the optos. If necessary, you can just buy new brackets (PSPA).
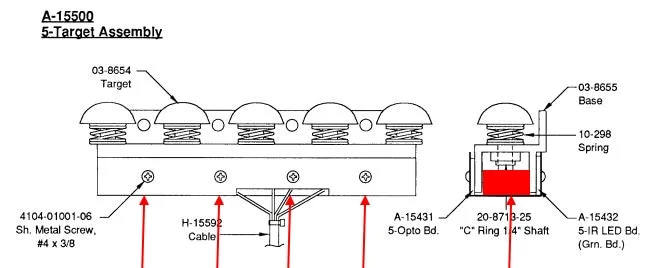
Spacers (arrowed) were installed between the opto LEDs to give the plastic bracket support.

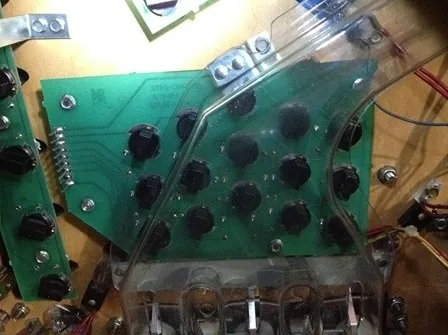
The Time Expander lamp board. Pins on this board are often problematic due to cold solder joints.

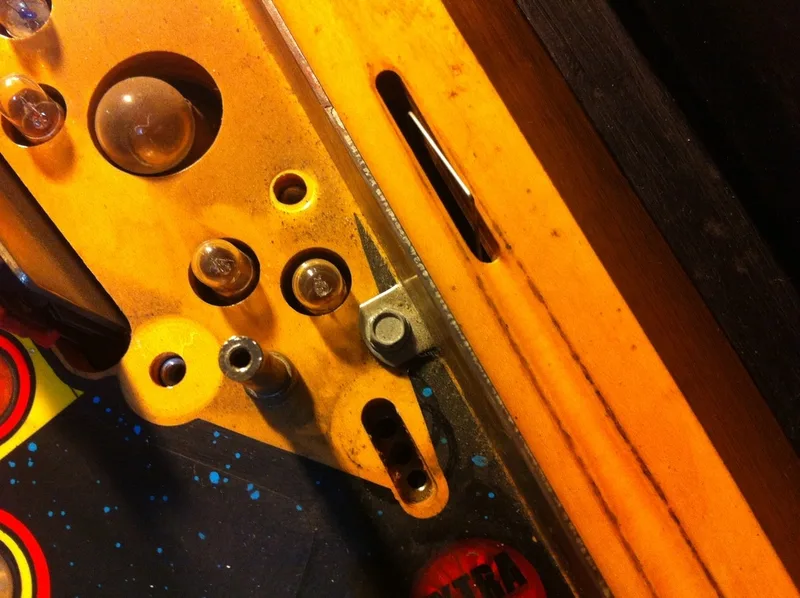
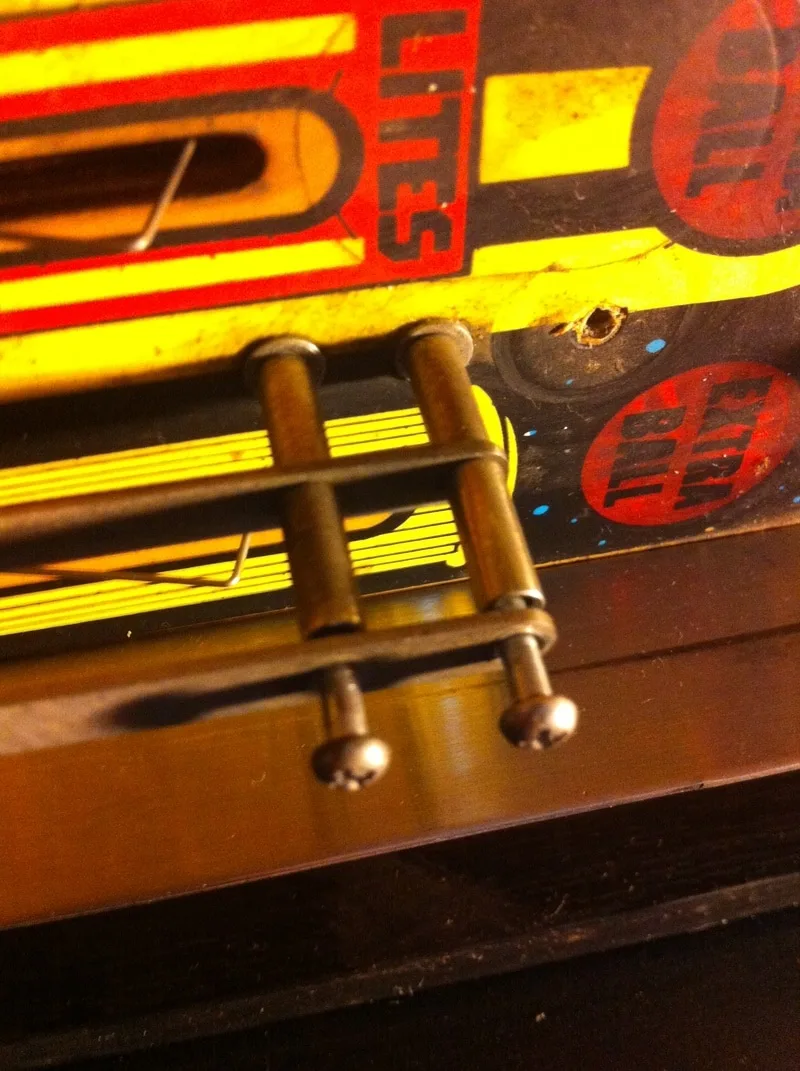
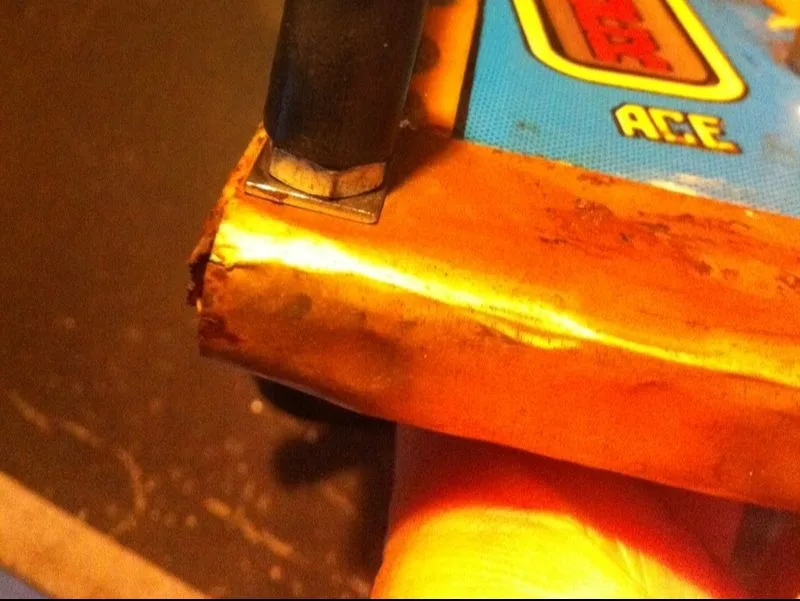
The gouges on the left side were probably due to an incorrect flipper mounting bracket being installed at some previous point in the game's life. The correct part for Doctor Who is a mounting bracket with a trimmed mounting foot on one corner (part no. A-16091-L), so it can sit flush with the cabinet.

Gouges on the right side of the cabinet...


...and gouges on the left!


Destroyed launch ball button.
Reassembly
I replaced all of the broken lamps and installed fresh black rubbers throughout the machine, including three new black flipper rubbers. I left the broken slingshot plastics on the machine for replacement at a later stage. Doctor Who is also a game that looks great with LEDs, but I did not install any this time.
Cliffy protectors are an absolute must on Doctor Who. The mini playfield gets smashed by balls and this is why it is usually so damaged. Cliffy makes three protectors for the mini playfield and I installed all of them on this game. They help cover up repair work and protect the game in the future. The mini playfield edge should have been covered with some kind of protective cover from the factory. Unfortunately, it wasn't. Wood that is directly exposed to ball impacts will never last long! The ramp protector is also a good idea if your ramp is damaged or cracked, or the factory-installed protector is missing. You can get protectors for the lock holes, as well.
There are a lot of reproduction parts available locally for Doctor Who, such as decals and parts for the mini playfield (PSPA, Mr Pinball). Prototype games were also released with a moving Dalek topper. The software to drive the Dalek is still present in the game, so you can motorise your own topper if you can get a motor and associated parts. There used to be several (expensive) kits you can buy that included everything you needed, but none are available anymore. Various people have created homebrew kits and there is enough information online to fabricate your own parts (Basement Arcade Classics, Missing Piece Technologies, Pinball Toys UK). There are various other homebrew guides, so search around.
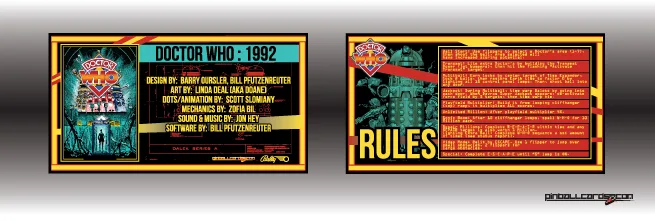
I grabbed some nice custom instruction and pricing cards from Pinball Cards. Pinball Cards have two awesome sets for Doctor Who, but I preferred the Version 2 style myself. The layout of this set of cards seems much easier to read to me than Version 1, but to each his own! Please consider donating if you download any cards from his site.
Conclusion
Doctor Who was, without a doubt, the most irritating and painful machine to work on thus far. This was mainly due to having to repair the mistakes of others (such as removing posts) and tedious mini playfield troubleshooting. There was as much work in repairing the mini playfield as there was in restoring a normal, full-sized playfield! In my opinion, the mini playfield is horribly under-engineered in some ways (such as having bear wood exposed to ball impacts) and incredibly over-engineered in others (the entire mini playfield motor, cam, and bracket assemblies).
But don't let that make you think that the whole process wasn't fun. It was! Just not in the same way that a simpler restoration is fun. I learned a lot about woodworking in this restoration, which is something that will come in handy when I need to rebuild the mini playfield on my second Doctor Who. I also learned a lot about the importance of properly made electrical connections. Preventative maintenance such as replacing the mini playfield motor connector is something that I will do on all Doctor Whos from now on.
As I had another Doctor Who in the restoration queue, this one was on the chopping block to make some room and recoup some of the money I had spent on it. When I restore the second machine I'll have a think about whether it is a machine I consider a keeper. For now, at least, I am happy not to have to see the underside of a mini playfield again!