- Published on
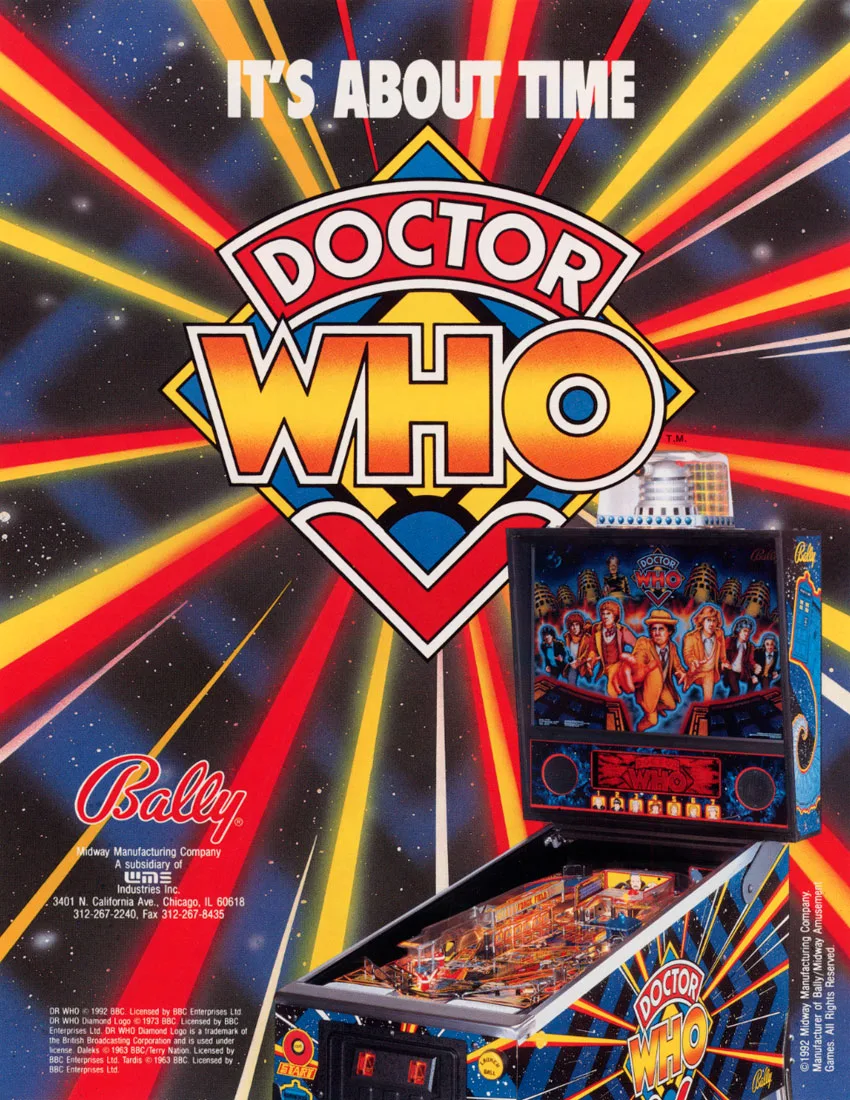
Doctor Who #2
- Author
-
-
- Name
- Posts
- Posts
-
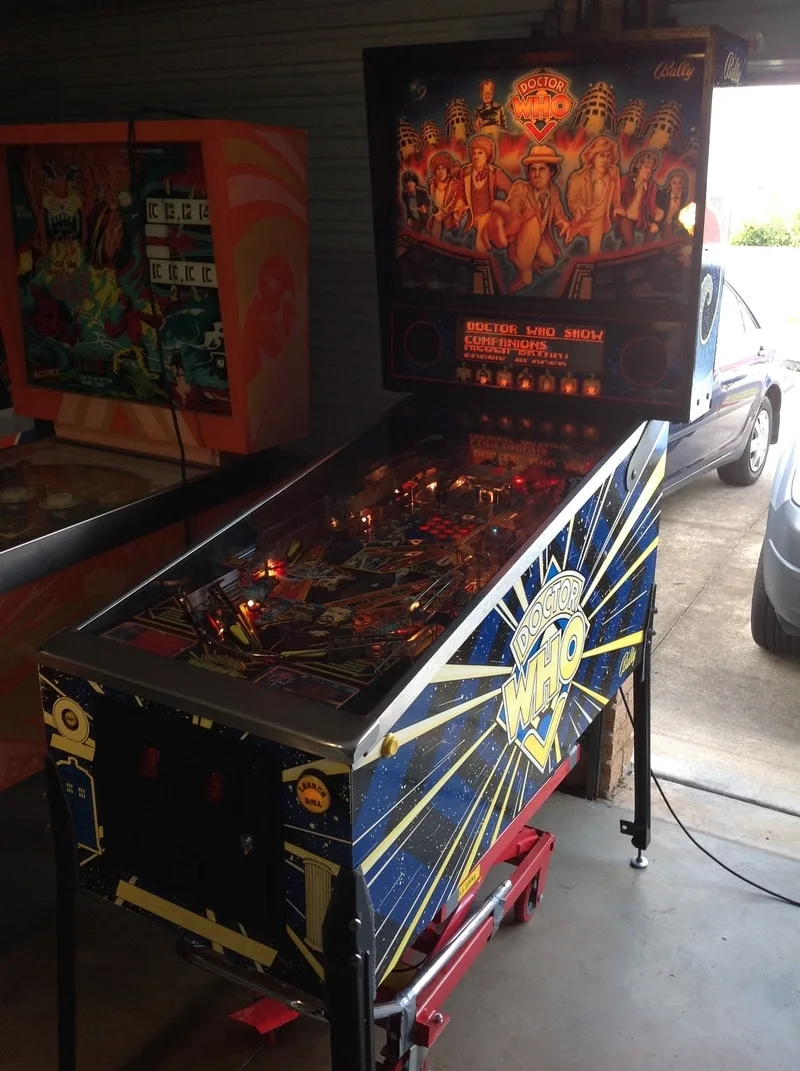
It has been just over a year since I restored my first Doctor Who (Bally, 1992), so I guess it is fitting that I'm now finishing up restoring my second. My first Doctor Who was purchased by a local collector and, since I sold it, has been treated to a new layer of clearcoat on the playfield, LEDs, a USB TARDIS, opto improvements, and a host of other upgrades. Just when you think there's nothing else to do to a machine, someone does some more! I'm glad it made its way into good hands.
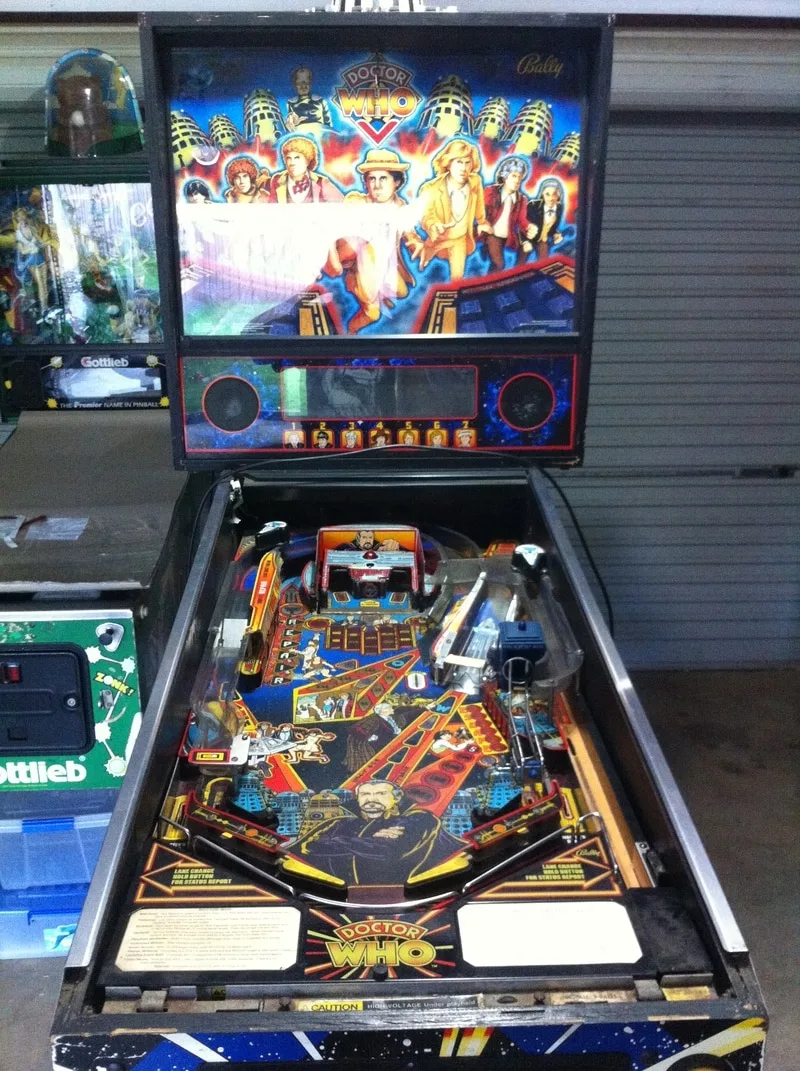
There was a reason that I restored this machine second. This machine was in much poorer shape than the first and required a bit more work to get it into a presentable state. But with the experience of the first Doctor Who restoration, and now with some additional experience from the two Fish Tales restorations, I thought I may as well finish dealing with the doubles of all my machines and get this Doctor Who back into action.
- Timber in average condition. Some small scuffs and marks.
- Decals significantly faded.
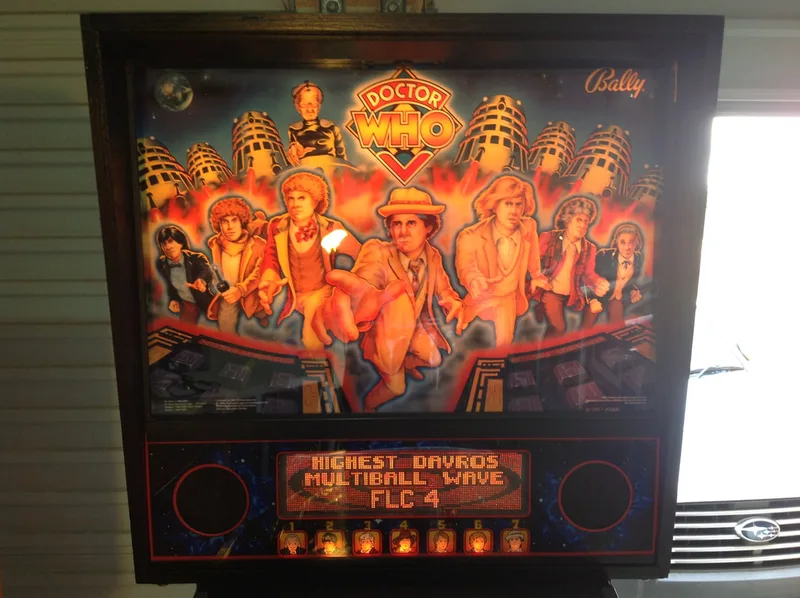
- Translite in average condition; small tear on 6th doctor.
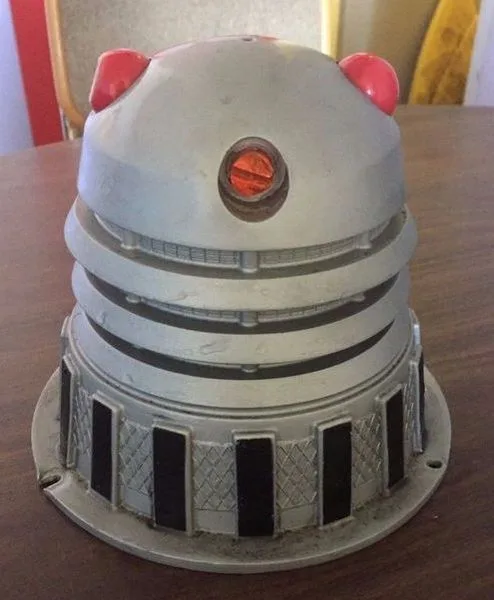
- Dalek topper was missing it's head and dome.
- Playfield was very dirty.
- Consumables (rubbers and lamps) dirty and in poor condition.
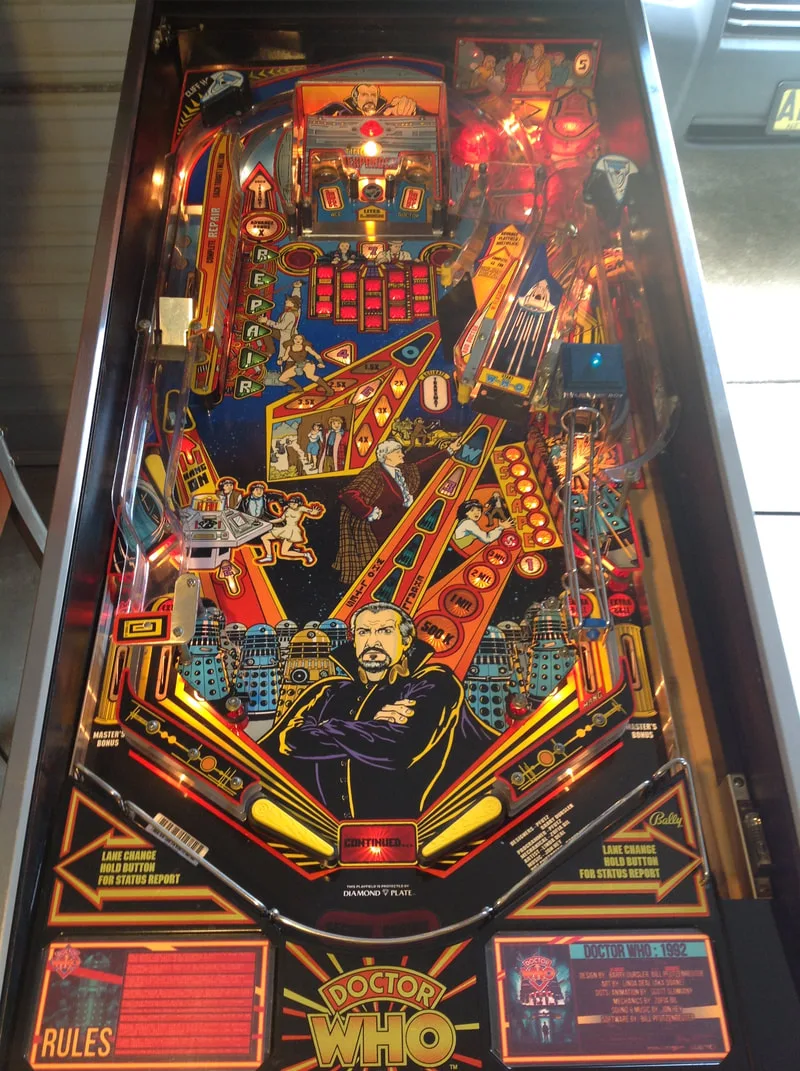
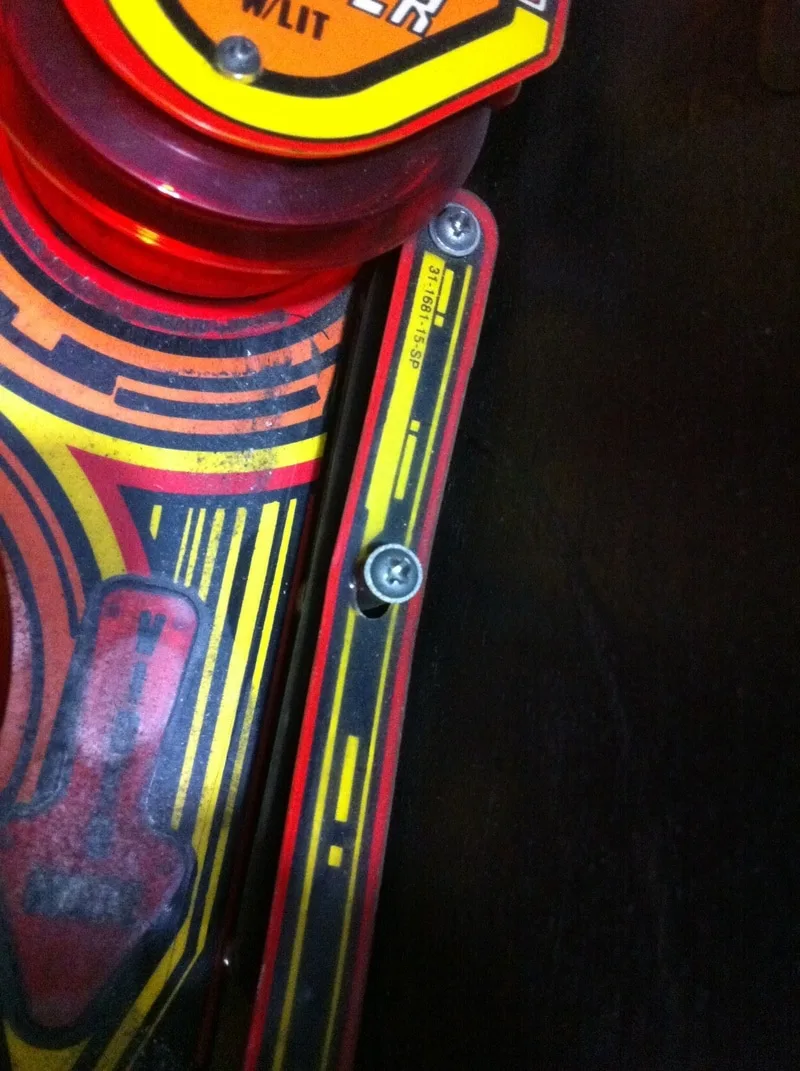
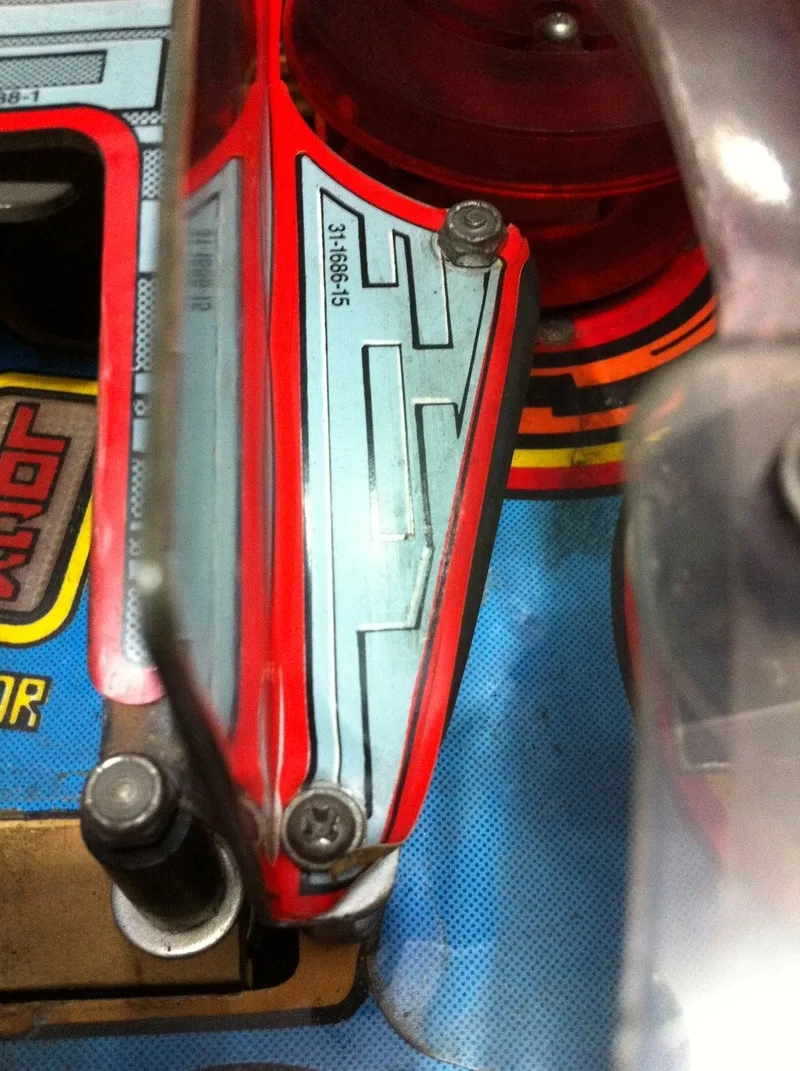
- Playfield and playfield artwork in poor condition. Heavy wear to mini playfield and main playfield edge.
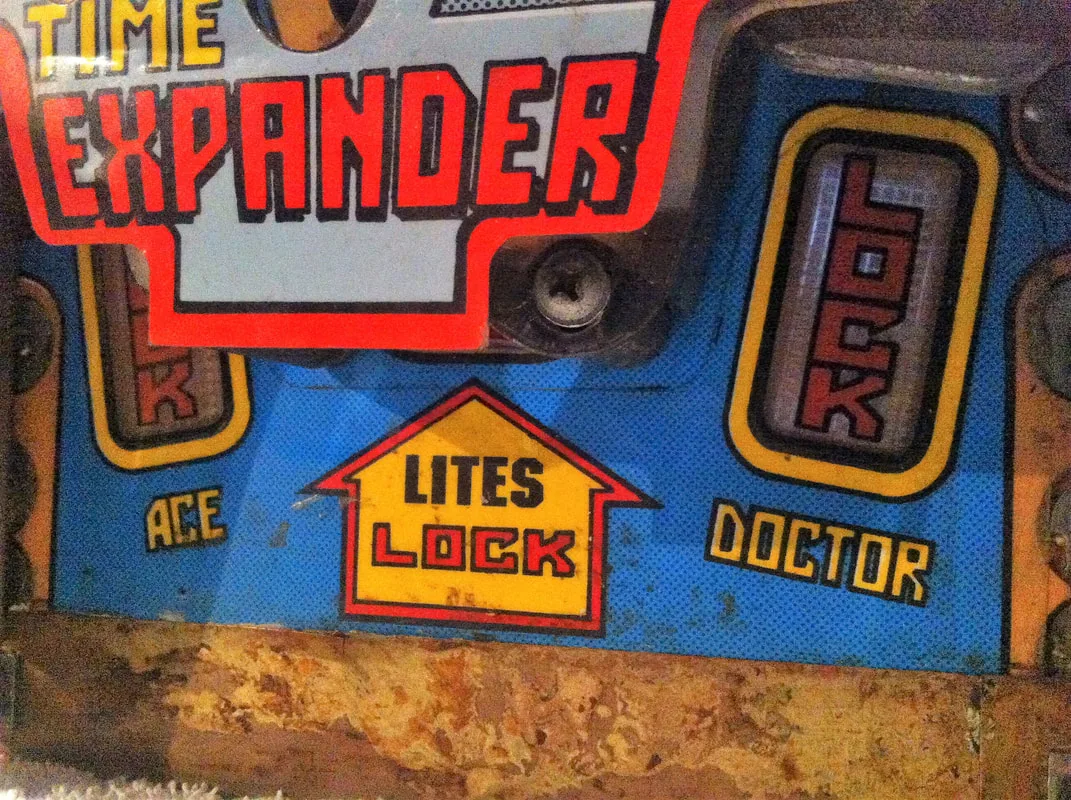
- Plastics in average condition. Both slingshots broken. Time Expander cover broken.
- Playfield mechanisms/toys in poor condition. Mini playfield would not move up and down properly. Slow and on a slant. Some parts missing.
- Inserts in average condition. Some sunken.
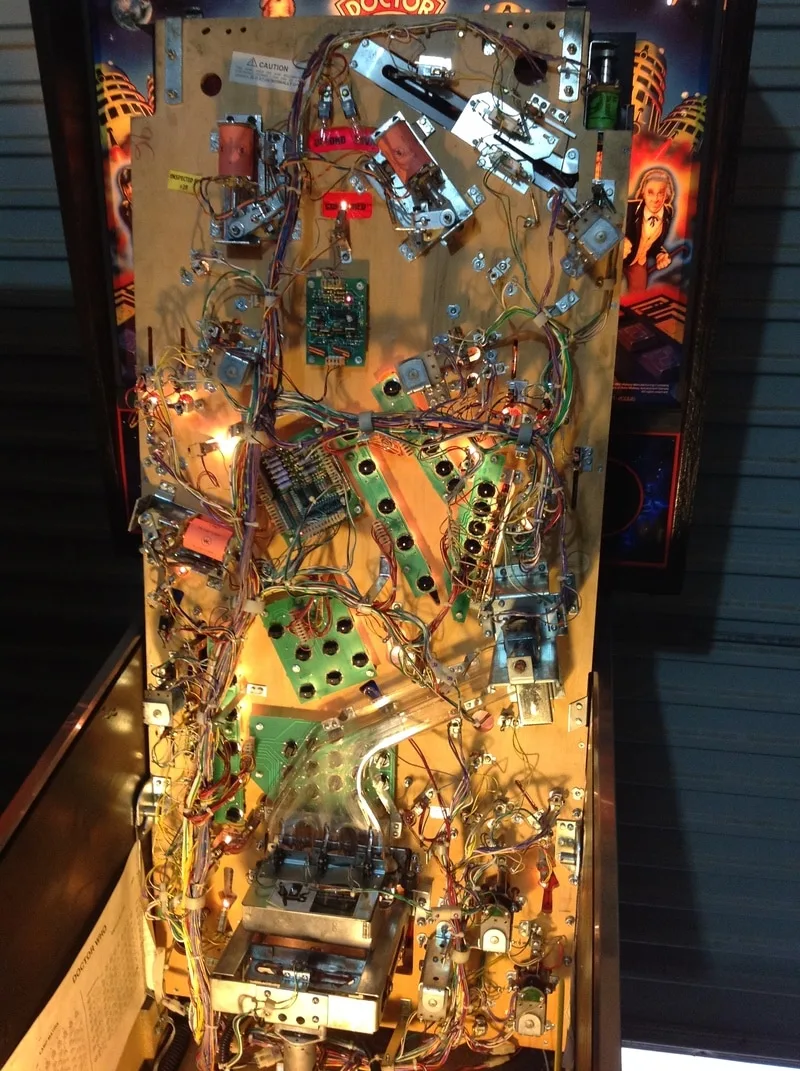
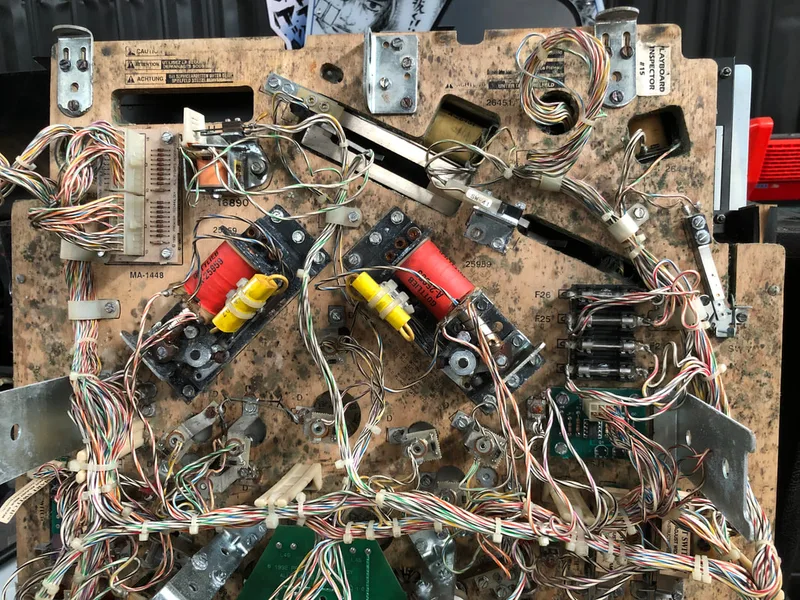
- All mechanisms and assemblies very dirty.
- Consumables (coil sleeves, flipper parts) dirty and in poor condition.
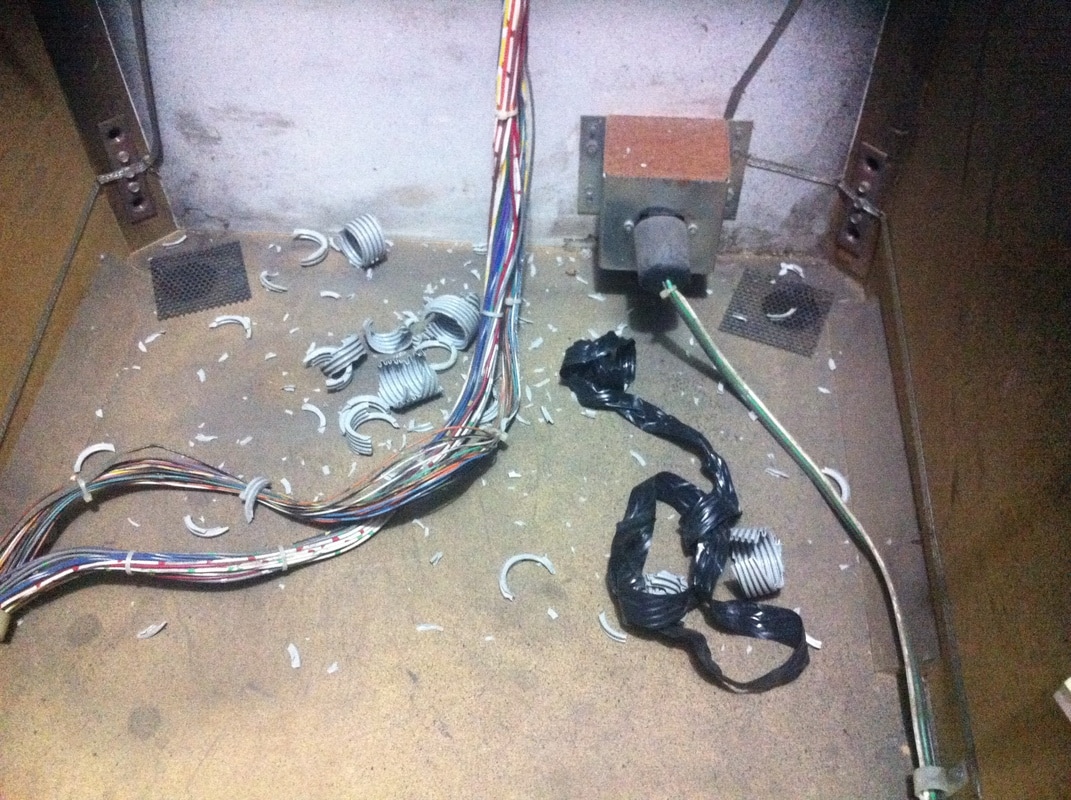
- Conduit for playfield wiring destroyed.
- Machine booted and could start a game however mini playfield produced phantom switch hits.
- Playfield and backbox wiring in average condition. General illumination connector burned.
- Dot matrix display showed artifacts.


Other than that, it was a pretty uneventful teardown. After disassembly, the game went through my standard restoration process to get it playing and looking like new. During the restoration process, I dealt with a number of issues, described below.
Tips & Troubleshooting (click on sections below to view details)

Dalek without a head! Image courtesy of AAAR pinball.
Interestingly, the bend in the Dalek toppers can actually be fixed with a little heat and manual bending according to AAAR pinball. I didn't end up trying to fix my Dalek as even if I had managed to fix the deformation, I was still missing the head.
I actually found a second hand Dalek on eBay after I finished restoring the game. While it was damaged, it was miles better than the headless zombie I had. Up until this point, I had actually taken everything off the top of the backbox because the broken topper looked so bad. The flash lamp protruded from the top of the Dalek body and blinded you if you looked up at the wrong time. At least with the new Dalek, the flash lamp would be covered. The nose was still missing, and one of the red domes was dented, but at least it was a little more complete. Many thanks to Barry at Able Amusements for the topper!
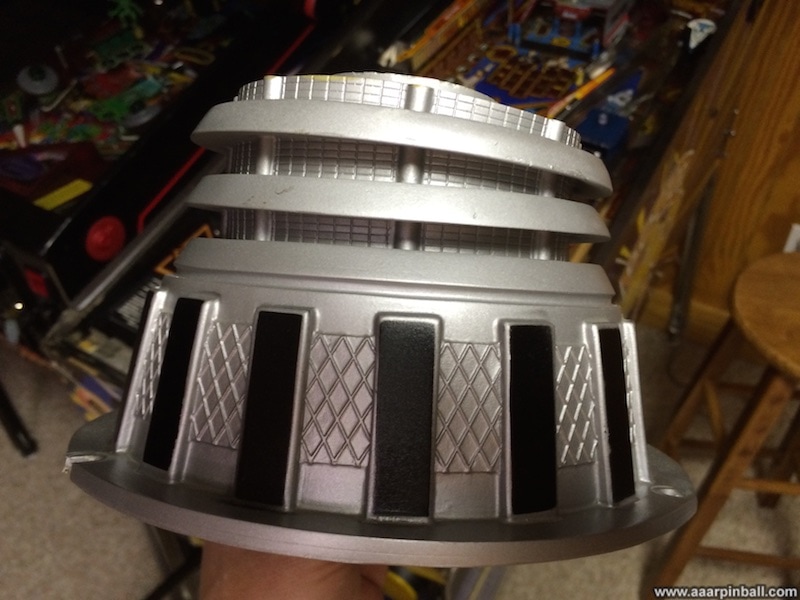
New (less-damaged) Dalek for Doctor Who.
At this point, I was still missing the clear plastic dome that covers the Dalek (part no. 03-8710). This part is basically unobtainable. One solution is to use a topper dome from Fish Tales or Whitewater (part no. 03-8653, from PSPA, RTBB). This one is larger, but it fits on the machine and is readily available. I didn't like the look of the larger dome, so I left the Dalek without one altogether. Here's hoping someone reproduces the correct dome in the future.
Incorrect top flap installed with glue residue all over the playfield.


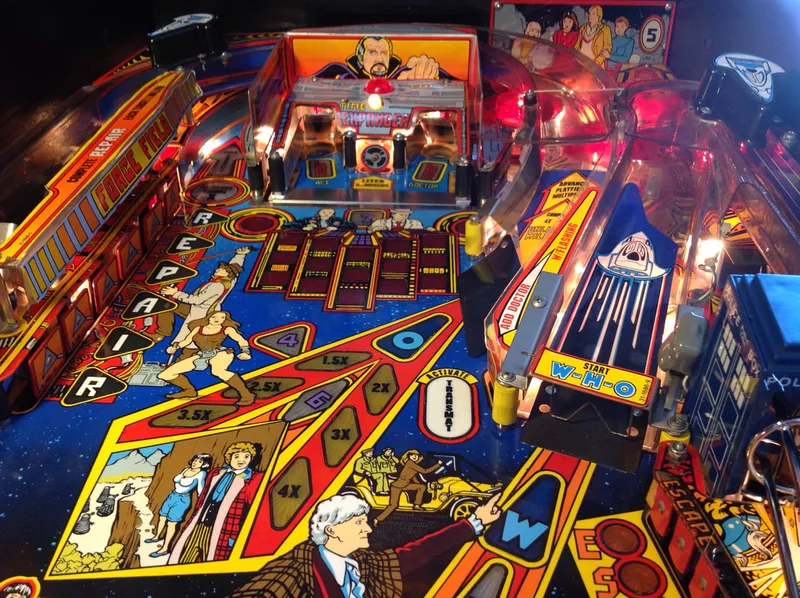
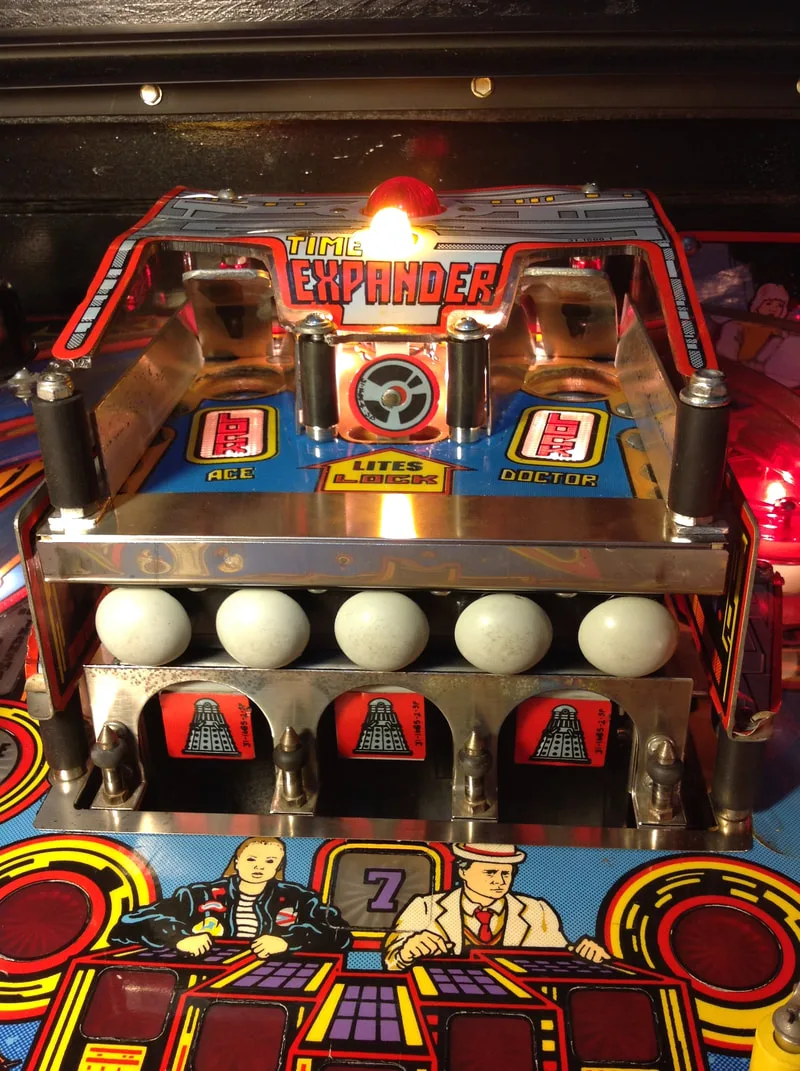
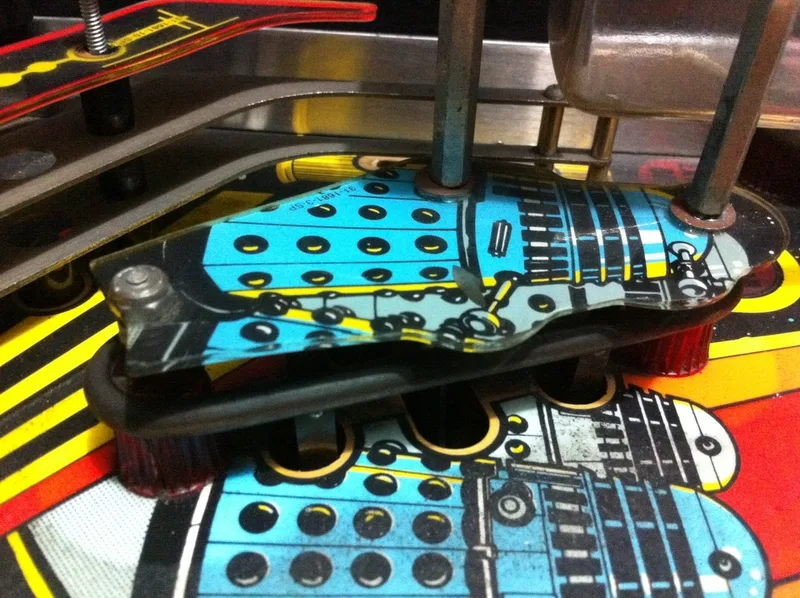
Mini playfield cleaned, rebuilt, and with Cliffy protectors installed.

The yellow was the first area to be painted. We used Createx Opaque Yellow with a touch of Opaque Red to create the right shade. For the black, we used Opaque Black. The end result looked pretty good and the colours mached quite well. It was hard to see the area had been repaired unless you were up close to it.
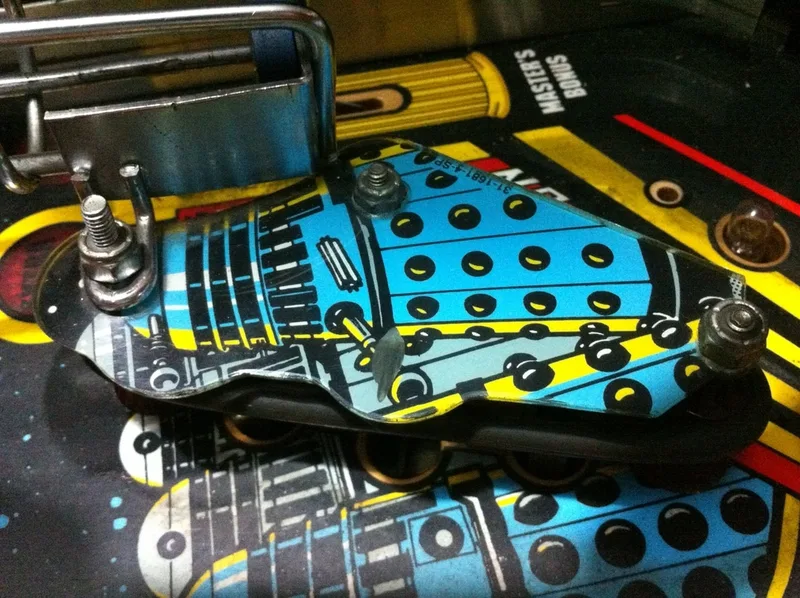
Damage to the top edge of the playfield, adjacent the mini playfield.
Repaired, repainted, and Cliffy protector installed; good as new and bulletproof.


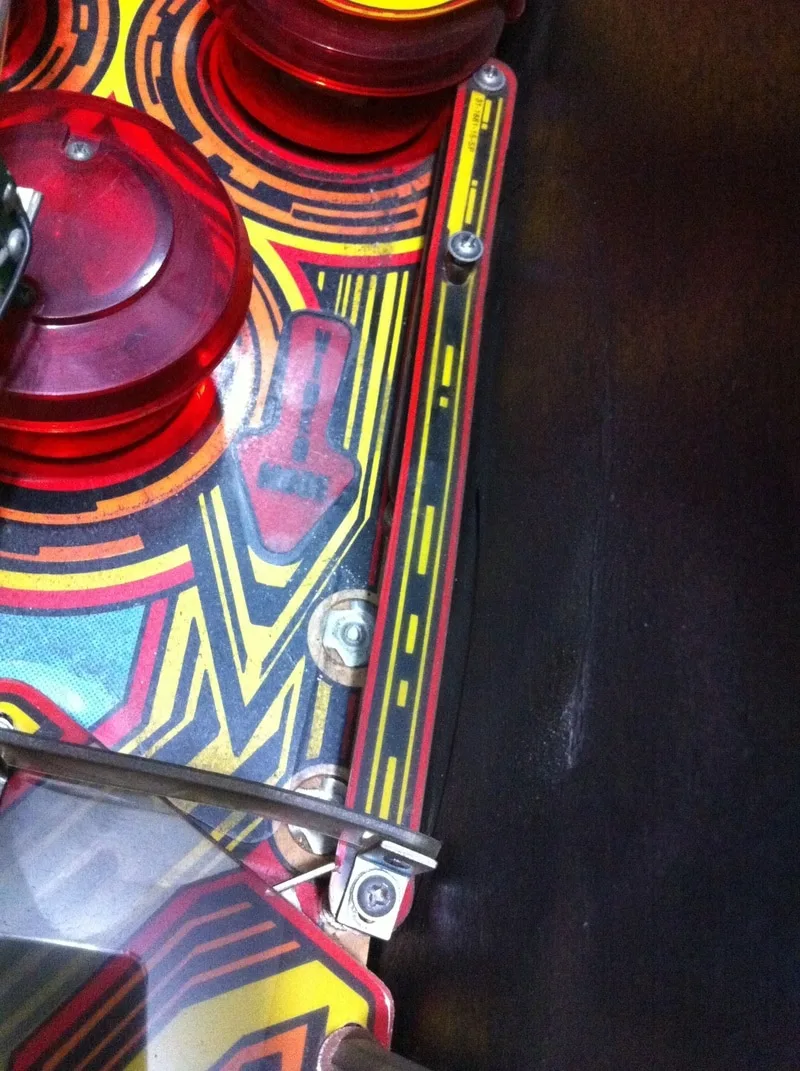
Repainting the borders of playfield inserts.
Repainting the insert borders makes the playfield look much nicer.

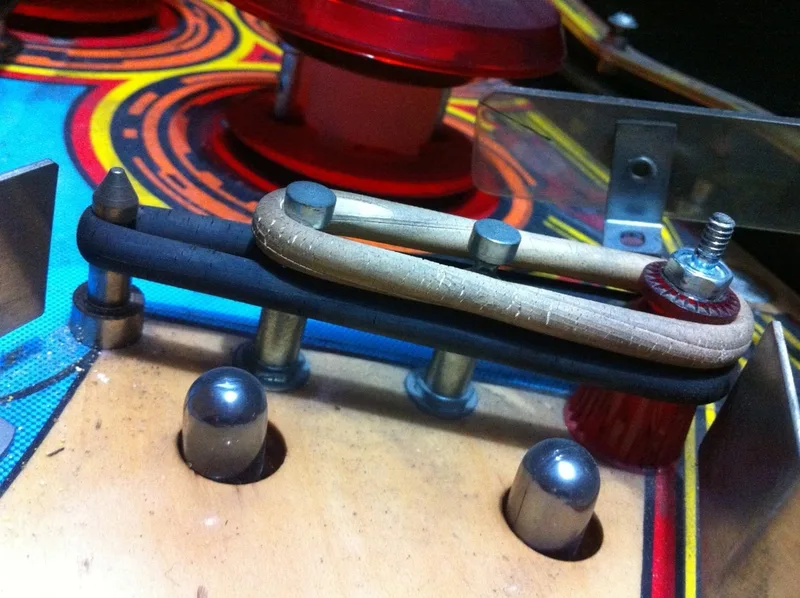
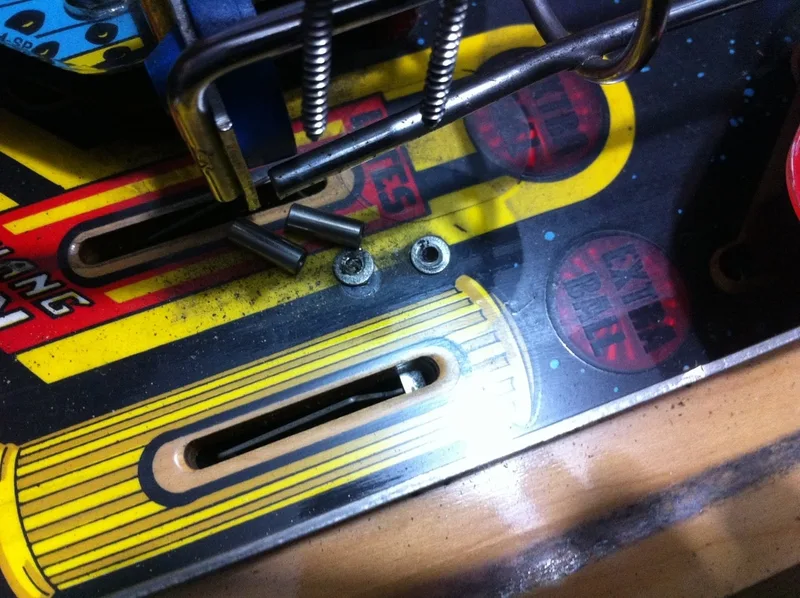
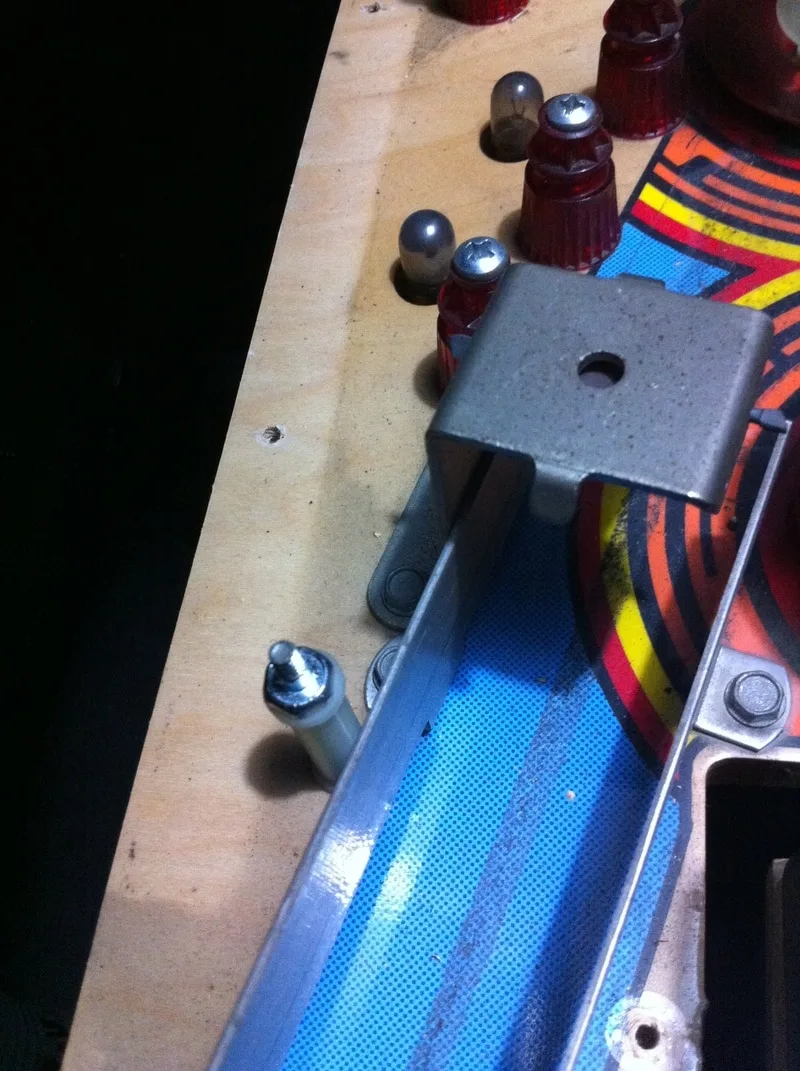
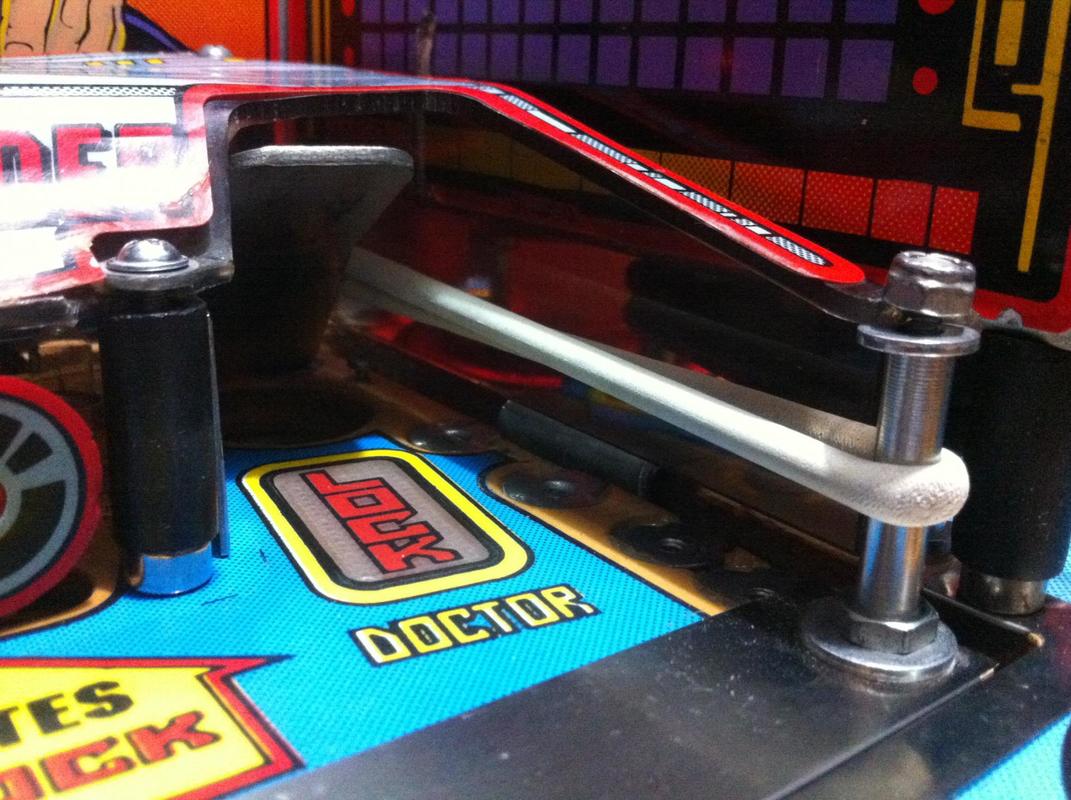
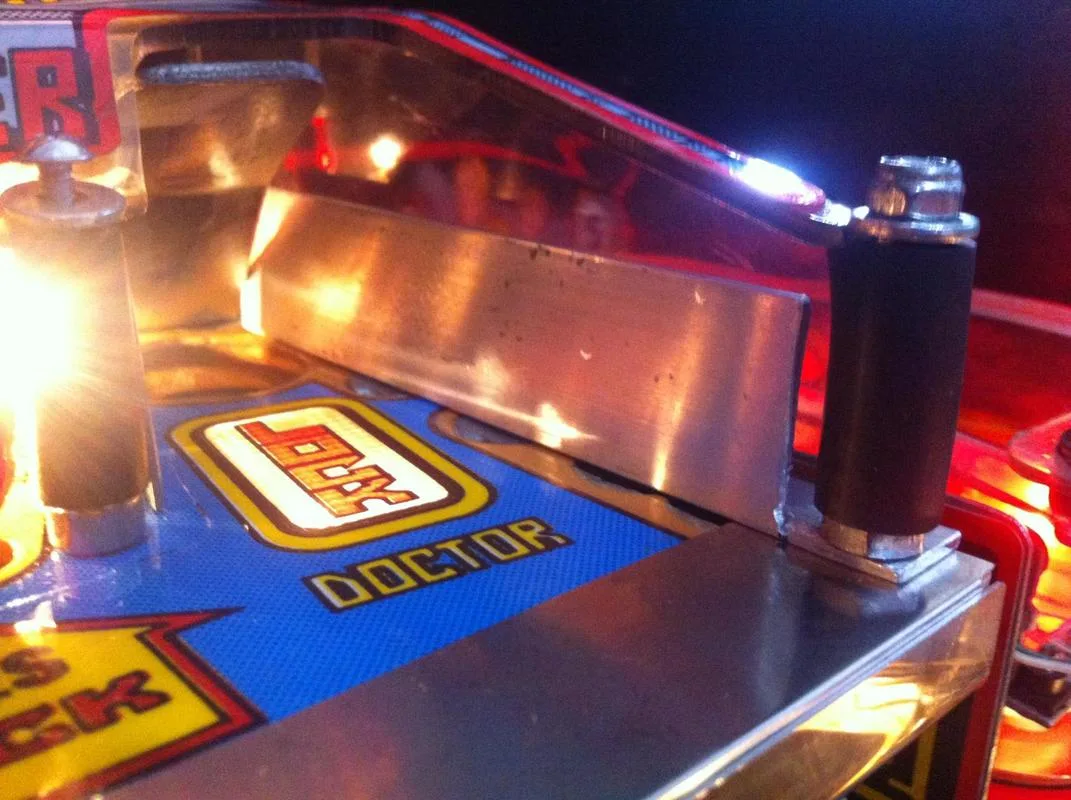
Part no. 13 was the missing metal ball guide.

Rubber ring used as a makeshift ball guide.
It soon became clear that if I wanted to have these ball guides, I would need to make them on my own. This was my first attempt at fabricating a metal part, and without a template, I needed some measurements. Many thanks to Dave at Aussie Arcade for the preliminary measurements!

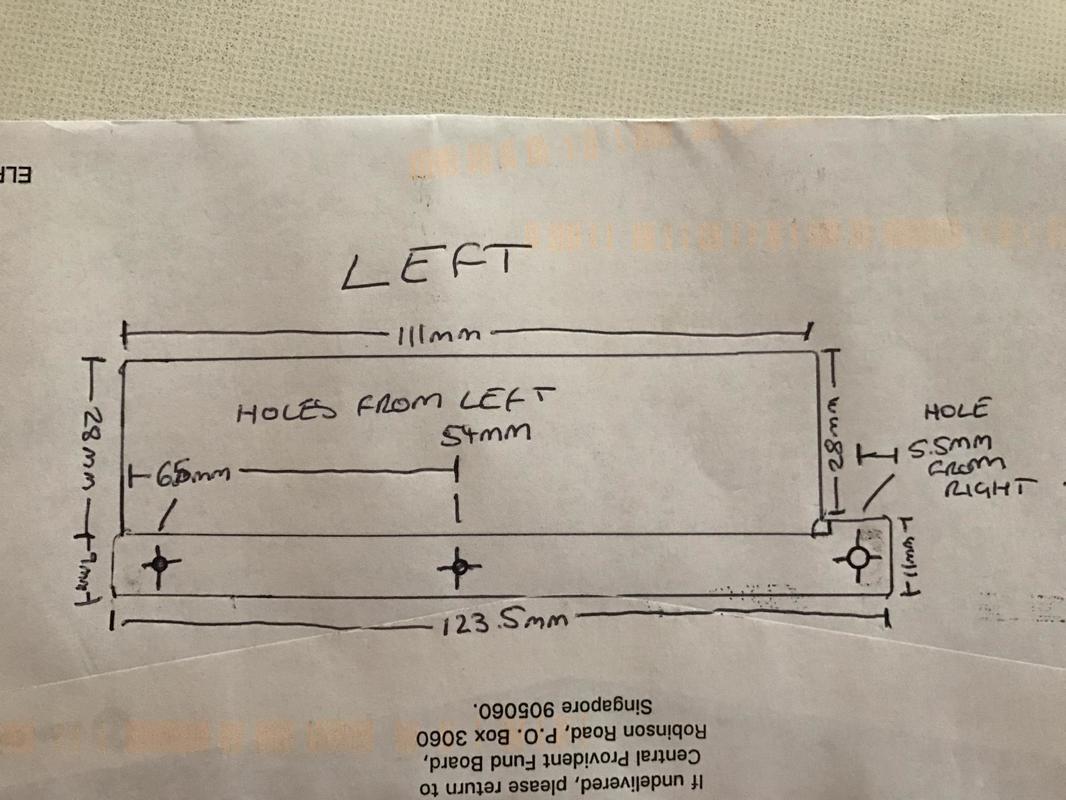
The next task was to source materials. For this I made a trip to Bunnings to see if they had anything suitable. Thankfully, they did. Metal Mate have various lengths of angled aluminium, one of which was the perfect size for use as a ball guide. I used this product and cut it to size as necessary. After cutting, just drill the screw holes and deburr the edges and you should be good to go.

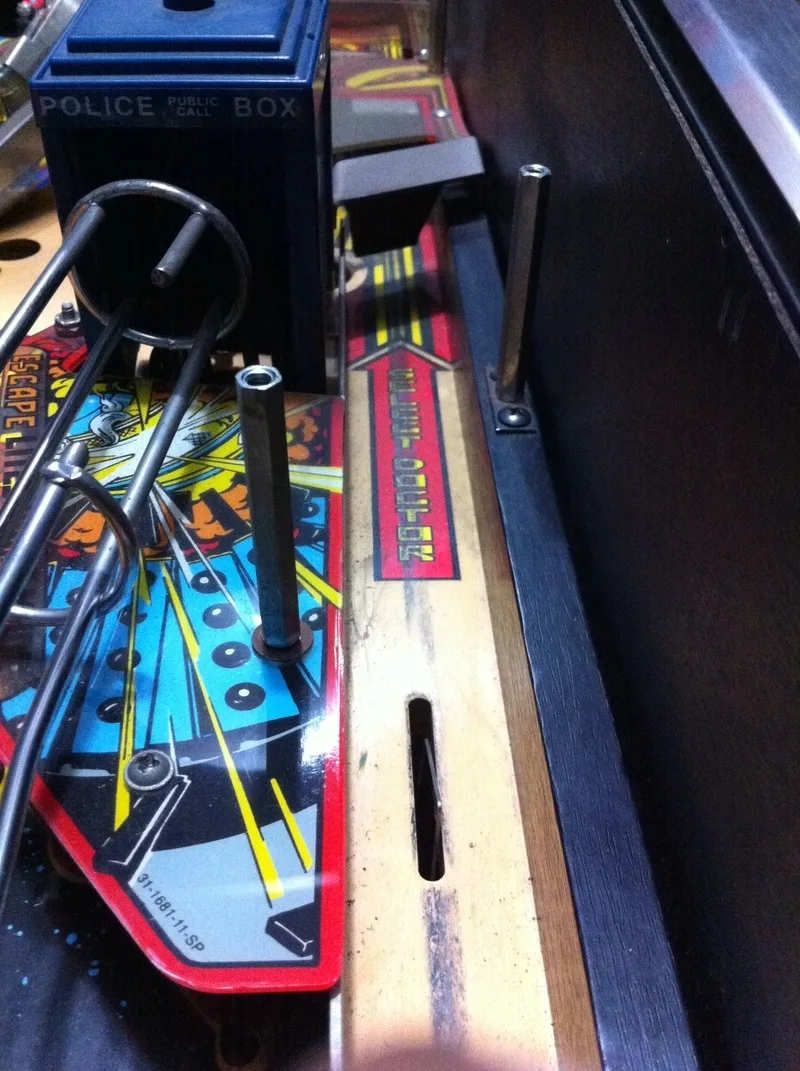
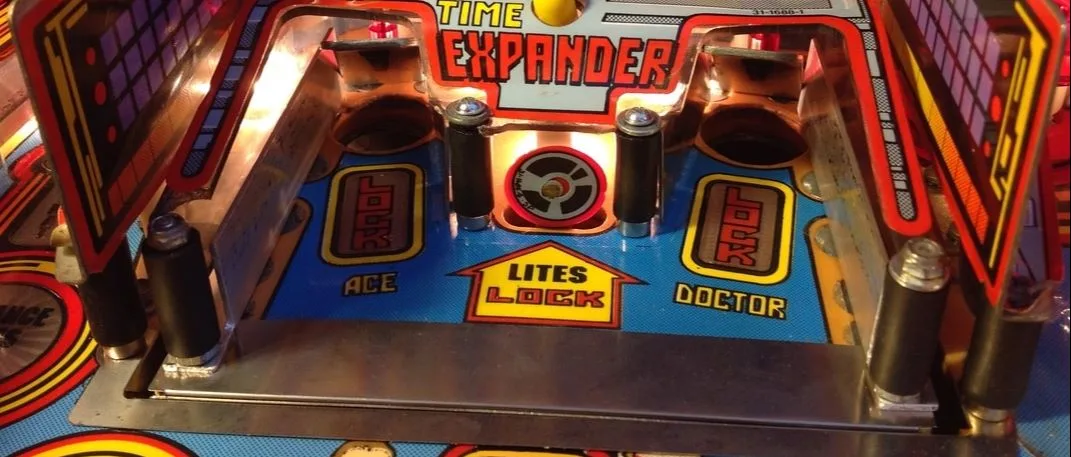
Newly fabricated ball guide, left side.
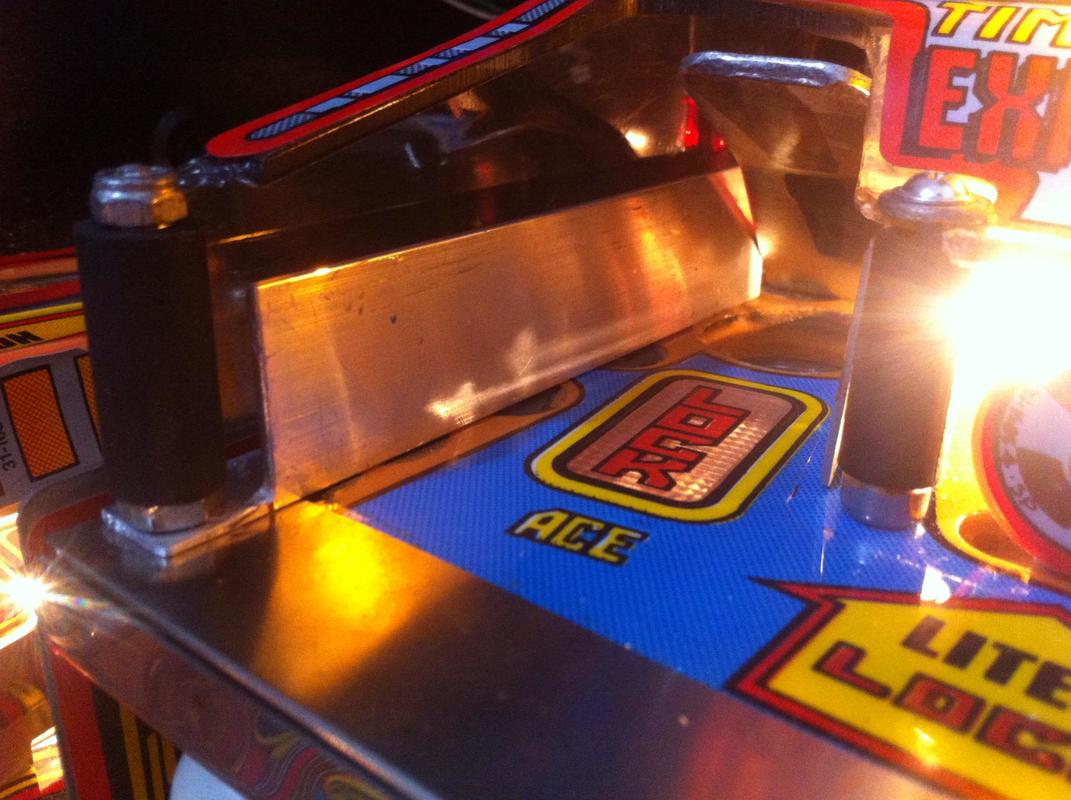
Newly fabricated ball guide, right side.

Overall, I was very happy with the result, even though any metalworker can tell I'm no pro. It looked miles better than rubber rings and was difficult to tell apart from the original steel. As with any part that requires measurement and cutting, measurements such as those above should be treated as preliminary guides only. Always measure the same distances on your own machine to see if they match. Unfortunately, I didn't do this, and ended up having to enlarge and relocate some of the screw holes because they were in slightly different positions on my machine compared to the template measurements. They are now nice and stable, and the player is none the wiser.
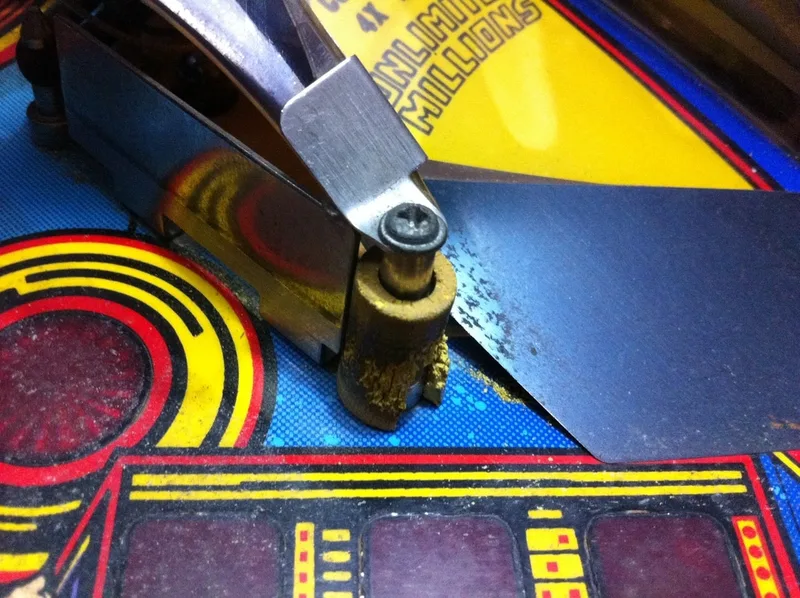
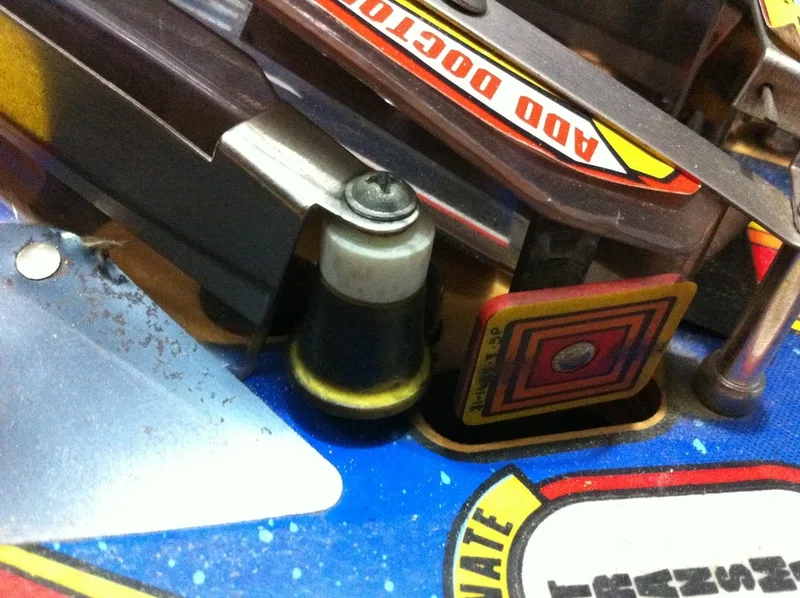
Washers installed under the Time Expander cover.
I didn't notice anything physically wrong with any of the mini playfield or associated components, but I remembered something that I had "fixed" several days before. I had double checked the game's wiring to make sure it was all OK. Looking at the board schematics in the manual, I saw that pin J1-1 on the bi-directional motor driver board was meant to lead to pin J122-3 on the power driver board. Respectively, J1-2 was meant to lead to pin J122-4.
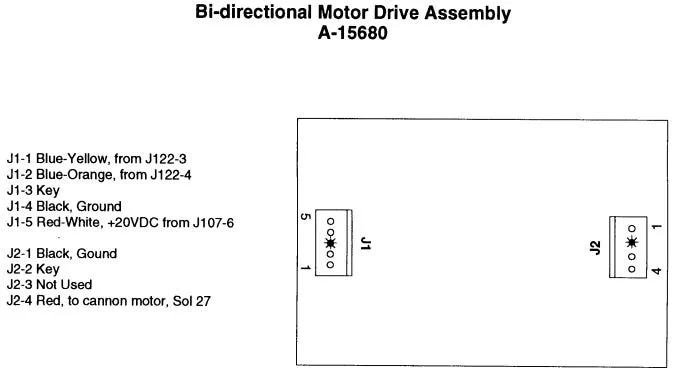
Bi-directional motor driver board wiring as it appears in the Doctor Who manual.

On my game, these wires were reversed. The wiring on the bi-directional motor board side was correct, but on the power driver board, J122-3 was blue-orange, and J122-4 was blue-yellow. So, I "fixed" the wiring by swapping the wires around so they led to the correct pins. That's when I started seeing the issues with motor movement.
Strangely, the correct wiring for J122 is actually printed on the manual page for the power driver board, contradicting the wiring scheme later in the manual (above). Go figure! So remember: the wiring in the image below is what your game should be. After reconfiguring the wiring to the way it was before, the playfield moved normally. So the moral of the story is: don't fix wiring issues that aren't actually issues! The manual is sometimes wrong, which is not helpful when you are trying to verify correct wiring.
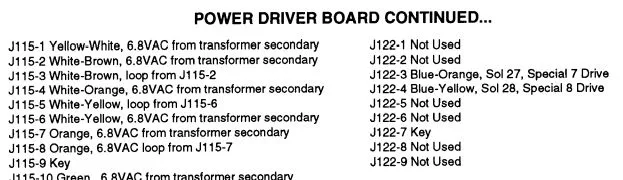
Power driver board wiring as it appears in the Doctor Who manual.


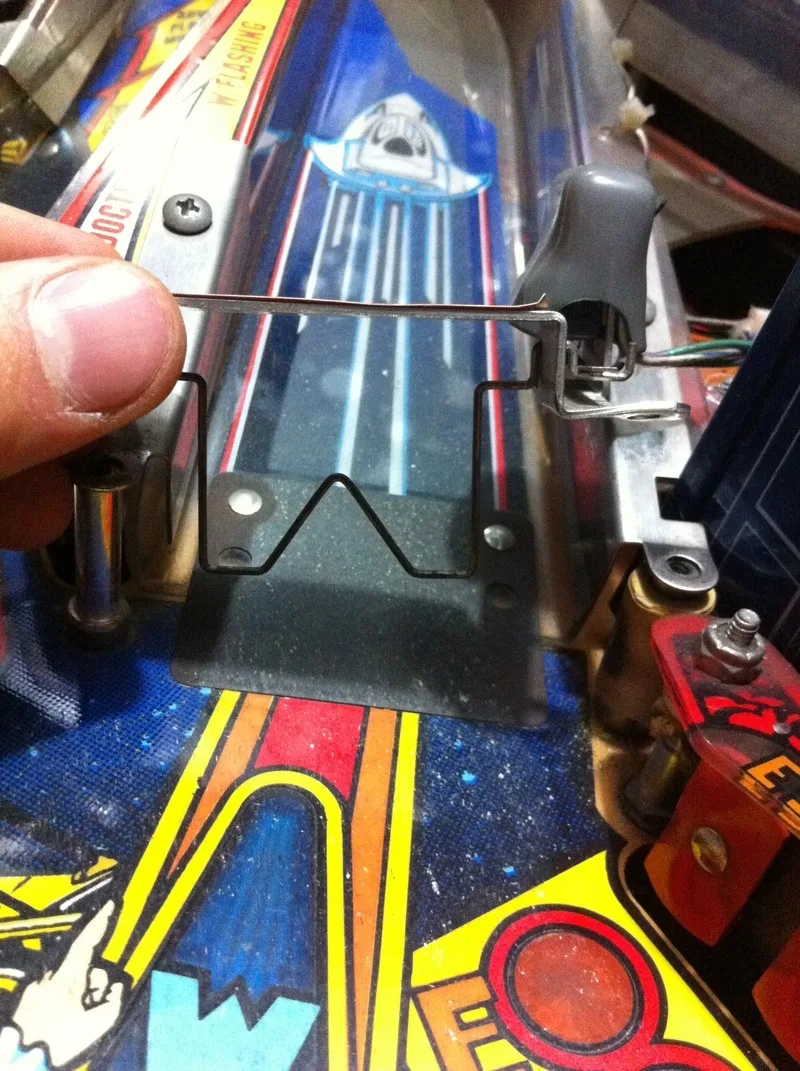
Remains of a completely destroyed wiring conduit.
Time to investigate. As the switch hits were coming from the second level of the mini playfield, this was a problem with the optical switches triggered by the mushroom buttons. I pulled the mini playfield out of the game, disconnected the opto assemblies, and reconnected them to the game wiring on their own to do some testing. It is easy to test these assemblies when they are connected to the game as you can see whether or not they are getting the correct voltages and whether the opto transmitter and receiver are working. Faz's guide has some specific advice for testing the opto switch bank in the mini playfield. Pinwiki has a good description of how to test opto switches generally, by using an infrared camera. Following this methodology, I found that one of the opto transmitters was transmitting a very weak light compared to the others. When I inspected the emitter and the solder traces on the back of the board, I was able to wiggle it and trigger switch closures just by tapping it. This is what was happening when the ball hit parts of the mini playfield - the flaky transmitter would register phantom hits. A new opto emitter (PSPA, John's Arcade) was installed and the phantom switch hits stopped.

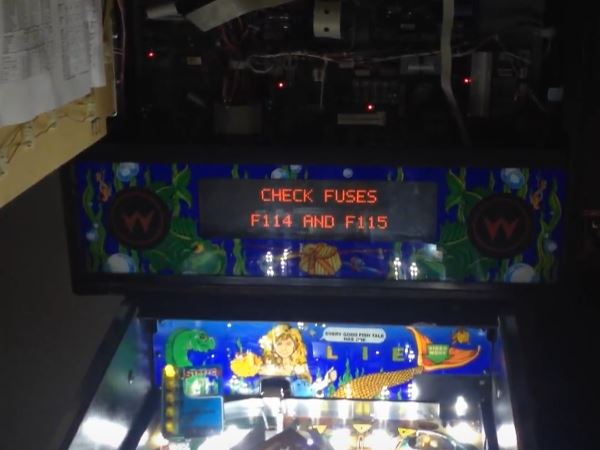
Severe burning to the general illumination connector at J120.

I replaced all of the broken lamps and installed fresh black rubbers throughout the machine, including three new black flipper rubbers. I left incandescent lamps in the game. Doctor Who uses lightning flippers which are shorter than standard flipper bats. All of the bats on this game were original and came up well after a good clean.
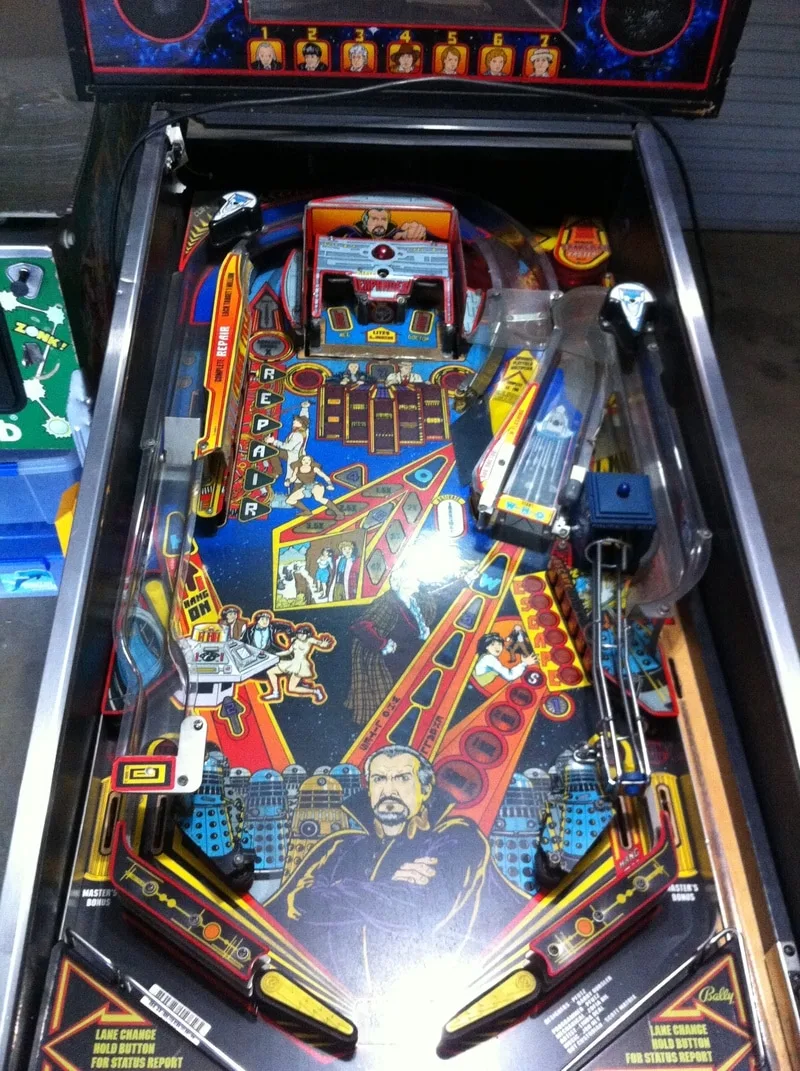
Cliffy protectors are an absolute must on Doctor Who. The mini playfield gets smashed by balls and this is why it is usually so damaged. Cliffy makes three protectors for the mini playfield and I installed all of them on this game. They help cover up repair work and protect the game in the future. The mini playfield edge should have been covered with some kind of protective cover from the factory. Unfortunately, it wasn't. Wood that is directly exposed to ball impacts will never last long! The ramp protector is also a good idea if your ramp is damaged or cracked, or the factory-installed protector is missing. You can get protectors for the lock holes, as well.
There are a lot of reproduction parts available locally for Doctor Who, such as decals and parts for the mini playfield (PSPA, Mr Pinball). Prototype games were also released with a moving Dalek topper. The software to drive the Dalek is still present in the game, so you can motorise your own topper if you can get a motor and associated parts. There used to be several (expensive) kits you can buy that included everything you needed, but none are available anymore. Various people have created homebrew kits and there is enough information online to fabricate your own parts (Basement Arcade Classics, Missing Piece Technologies, Pinball Toys UK). There are various other homebrew guides, so search around.
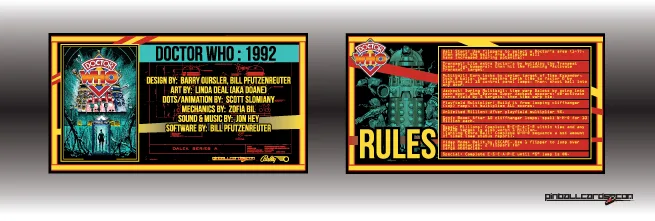
I grabbed the same custom instruction and pricing cards from Pinball Cards that I used on Doctor Who 1. Please consider donating if you download any cards from his site.
Conclusion
I can only echo some of the comments from my first restoration. Doctor Who is still one of the most painful machines to rebuild and restore properly. Nevertheless, this one was an even better learning experience than the first. I had to deal with new issues in this machine that I haven't dealt with to the same extent with previous restorations, including serious playfield repair and some tricky playfield issue troubleshooting. I was pretty chuffed with myself for figuring out the issue that was causing the mini playfield movement direction errors, as well as the method I used to track down the phantom switch issue. This just reinforced my opinion that you need patience and good critical thinking skills to track down these issues quickly. Admittedly, sometimes I have neither, so some of these issues take a lot longer to fix than they would with someone else!
While I still hate the mini playfield, I have an increased appreciation for the game. Once the game is cleaned and working properly, it is actually a lot of fun to play. The Dalek jackpots are satisfying shots when you hear the clunk of the ball when it enters the mini playfield holes. I had a good time test playing this machine until I finally decided to sell it, as I still needed to make some room. I eventually did find a buyer for this machine - from Canberra - who drove up and picked it up himself. He was very happy with how it looked and how it played. I hope he is still enjoying it!