Tags

  • Published on

    Repair log: Funhouse (Williams, 1990)

    Repair logs are quick summaries of workshop and on-site repairs. If your machine needs a service, πŸ“¬ Contact Us to discuss how we can help!


    Image description


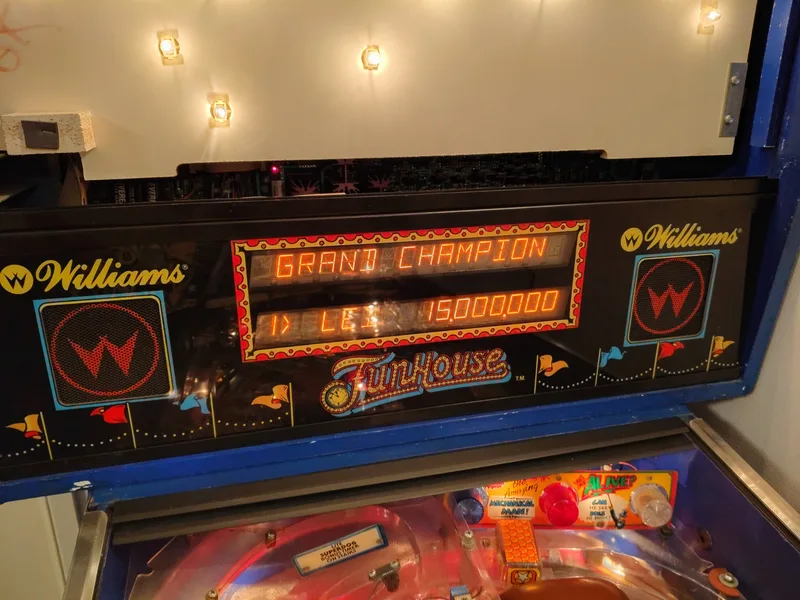
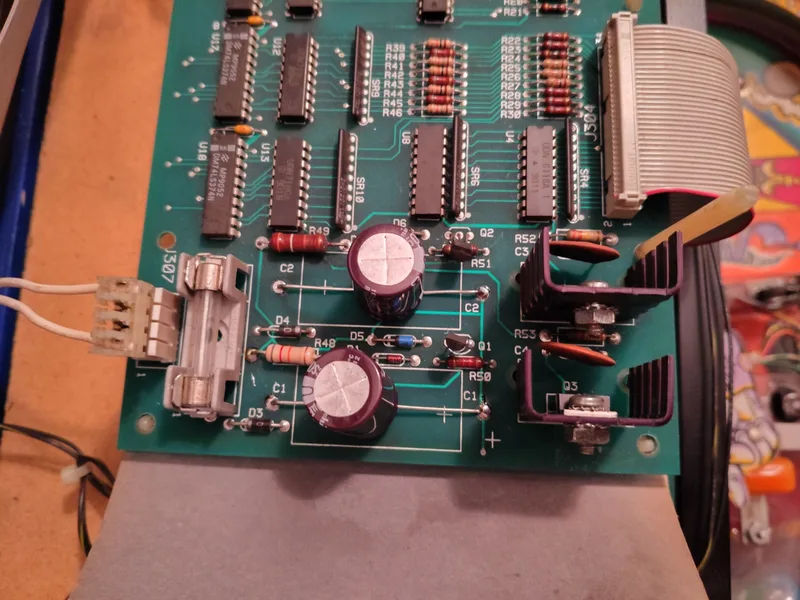
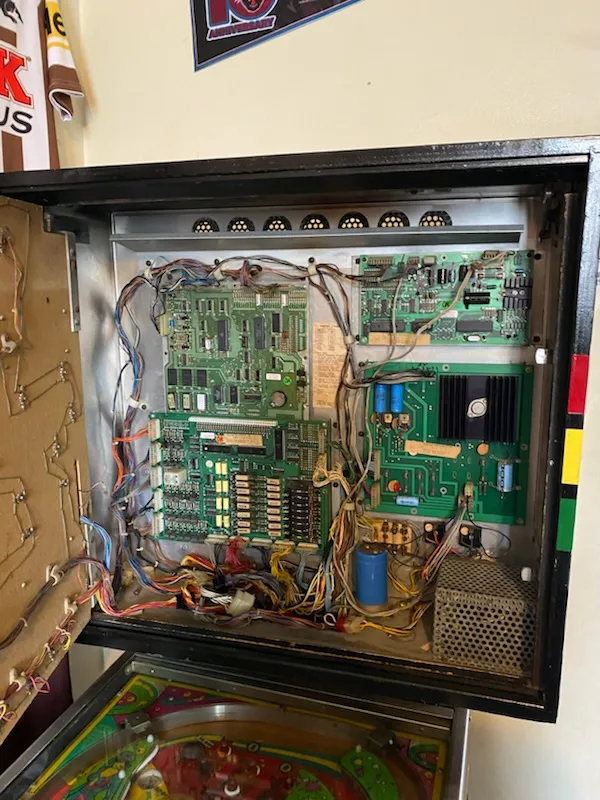
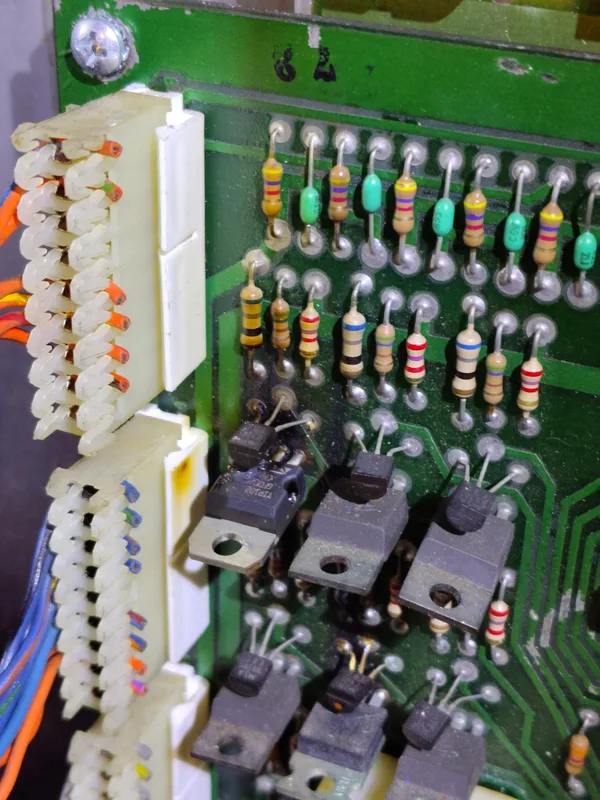
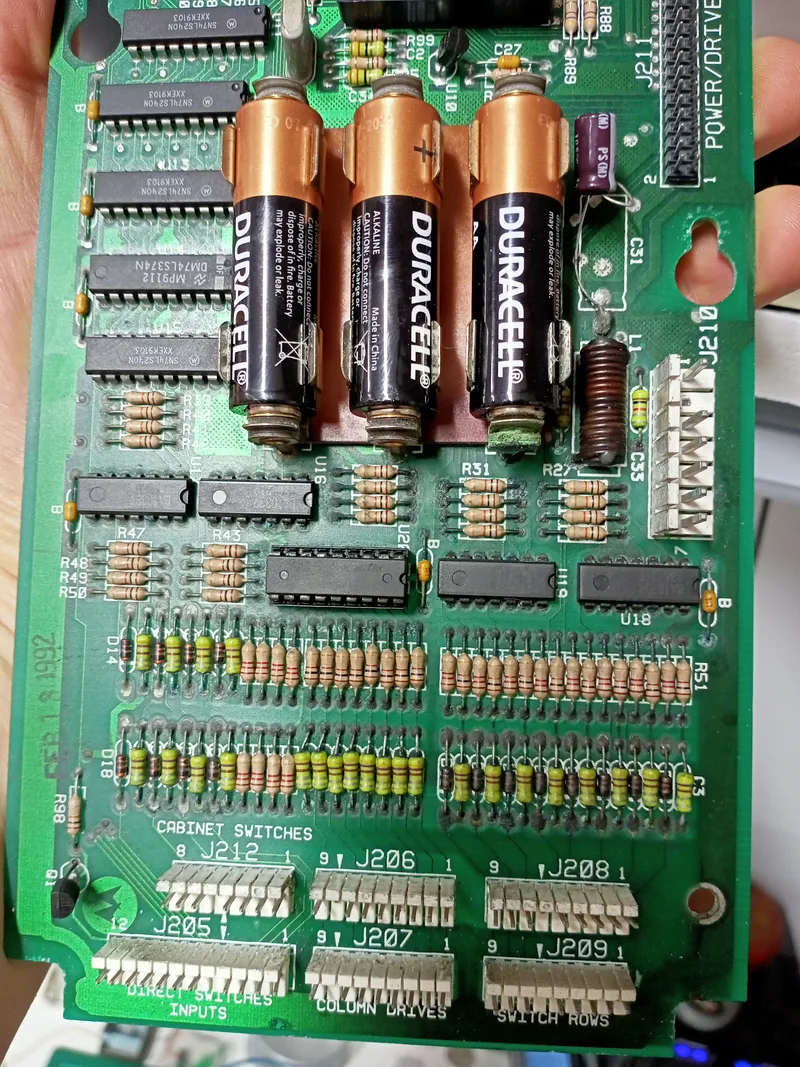
    Another Rudy with various issues! First was the display. It wasn't working except for the faintest edge of a letter or number every so often. After some probing I found that the negative high voltage display rail was too low (~20v). No improvement after new caps and transistors. The fault was with R48 which was preventing this half of the regulator circuit turning on. With the circuit rebuilt the display was back in service.


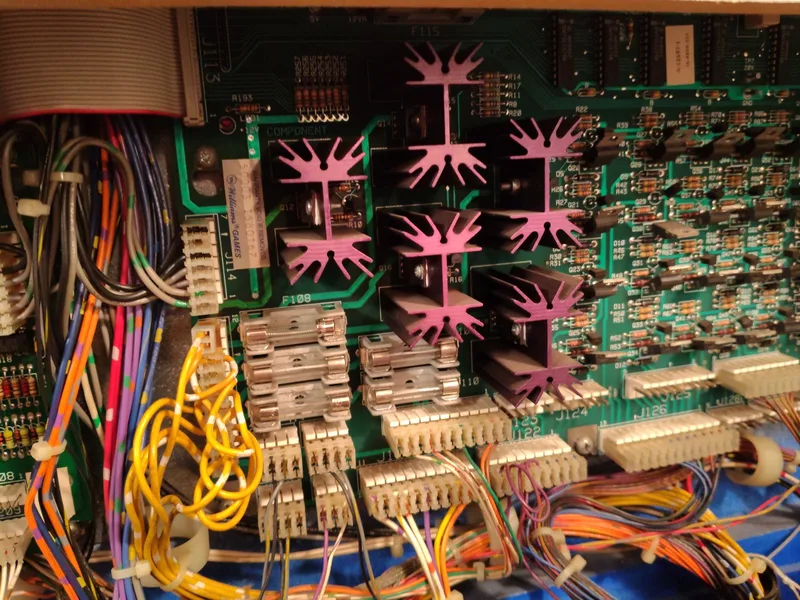
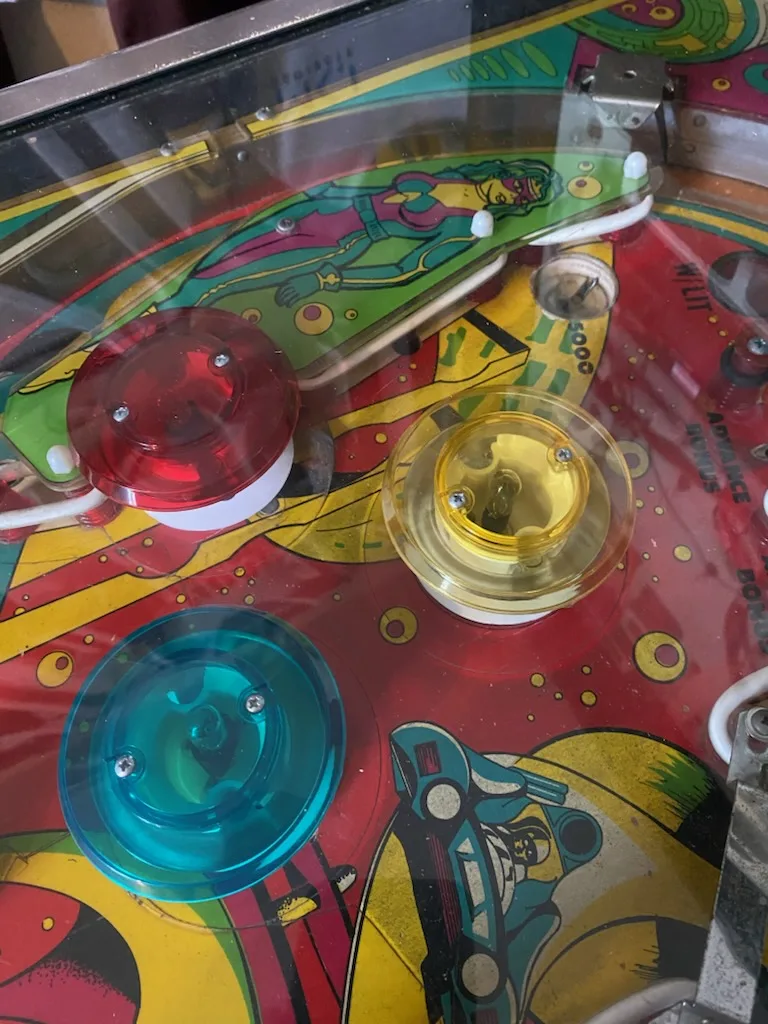
    Lamps were next. Lots of controlled (insert) lamps were dead. Mixture of new wedge globes and new sockets needed here. The playfield general illumination was also not working, while the backbox lamps were fine. The lamps themselves were all good, so the problem was on the driver board. The power input connector at J115 had been hacked up a bit with a small Molex connector used to replace a burned section. The crimps in this connector had failed, which cut off all power to the playfield GI. New crimps and the playfield was bright again.


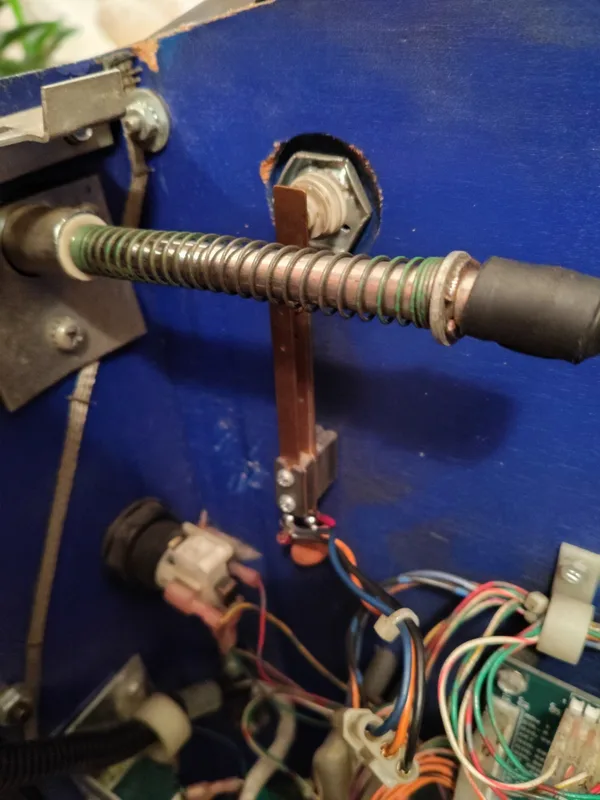
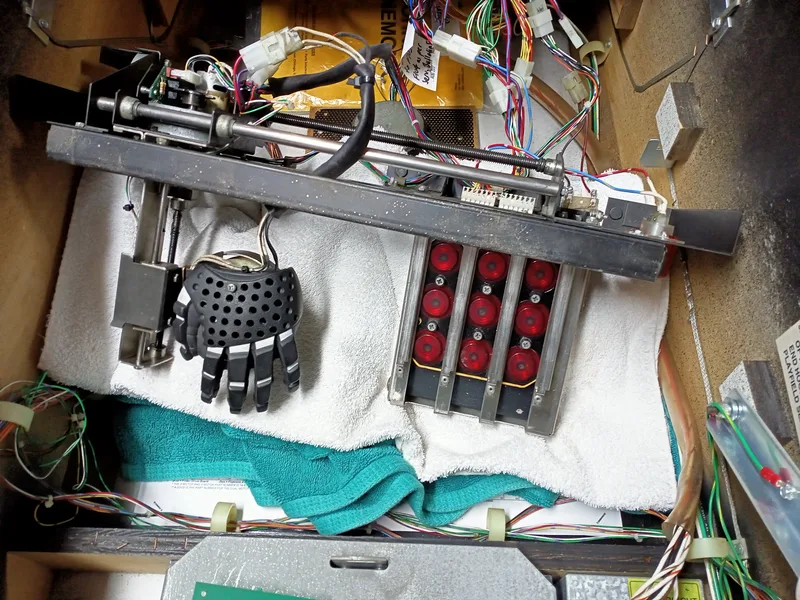
    Last, the lower left flipper was a bit weak, and sticking up sometimes. Two issues here. The first was a dirty and gummed up flipper mechanism. Once cleaned and resleeved, power was back. But the flipper would still stick up sometimes. The contact points on the high-current flipper switch contacts were sticking. New flipper switch went in and the sticking stopped.


    A quick clean to finish up and Rudy was back to his old tricks!


  • Published on

    Repair log: Tri Zone (Williams, 1979)

    ο»ΏRepair logs are quick summaries of workshop and on-site repairs. If your machine needs a service, πŸ“¬ Contact Us to discuss how we can help!


    Image description


    I haven't had to do any System 6 game repairs in a while, so here goes! This game was having a couple of issues. The top pop bumper wasn't working. There was a bunch of hackery under the playfield from someone trying to solve this issue in the past. The old solenoid was shorted, so that was replaced. Switches were adjusted for correct operation. This is very important for the special solenoid circuit, or the coil will lock on! The driving transistor in the backbox was also fried, so it was replaced as well. Pop bumper was back in action after that.


    Next was a sound issue. No game sounds would play although the sound board would play its diagnostic tune when the button was pressed. A faulty sound select switch was the cause.


    Finally, a flipper issue. The left flipper wouldn't work. Flipper assembly was all OK as was the cabinet switch. The connector in the wiring harness between the playfield and backbox was not making proper contact. After it was properly seated the flipper came back to life.


  • Published on

    Repair log: The Getaway: High Speed II (Williams, 1992)

    ο»ΏRepair logs are quick summaries of workshop and on-site repairs. If your machine needs a service, πŸ“¬ Contact Us to discuss how we can help!

    ο»Ώ

    Image description


    This machine was having switch issues. Half of the switches weren't working. Severe corrosion on the CPU board due to battery leakage was to blame. Duraleaks strike again! A new CPU board and connectors were installed and things were back to normal. Great to have Coin-Up Pinball around; an Aussie supplier of these CPU boards. A few other minor repairs and adjustments were also done. The most interesting was a lost ball which had gotten stuck in the ball trough.... it took a little while to find!


  • Published on

    Repair log: Johnny Mnemonic (Williams, 1995)

    ο»ΏRepair logs are quick summaries of workshop and on-site repairs. If your machine needs a service, πŸ“¬ Contact Us to discuss how we can help!

    ο»Ώ

    Image description


    I've never met a Johnny that didn't have issues with the Cyberglove assembly. This one was no different. It's an awesome mechanism, but finnicky. This one was having issues with the motor that drives the hand forward and back. It would randomly lock on, sending the glove forwards or backwards until it crashed into the end of the worm drive, blowing a fuse.


    So, time for a full rebuild. Disassembled and cleaned. Gearboxes cleaned and lubed. Encoder boards serviced. Turns out, the issue was faulty optical switches on one of the encoder boards. They were oddball optos that were not the correct part, and there was some hackery on the board. Installed new optos, new connectors, new transistors, and we're good to go again!


  • Published on

    Williams WPC CPU Board Battery Corrosion Repairs (Including a Scratch Build)

    It seems to be the season for battery corrosion on pinball circuit boards. Over the last few months I have repaired several Williams WPC-era MPU (CPU) boards which have suffered various levels of battery corrosion. Original WPC CPU boards are now at least 33 years old, which is an eternity when it comes to electronics. By this point, a randomly-selected CPU board will have had many issues during its working life which would have necessitated bench-level repair. However, for the most part, these repairs would have consisted of replacement of a couple of defective components; a relatively non-invasive procedure. Battery corrosion repair is a different beast, and is more akin to amputation followed by transplantation. 

    Unfortunately for the boards featured in this blog post, the corrosion was discovered too late, so some extensive repairs had to be carried out. This post deals with three levels of battery corrosion: minor, moderate, and major, and the actions undertaken to get the games back into working condition. There is some great information available regarding how to tackle these kinds of repairs, such as the Alkaline Corrosion Abatement section on Pinwiki, and TerryB's Guide to Repairing Alkaline Battery Damage. I used tips from both guides to carry out these repairs. 
  • Published on

    Johnny Mnemonic #2

    Picture

    Last year marked the 25th anniversary of the original Johnny Mnemonic movie. This year also saw the release of a high definition version of the original film. This means it's the perfect time for another Johnny Mnemonic (Williams, 1995) blog post! This was quick repair job for a customer who wanted to repair his dad's pinball machine and finally get it into working condition again. His dad used to love playing it and it had sat for too long in need of repair. I was happy to help him out as I love being able to get a machine going again so it can be played and enjoyed like it was intended to be!

    This restoration was unusual because the machine was brought to me from several hours away. I had been working on fixing the machine for a couple of weeks when the customer asked if I would be able to have it ready by the end of the week (a couple of days away!) as he was traveling back to his dad's place and wanted to surprise him with the machine. I'm not one to say no to a challenge, so as well as playing lightning fast, this machine was probably one of the fastest repair jobs I have ever had to do! As a result, this post will also be in a shorter format, covering just the things that needed attention.